Bike Life. Gravel + Sand + Muck + Tarmac + More in Richland.

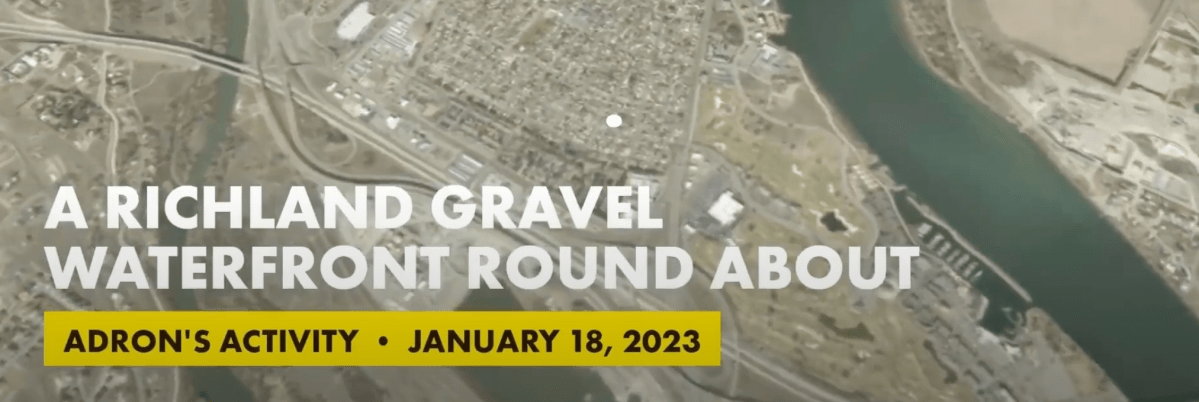
Into the haze of desolate cold lands of Richland. Coursing through the relief of the single track, with sparsely laced water elements to misdirect your route. Thickets sprung over the top of what seems like walls between you and your destination. The routes are interesting in this stretch of these woods.

In this episode I’ve made it to Richland and off my brother and I went to explore the surrounding single track, food options, and other sundry of things.

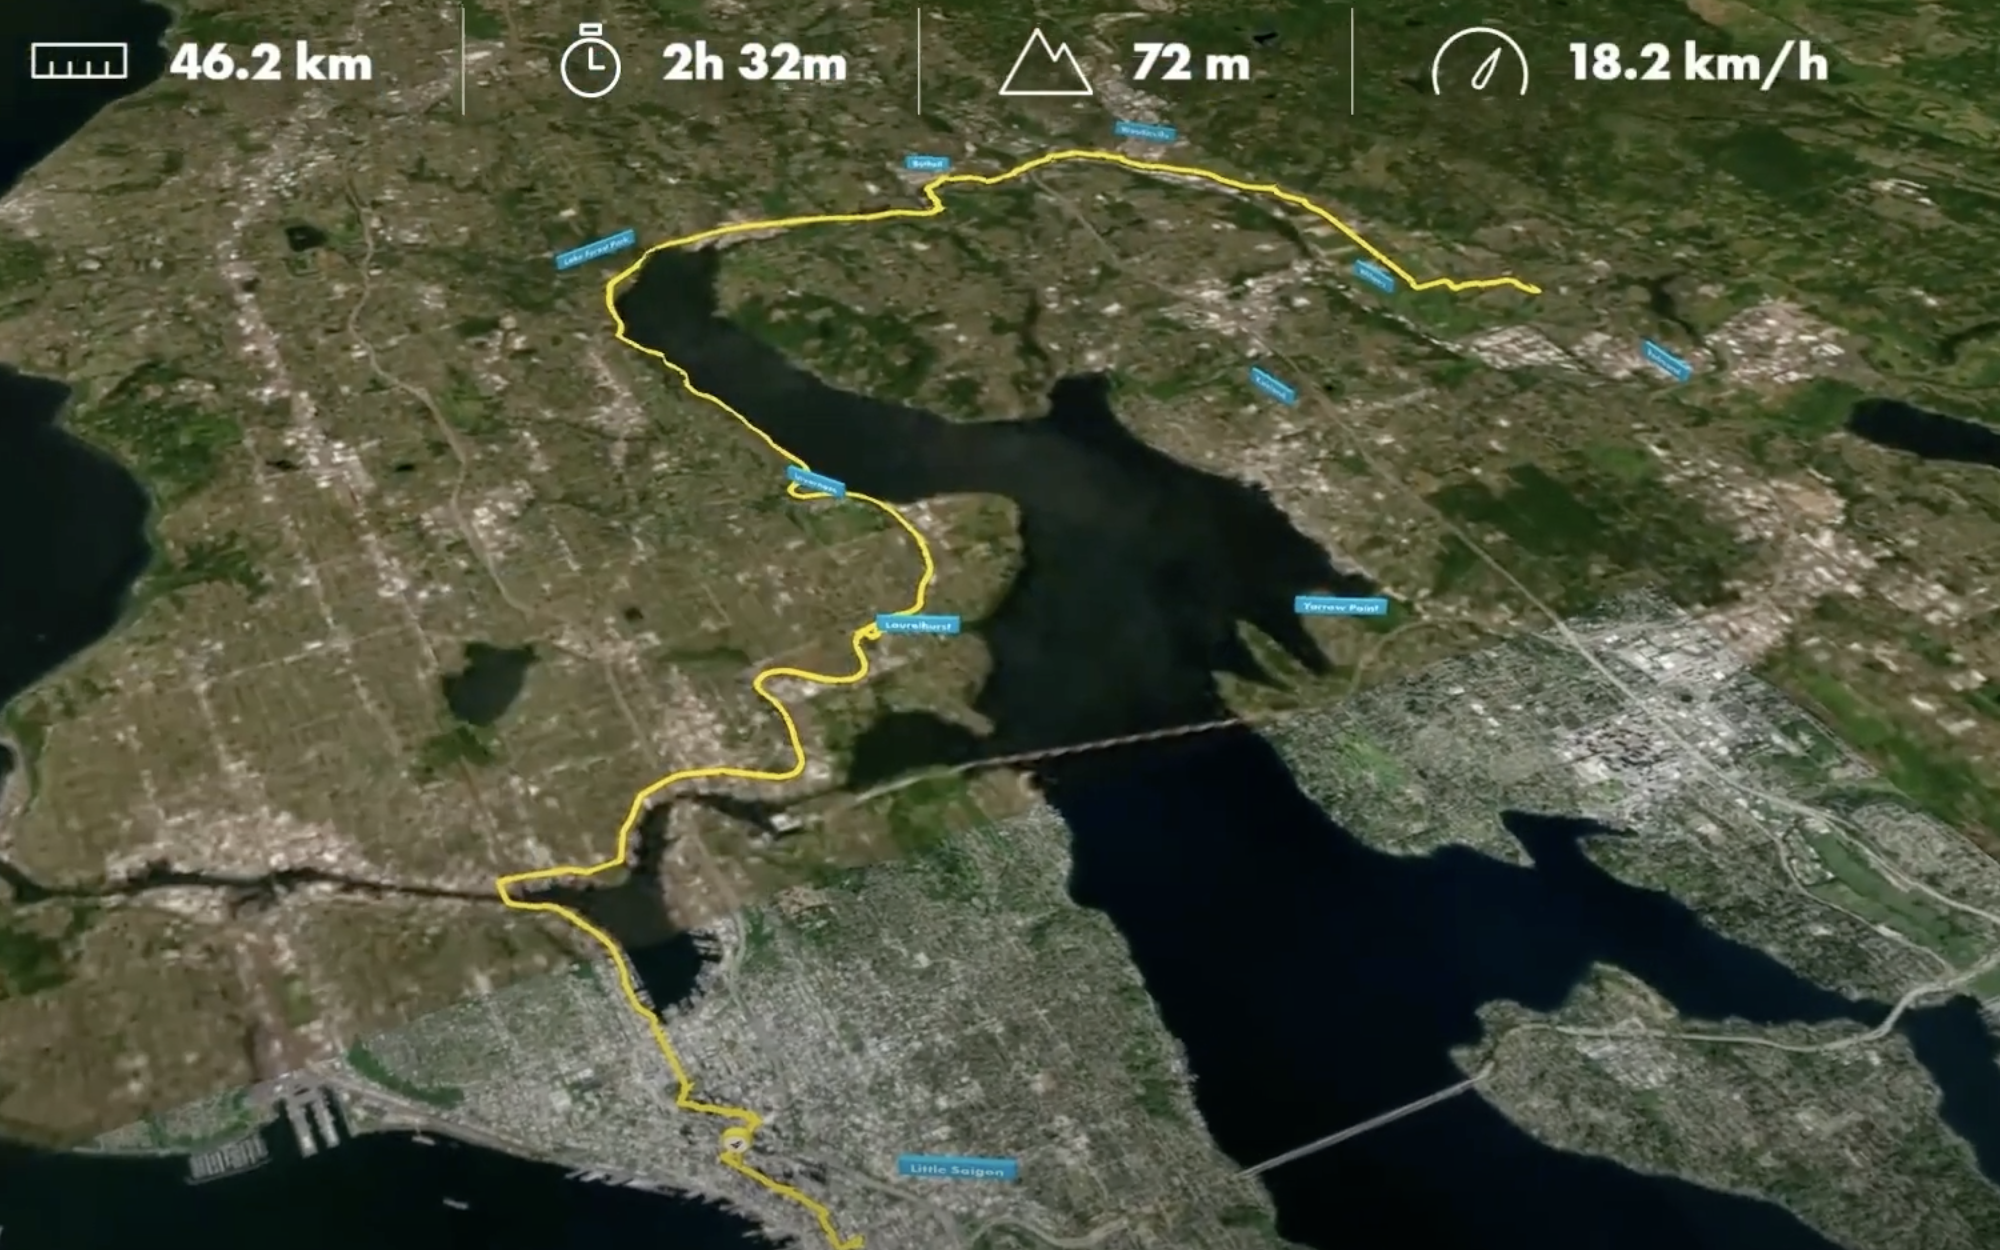
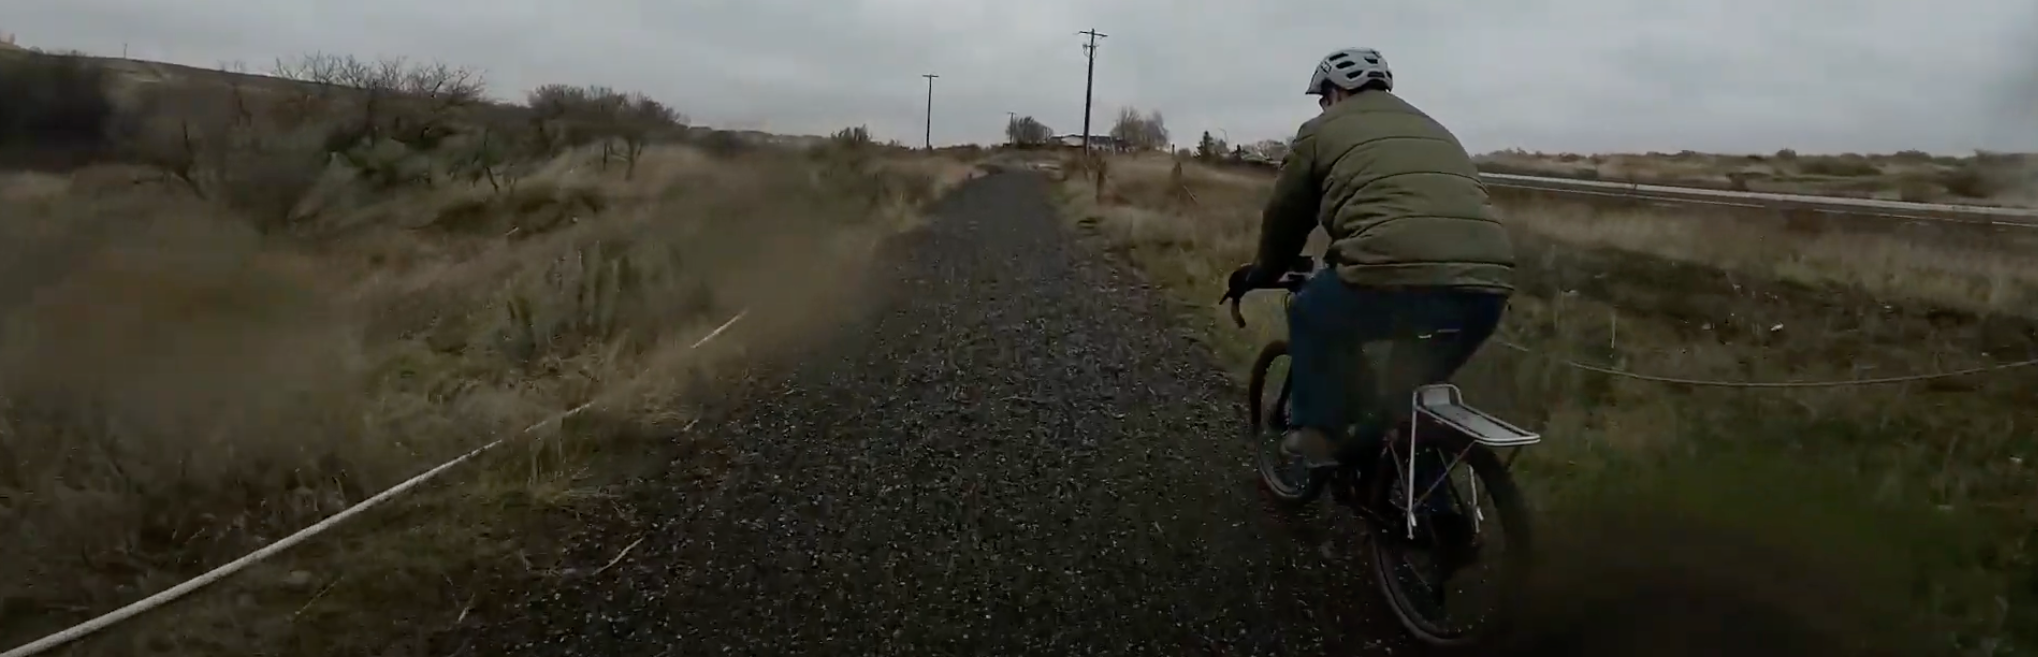
The route overall that we ended up taking was about half tarmac (i.e. paved surface) and a whole lot of gravel, dirt, rutted dirt, horse shoe trodden dirt, and a dose of sand thrown in that made it impossible to traverse.

Surfaces

Tarmac is of course the easiest surface to roll on. No need to even discuss that.

Gravel, in general, when mixed well for trails is a fairly easy surface material to roll on with the added friction. It is a lot of fun when mixed right with a bit of rock dust and dirt and whatever else to create an almost tarmac like surface. This route had a significant dose of both, very loose gravel and well packed gravel.

Dirt can have vast differentiation. Dirt can end up being mud and the issue of sinking comes into play or dirt can be as solid as tarmac too! On this route, the dirt was rarely just merely dirt, but often rutted from motorcycles of some sort or off road vehicles, and then on other parts it was stamped into horse shoes. I’d never thought about it much, but rutted with horse shoes can be some very difficult dirt to get through. When dried and hard, it creates an incessant bumpiness that can just rattle the bones while if muddy it creates an almost suction like pull as you attempt to roll through each shoe imprint.

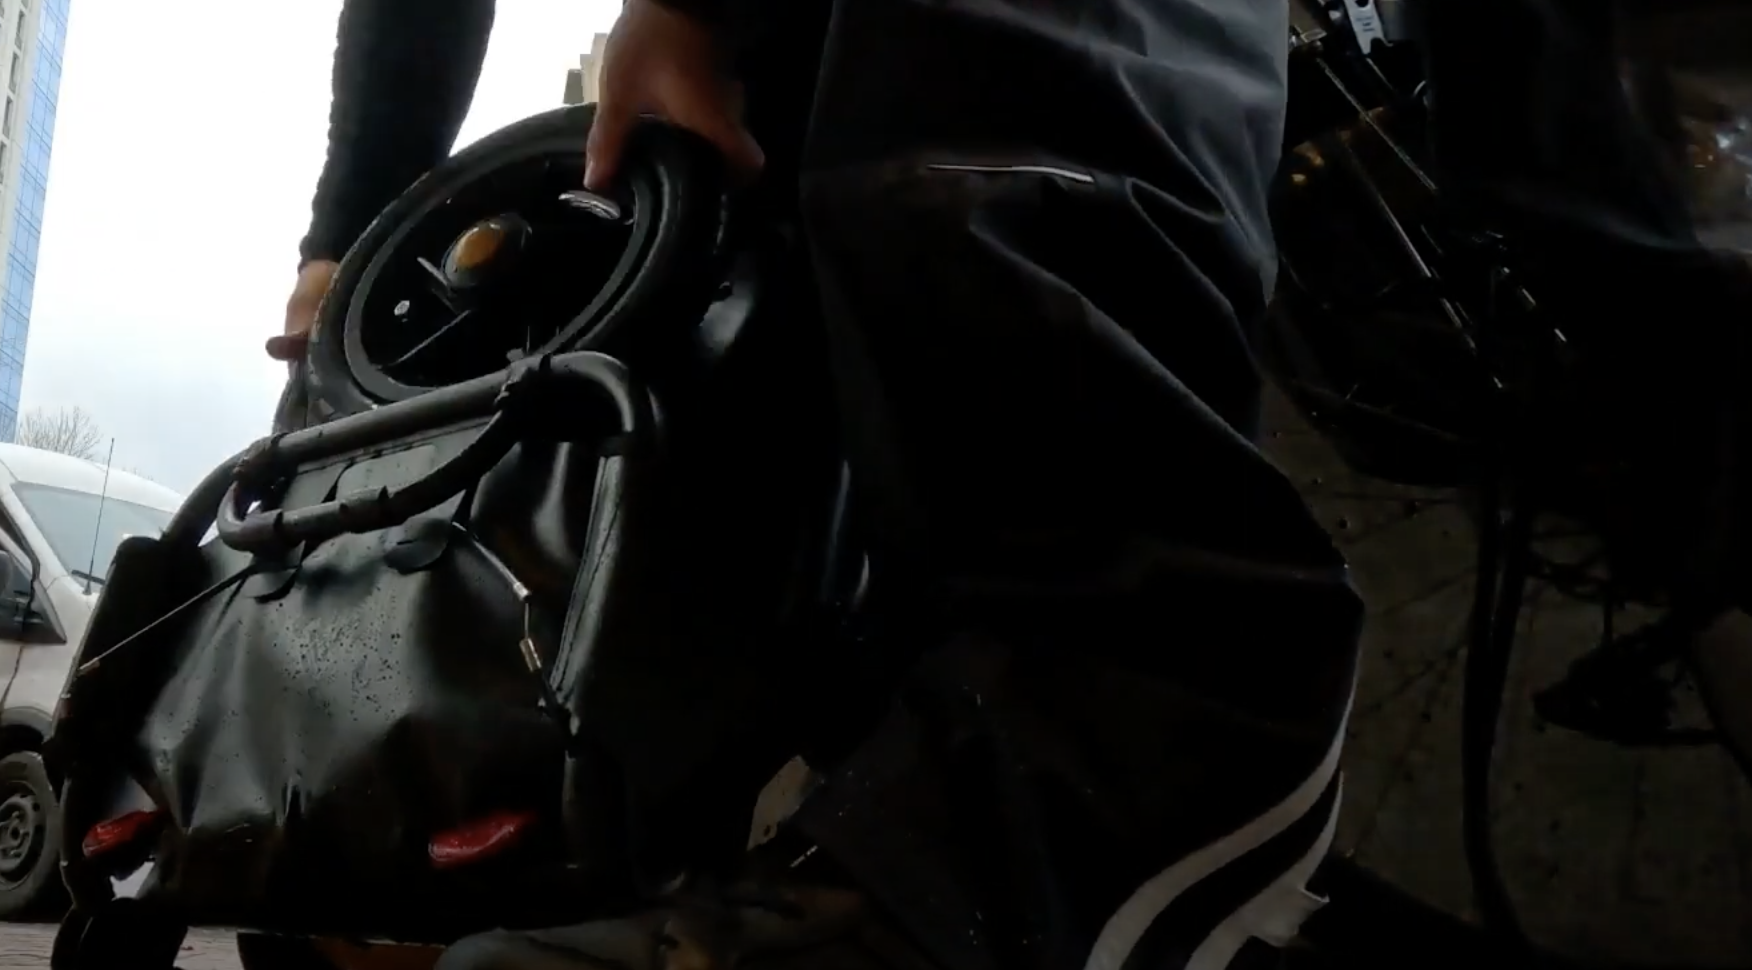
Sand can be described in one word. Suck. Sand just puts an unquestionable halt to rolling through. If it isn’t mixed with something to solidify it a bit it’s impossible to ride through. In the image above I’ve hit some sand and just opted to hike through it and carry the bike. It was the easier choice.

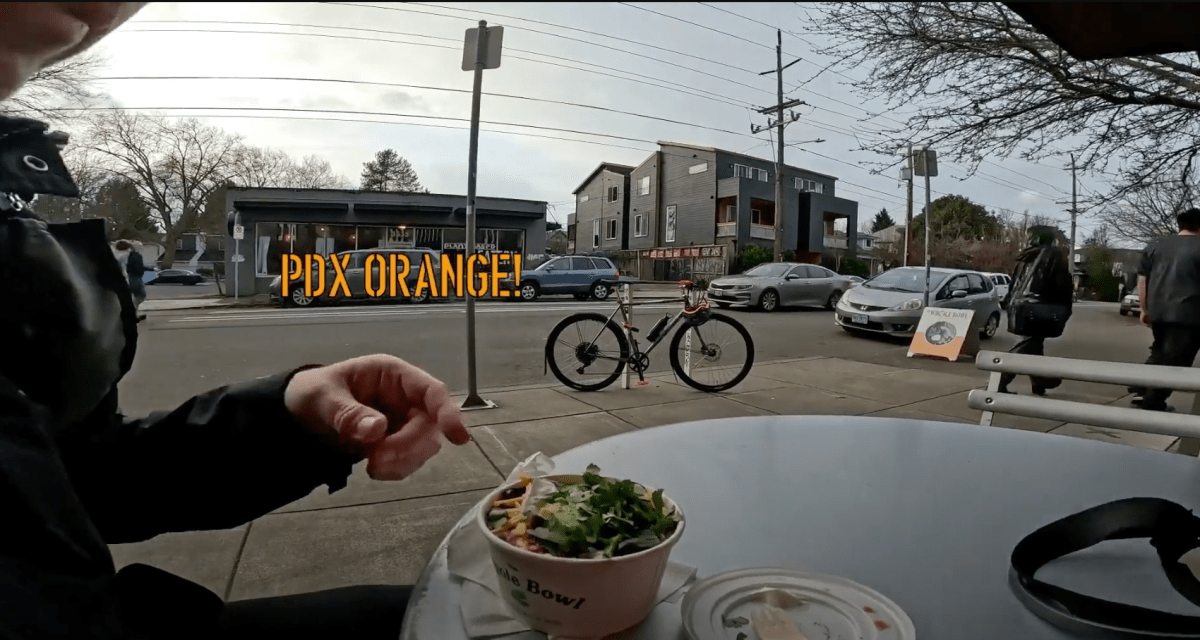
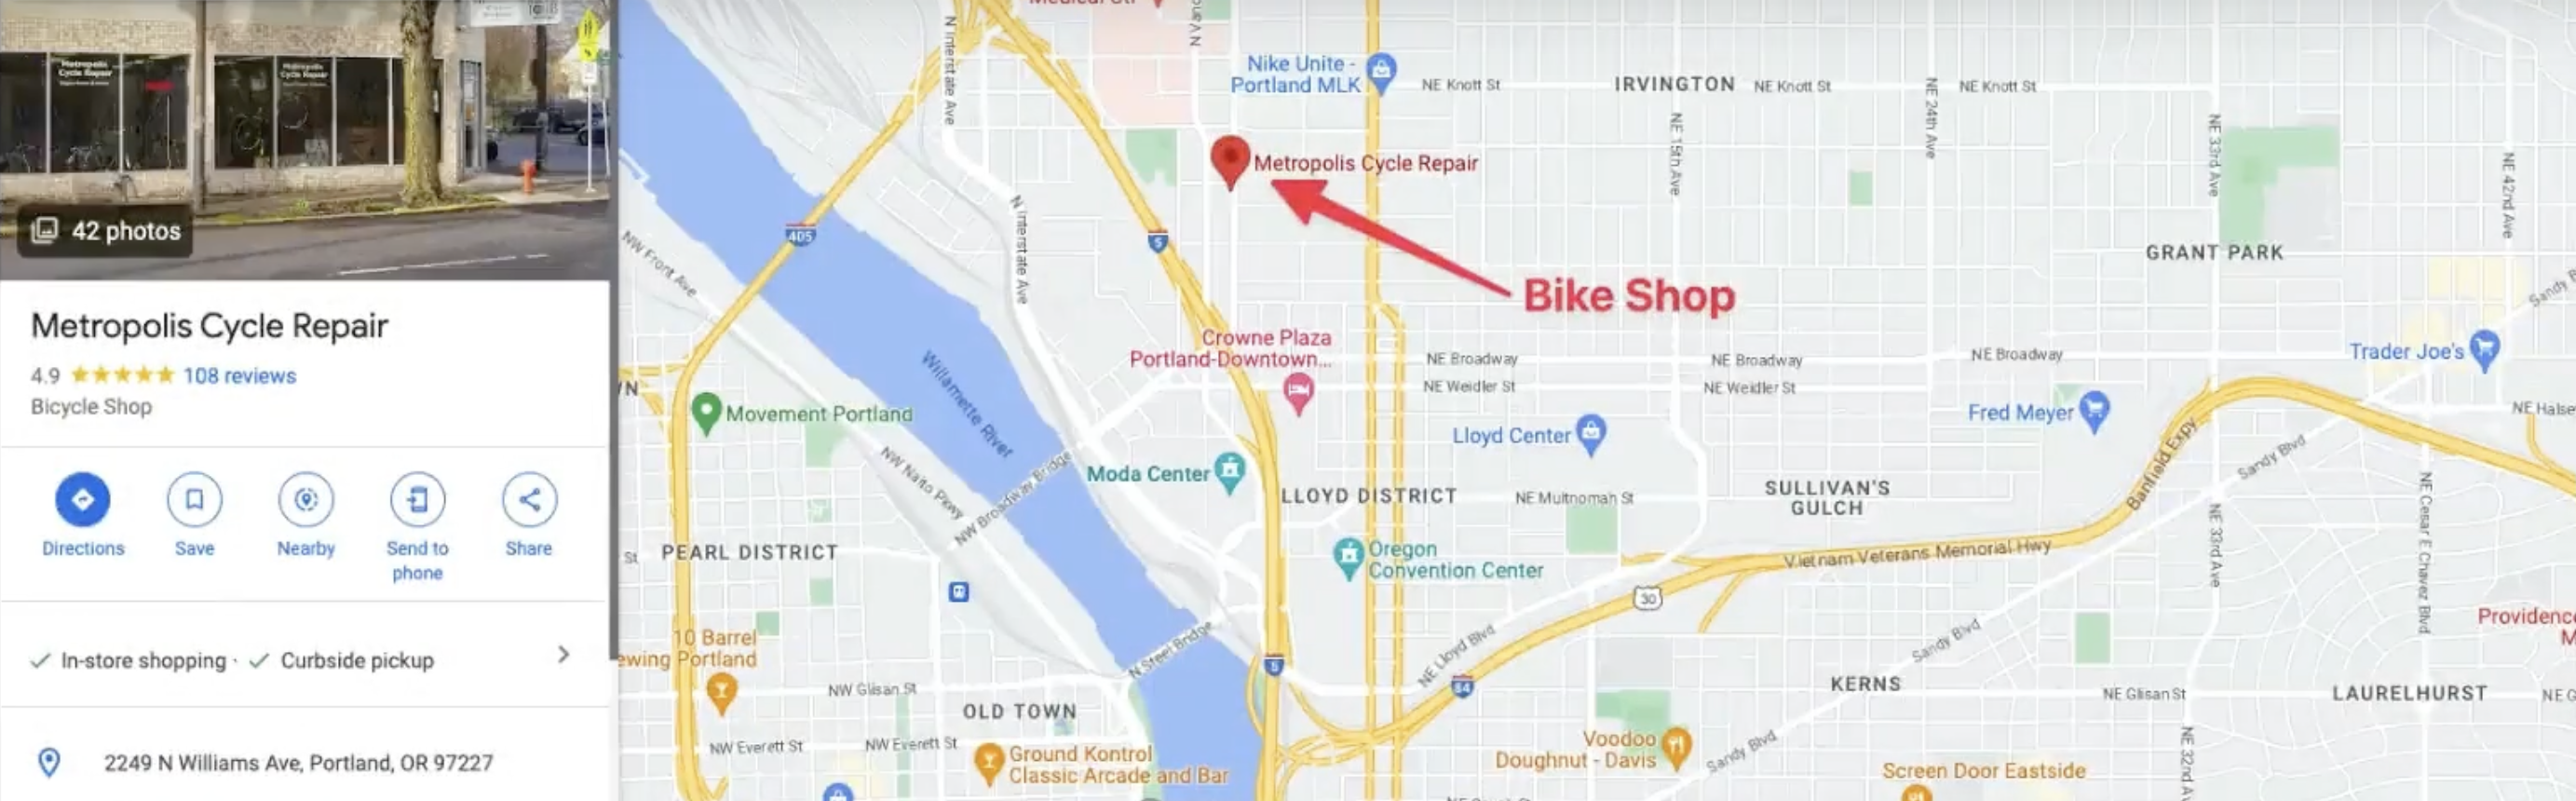
As we rolled along through the first 2/5ths of the ride we worked up some hunger. We checked the ole’ “Google Maps” and fumbled our way over to Baby J’s BBQ & Burgers. A good stop indeed – even had a chance to eat and just shoot the breeze while we did. Check that out in the video at 8:31.

Mystified? Not particularly, but fed we were now ready for the other miles.

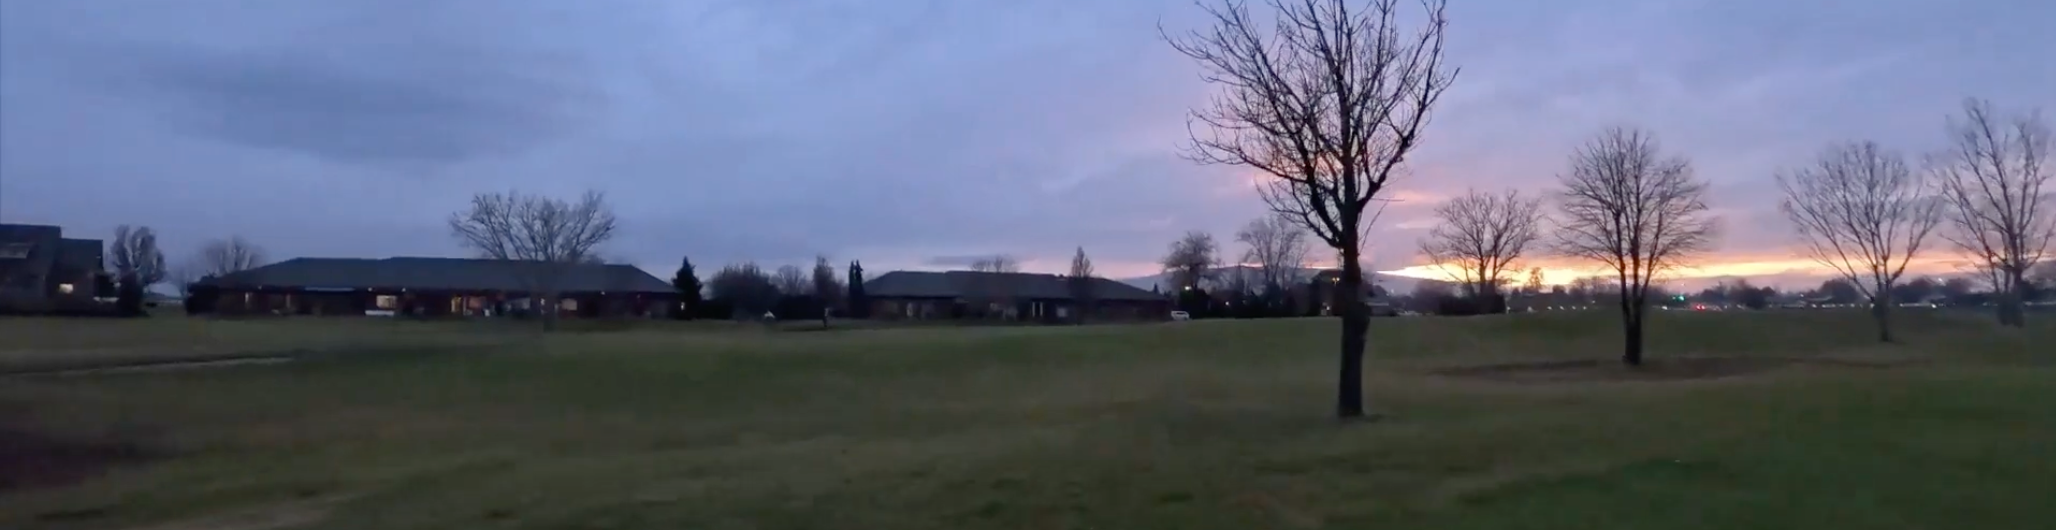
On the way back, we’d looped around and came back along the river, which gave us the treat of a glorious sunset while we road along riverside tarmac trail – unfettered by any traffic. A most excellent ride wrapped up this way would have been great.

But there was one more layer of icing on this cake, we went rolling through a golf course for that final leg back home! It was a somewhat hilarious thing, since we had no intent of rolling through a golf course. However once in the midst of the thing, we realized we were indeed in the middle of a golf course.

Great trip, great train ride, always great company being able to hang out with my brother, great food, and just a whole giant good ole’ time!

  • 0:21 – Quick intro to the ride.
  • 1:30 – Initial map trace and ride start.
  • 8:31 – Baby J’s BBQ & Burgers along with the BBQ Conversations and some ride recap.
  • 13:34 – Final stretch of the ride.
Episode 34 of the VLOG.

Bike + Train Life. Boarding the Empire Builder, with PDX Orange, for Pasco 4 Gravel Rides!

VLOG posted at the bottom of this post, so scroll down if you want to skip the *reading* part and just watch the video. 🤙🏻

The trip started off with a departure form Fort PDX (where I stay when residing in PDX) and I headed south bound from Rosa Parks toward the train station. For those familiar with PDX routes, then you probably know this route, but I add a little detail for those that are curious or want some tips for south bound trips to downtown (or specifically the train station).

I zig zag a bit and then get to the loopity loop that goes up over the highway (or maybe it’s just a major street. It’s Going Street so I guess it’s just a major freight arterial, but whatever the case, not really worth going over multiple block just to cross it when you can take the up and over. In the video you’ll see more, it’s a rather interesting – yet oddly pedestrian unfriendly way to make things more pedestrian friendly.

After that I cut over to the Williams Corridor and had a Whole Bowl. More on that in the video, but suffice to say they’re so top tier quick meal options that’ll leave you with energy for the day! This kind of food, and the fact there is a plethora of options around Portland is something I miss extensively living in Redmond (Seattle metro). The Seattle metro, and especially in the surrounding metro, food like this at this quality and price just doesn’t appear to exist.

After getting into the station it was time to box the bike. Generally on Amtrak you don’t have to do this these days because you can just hand the bike off at the baggage car. However, Amtrak has had some equipment *incidents* and is short of baggage cars and other equipment options that enable that, so this is one of the routes that is minus a baggage/equipment for that option. Do note, it’s the Portland stretch of the Empire Builder, so when it reconnects at Spokane, the Seattle baggage car joins the train and has roll on capability. But between Portland and Spokane it’s down to boxing it.

In the video I show you how I use two simple wrenches to take the pedal off and adjust the bars. It takes all of about 30 seconds to get done and get it boxed, then they just take the box and will load it for you as a checked bag. Easy peasy.

Once the bike was boxed and ready I strolled off to wait in the first class lounge. Once time was called we all headed out to our train for boarding. One of Amtrak’s new engines was setup to lead our train.

Once aboard I just settled in for the ~5ish hour journey, had snacks and hacked away on some video edits and such. These videos don’t make themselves.

Finally wrapped up the trip by rolling into Pasco! Got the bike and rolled out to my brothers. Next episode, we ride! Where shall we go? What shall we do? Do we get any flats? Do the bikes stay intact? Does it rain? Does it snow? All will be answered in the next episode of whatever it is these VLOGs I make end up titled. 🤣

  • 0:21 – North Portland to Union Station via the Broadway Bridge, with a few route suggestions to avoid inclement segments. First up, Whole Bowl, a bite to eat before boarding the train.
  • 5:55 – Right turns for the route that are important to get right.
  • 6:41 – Broadway Bridge and loop around and under route trick to Union Station.
  • 7:27 – Not turning left on Broadway Bridge, loopity loop to the right, into the Pearl and then under teh Broadway Bridge.
  • 9:20 – Arrival @ Portland Union Station & boxing the bike for boarding the Empire Builder. More details on bike boxes here https://www.amtrak.com/bring-your-bic…
  • 11:16 – Metropolitan Lounge, the sleeper/first class/business class waiting room accommodations plus the bathroom secret!
  • 12:58 – All aboard Empire Builder!
  • 14:04 – On to Pasco! A relaxing journey via Roomette!
  • 14:24 – Arriving Pasco, detraining, a bit of FRN activity, into the station, and waiting for the bike baggage! 🤙🏻
Episode 33 of the VLOG.

Bike Life. Combining “New Bike Day” with “New Glasses Day”!

This VLOG is a bit oddball, at least it felt to me. I was just chasing down stuff it seemed like; first a new bike for gravel rides and then second to get some new glasses. In my normal fashion however, I’m taking you along for the ride to check out what I’m getting with a little bit of *why* I’m getting it.

Metropolis Bikes

The first place I headed to was Metropolis Bikes. I was hoping they’d have a bike that would be perfect for my upcoming gravel mission. I headed out from Fortress PDX (that’s what I’m calling my location in PDX these days) and headed south along the Williams Corridor (which is made up of two streets, Williams and Vancouver).

  • 0:21 – Welcome to Portland, Oregon.
  • 0:38 – “New Bike Day” @ Metropolis Cycles.
  • 2:51 – Heading to Blink for “New Glasses Day”…
  • 3:15 – But first coffee at Nossa Familia.
  • 4:49 – The first 2 glasses I’ve purchased and received, another is still on it’s way (as of the original recording).
  • 6:00 – After returning to Portland Office, I booked off for a short haul on the MAX back to Metropolis Cycles to pick up THE NEW BIKE! Much excite, very wow!
  • 6:58 – New bike day pick up, I introduce “PDX Orange”! New glasses, new bike, and ready for some gravel riding the next day – and thus gravel riding next episode! 🤙🏻
Episode 32 of the VLOG.

Bike Life. Train Life. Redmond to Seattle by bike, Seattle to Portland by Train.

This trip was a multipart adventure that was extremely rewarding. I also used new gear for the first time that I’ll talk about.

The trip started with the decision to take the Sammamish and Burke Gilman trails around the north end of Lake Washington on the way to get to King Street Station. This is clearly not the straight route to the train station, but it is the flattest of routes. I wanted to try out the Burley Travoy and also check timing overall since this is also my first trip from Redmond – new home – to downtown Seattle and King Street Station. I checked the google times on the trip and the most direct was 2 hours and 7 minutes, and this longer stretch was 2 hours and 23 minutes. With the trip being as long as it is to start with, another 16 minutes didn’t seem like a big deal.

Thus off I went, departing Redmond heading north, up through Woodinville, Bothell, down the west side of the lake into University District, through downtown, and finally to King Street Station.

Part of the way there, passing through Woodinville.
The tunnel, which is painted rad colors, that I consider the midway point on the north side of Lake Washington.
The full route from Redmond to downtown and King Street Station.

Burley Travoy

Upon arriving at the station I had my first *in the field* attempt at breaking down and stowing the Burley Travoy in its included bag. You can see in video, with these two images, that it went quickly and smoothly. It’s a great product and really easy to use.

Final step after fold up, sliding the detachable wheels into the base.
Slipping the folded Travoy into its bag.

Boarding Coast Starlight Southbound

Once the ride was complete, Travoy packed, bike loaded on the train, I was ready to board myself.

Being greeted at the sleeper car I was assigned to.

After boarding, a tradition I have is whipping together a traditional “train coffee”. Yes, it’s commodity beans, yes it is indeed drip, no it is not premium stuff but anything on the train just has an air of leisure to it, thus “train coffee”.

Train Coffee!

At this point in the video I play an acoustic improv bit that I felt matched the passing scenario.

Train Power Brick: Ankor USB Power Strip Surge Protector!

When taking train trips, specifically the long ones, you should bring yourself a power brick. At least, if like me, you have more than one or two pieces of gear you’d prefer to be able to plug in or recharge. In the past I’ve used a particular strip I have, and have talked about in past videos, but now I’ve picked up a new one with some additional features and hardware! Introducing my new train brick strip, the Anker USB Power Strip Surge Protector(300J), 5ft Extension Cord, Flat Plug, 331 PowerStrip with 6 Outlets & 3 USB-A Ports!

Ankor USB Power Strip Surge Protector

For more details on the Ankor, give the video a watch @ 8:48 along with final arrival at Portland Union Station.

  • 0:21 – From Redmond to King Street Station.
  • 3:17 – Packing the Burley Travoy.
  • 4:03 – Bike stowed, boarding the Coast Starlight.
  • 8:48 – IMPORTANT! Getting an appropriate power strip for the train trip. (Anker USB Power Strip Surge Protector(300J), 5ft Extension Cord, Flat Plug, 331 PowerStrip with 6Outlets & 3USB-A Ports – https://www.amazon.com/gp/product/B09…)
  • 10:18 – Arrival in Portland, Oregon.
Bike Life. Train Life. Redmond to Seattle by bike, Seattle to Portland by Train.

That’s it for this episode. Catch some of the earlier episodes and be sure to subscribe the channel on YouTube. Albeit, if you’re subscribed to this blog, I’ll be posting them here too just a little delayed along with more details about what’s up with each video.

Bike Life. Testing out the new Insta360 with a tour through Marymoor Park in Redmond, Washington.

Cruising along with Insta360 X3 in hand.

At some point I’ve got to just put a whole post together with the over under on the Insta360 X3 and the GoPro 11s I’ve recently purchased and been using to film this and recent VLOGs. Altogether massive improvements in the tech. The ability to get amazing shots, and absurdly cool shots, angles, and whatever odd views of video have gotten really good.

On this first quick experimental video from the Insta360 X3 I rode through Marymoor Park. while on this ride through the park I provide some introduction to and narrative of the various sections of the park. To complement the video, here are some key links to information about the park and the Insta360 X3 Camera.

The First Insta360 X3 Experience!

I went to Marymoor Park to test out the Insta360 X3 the first time for a few reasons.

  1. I knew it would be spacious and I could bike around without any concern for being in any narrow corridors or difficult to bike areas. I just wanted to be able to focus on getting footage and seeing how the camera performed.
  2. There is plenty of ride time, i.e. uninterrupted path, to travel down and record on. Easy to setup a route and get into a diatribe about whatever feature of the camera.
  3. Finally, I was planning to just hold the selfie stick with the camera on it, and wanted to make sure I wasn’t going to inadvertently hit somebody or something with it!

Observations

Beyond the topics I talked about in the video (scroll to the end of the post for the full video plus time points), there were a number of other post-video observations I made.

1st thing I noticed was, in spite of my effort to have the camera face a particular direction, I really didn’t need to have it face any direction in particular. The mics, which there are several, picked up my voice just fine even while moving. The video worked out regardless of which way the camera was pointing, it literally just needed to be on and out there a few feet away from me to capture everything.

2nd interesting observation, in conflict with my previous observation. After time spent reviewing the videos and moving the camera angle around during edits, it became obvious that there is indeed a very slender area of the 360 degree view that gets blurry where it is stitched together. Basically the very sides, top, and bottom – where the selfie stick attaches – go blurry. Which, this is the physical mechanism that they use to make the selfie stick disappear. A little bit of software to stitch it, and mostly it isn’t immediately visible. However, upon closer observation, you do indeed see that stitch line. Which means, you should at least keep either the front or back camera generally facing in some way toward what you intend to shoot.

3rd observation. The camera, albeit light in a general sense, sits heavy on the selfie stick. It tends to make it bend ever so slightly and in some rare situations, become visible again. More on these selfie stick situations in the more extensive write up on this and the GoPro cameras in the future. But suffice it to say, the selfie stick needs held at particular angles to get good shots. Letting it lean and bend too much can be problematic if you’re expecting it to properly disappear.

Beyond those, more in the near future, I’ve collected a number of observations, tips, tricks, and all that since I’ve been using the camera for a while now. So be sure to subscribe here to the blog, or the VLOG.

Insta360 X3

Marymoor Park

Video Time Points

  • 0:21 – Introduction and equipping the Insta360.
  • 0:47 – The route through Marymoor Park & start of the ride.
  • 6:10 – Wrap up of the ride and plans for the next Marymoor Park exploration.
Episode 30 of the VLOG.

That’s it for this episode. Catch some of the earlier episodes and be sure to subscribe the channel on YouTube. Albeit, if you’re subscribed to this blog, I’ll be posting them here too.