Today marks about the ~20th or so day I’ve ridden the light rail from Redmond to South Bellevue, and then transferred to the Sound Transit Express 550 from there to downtown.
My commute priority has always been about functional use versus speed or other criteria. When I write functional use, what I mean is can I use the commute for something besides just wasting away rotting like one might do in a cage (i.e. a car). Even when I have used a car in the past, the focus still remained exactly that.
Simply put, I despise the idea I follow the modern American tradition of plopping myself into a car, that I’ve worked a job to buy, to sit in traffic – often stop and go or just stopped – to go to a job that I work to do shit like buy a car. I prefer my job funds go to strategic and tactical things like living life. Travel, exploration, games, beer, good food, racing cars, bikes, more bikes, and other entertaining and enriching things vs. buying a car, maintaining a car, paying rent, and all that rat race bullshit.
So now that I’ve written this, I hope to be back soon on a regular basis writing on this blog. If for any other reason, because I enjoy it. But also to document my commuting adventures and related things. Hopefully I’ll conjure up the energy to also start putting videos together again, ya know like this one, this, or this.
Back to the Link Light Rail
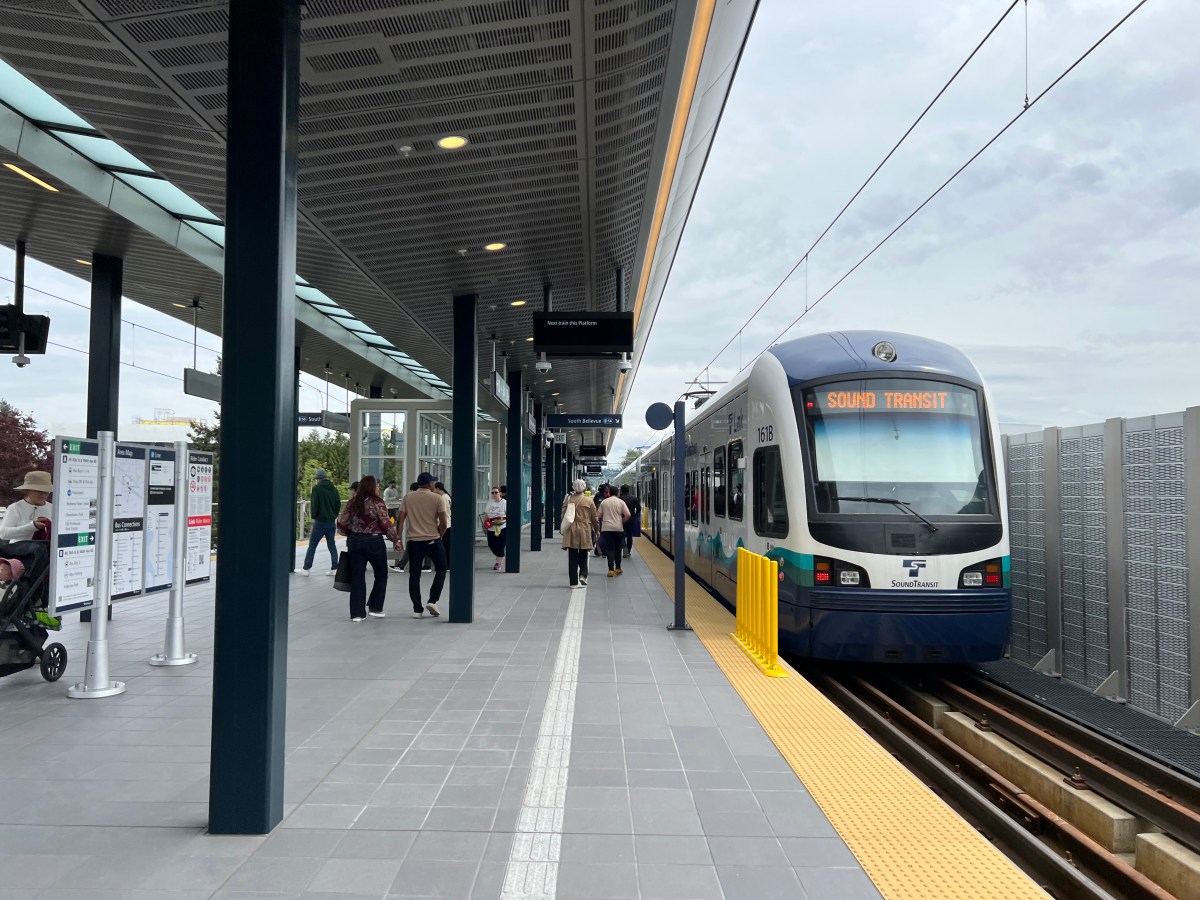
With the opening of the Redmond Station, the commute – even in spite of it being 2 parts still – has dramatically improved. Largely because I can take a significant part of the trip via light rail. That means listening to music, getting some code written, videos watched, maybe edited, AI’s vibe coding, views observed, maybe a snack, some AI models processed, or simply enjoying my coffee while en route to the office.
Sometimes, shockingly, I’ll even meet someone and we’ll have a good solid kick ass conversation while en route! But why am I riding the light rail these days?
How Did I Get Here?
Ok, somewhat dreadfully, based on the Seattle area leadership’s inability to deliver on much of anything promised, the Ballard Link Light Rail didn’t look like it was ever going to happen in my life time (i.e. the next ~20-40 years at least). The house I lived in also wasn’t cutting it, so family deemed a new house was in order and we began to search a few years back.
It was hard going. Forget money even, which is it’s own problem with housing these days, houses just weren’t available. Not with the basic – for us – that put a house into qualifying. The characteristics of the house we wanted, in order of importance;
- being on a trail(s) or dedicated bike infrastructure
- being near park(s) and woodland space
- being away from any primary interstate or highway arterial (preferable to stay away from carcinogens)
- being near transit options to get into and out of Seattle downtown
- being near transit options to get to King St Station and SEATAC and/or other airport with area departure options.
- being away from any primary roadway arterial
- being most quiet
- being walkable (i.e. do sidewalks exist, do business exist?)
- being low crime (honestly, only sort of important in certain ways)
- minimum number of rooms for remote/home work in addition to kiddo space
- no HOA cuz forget that shortsighted self-fascistic nonsense
- MAGAt density is no more than 1 out of 10 (super easy in this area, since low crime areas have very low MAGAt density) **
- minimum ~1600 square feet
- enough land to use for a victory garden (i.e. something like ~200 sq ft minimum, more is better)
Redmond? What? Not intuitive!
Naturally we assumed we could only really get something that would have maybe ~3-5 of these items, and then maybe part of another 5-10. We searched and searched and searched and finally, after offers put in, offers turned down, we finally expanded our search outside of Seattle to some east side locations and landed an offer in Redmond. Somewhat shockingly it has a multitude of these things in full and all of them to a partial degree.
The only things Redmond, outside of its downtown core fails on is a few things;
- Walkability to do anything useful outside of Redmond’s downtown core is questionable and often requires other modal options to complete. However, that said, almost everywhere in Redmond has sidewalks, clear paths, and ways to get places, it just might take 15-45 minutes depending on where one lives.
- Transit options are spectacular if you are in the downtown core. However leaving the downtown core it becomes immediately questionable whether you will have good transit options.
- The light rail, as this post is about, massively changes the dynamic into and out of Redmond, Bellevue, and in about a year – theoretically – into Seattle for the east side. Even without the bridge into Seattle being open, it’s still changed the dynamic of the east side in a very positive way.
- Even though we’re away from primary arterials and highways, interstates, and the like. The roadway system is setup in an auto-focused way that leads people to some expediently stupid behaviors. Negligence and obliviousness – as you might expect – reign supreme with east side drivers. The majority do endeavor to be polite and all but people generally just suck at driving. So YMMV in your automotive driver interactions.
With that being the baseline we have ended up over here in Redmond. So far it’s actually pretty sweet, more so than I thought when we first made the decision and landed the house. Simply put, we live a very European style life over here in Redmond and recently I’ve started commuting to a downtown Seattle office.
Back to The Topic At Hand: Link Light Rail Line 2
My commute now ends up being an interesting and enjoyable string of modal options.
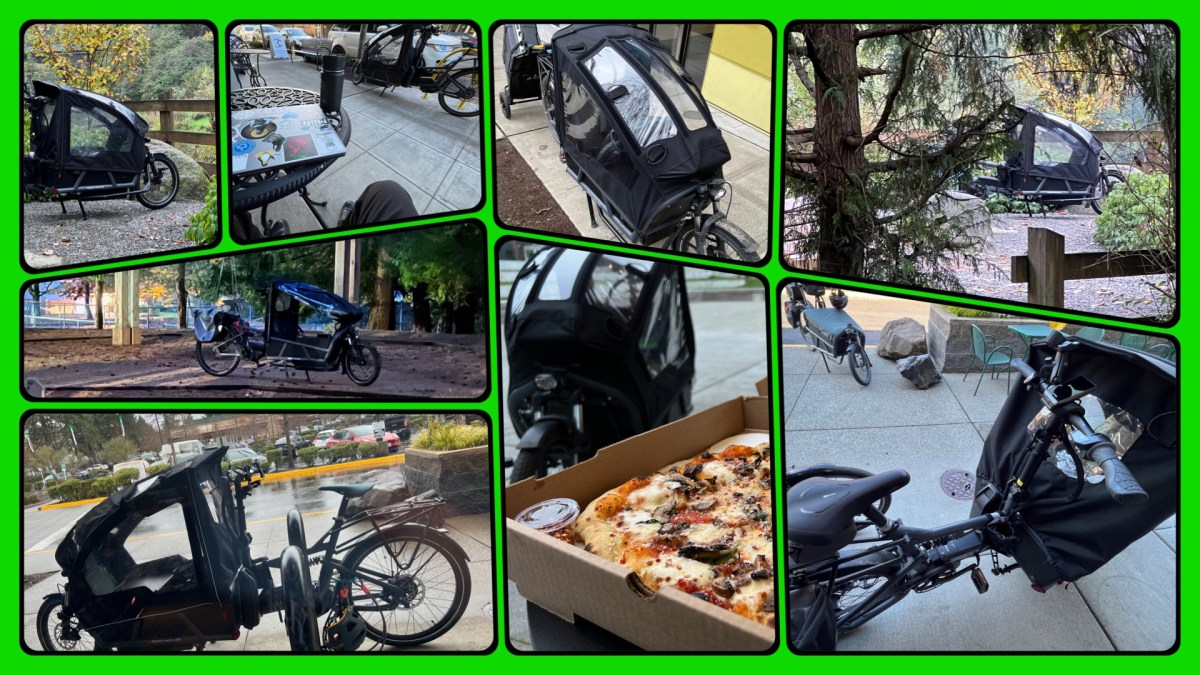
1st – To get to the Link station, I come down from the Redmond hills via bike. There I roll into the now open station, swipe my Orca Card, bump the elevator button and up I go to board the Link.
2nd – Upon boarding the Link I rack the bike. Extremely easy to do since this is the originating station and I generally board a train that has few people on it at its start. Then off we zip toward the – current – other end of the line in South Bellevue. During this segment of the trip I take a seat and out comes the laptop. As mentioned earlier in the post the code, videos, editing, or other activities ensue. After the short trip as we leave the stop just before South Bellevue I slip the laptop back into my pack, and unrack the bike for departure. Upon an elevator ride down, I roll over to wait for the arrival of the Seattle bound Sound Transit Express 550.
3rd – The bus fills the current gap while they wrap up construction work on the I-90. The 550 serves the purpose well, and it isn’t overly packed. This puts me in a position to whip the laptop back out and spend a little more time getting shit done, reading, or whatever I may. Upon arrival in downtown I alight the bus, unrack my bike, and then begin the last short segment to the office.
4th – I then enjoy this last segment riding Spacey to the office. It’s always a smooth, seamless, trip around and along various roads and bike infra in downtown. I tend to change up the route just a bit every time I take the trip.
That’s it. That’s my commute these days, and hot damn it’s an enjoyable one! This time of year especially as the weather gets nice and I’m a quick roll – amidst the hilarious insanity of the car oriented commute – to breweries, the epic Seattle waterfront, and other places to chill before the trip home.
More adventures, thoughts, and interludes of written words in the coming days and weeks. Hope your commute rocks, or if you don’t, that you’ve got an enjoyable day to day. Cheers!
** MAGA specifically. Not a fan of confused fascists. I realize this does not include general Republicans or conservatives, especially of the Reagan, Eisenhower, or even Lincoln variety. Since obviously, none of those Presidents were fascists, maybe shitty, but not wannabe fascists.