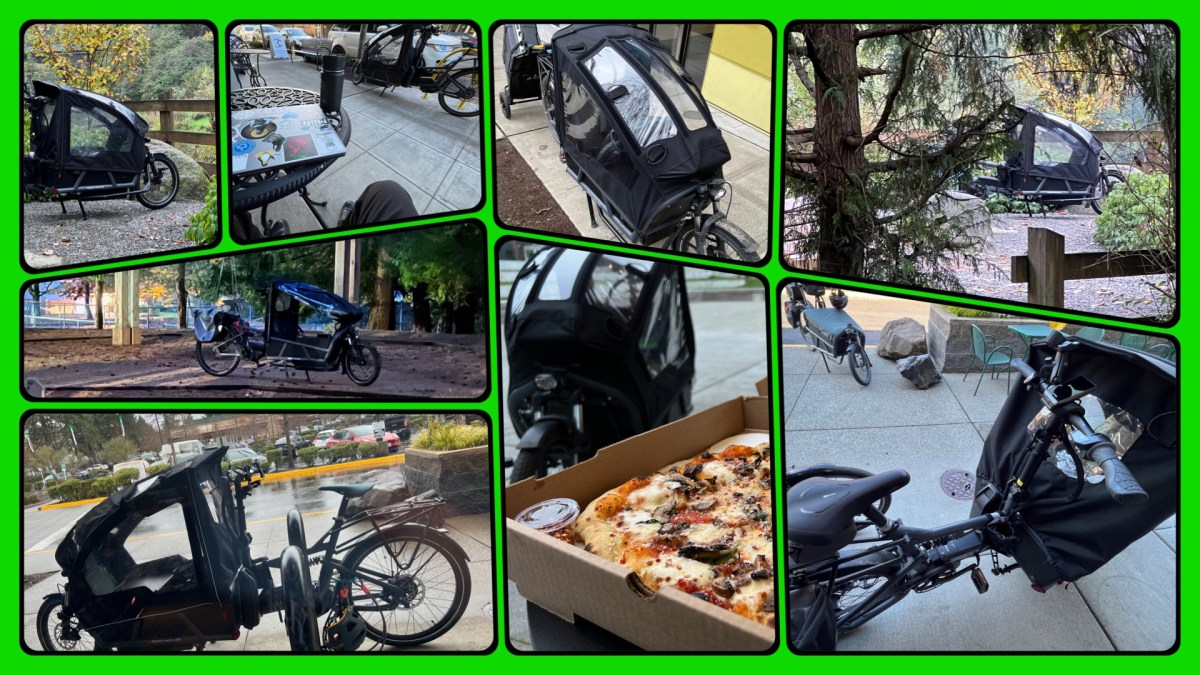
Recently I was out running errands on my R & M Load 75. I’d stopped by my storage unit to drop off a few crates of things that didn’t need to be sitting around my garage. Then I’d headed over to Village Square Cafe for a diner like breakfast.
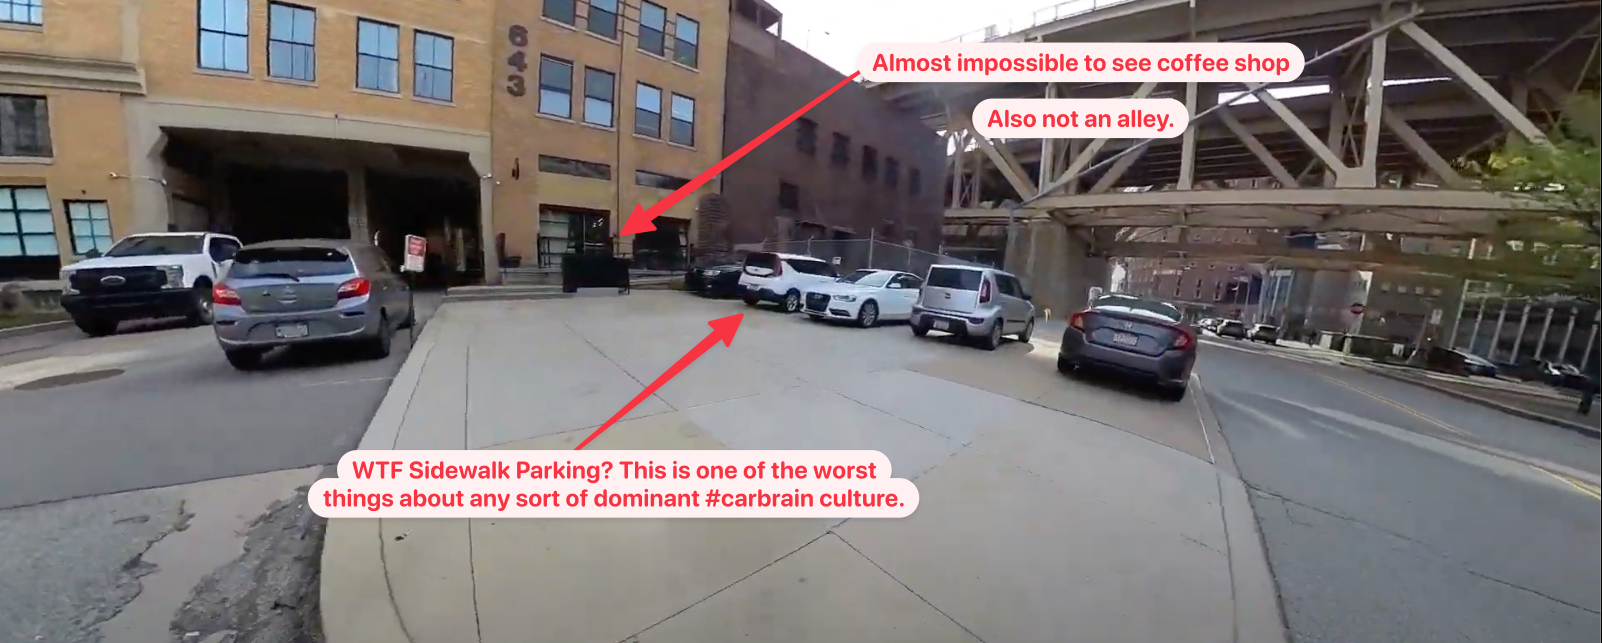
Then went about seeing if I could find a plugin somewhere to charge my bike, as my charge was low. I had my spare battery set just for good measure, but I was down to ~35% because I’d forgotten to charge the bike earlier the previous night. So I didn’t technically need a charge but I figured it would be nice to charge up if I could. Albeit, something I’m astutely aware of now, is that there are next to zero publicly accessible outlets in Redmond. Not really surprising, electricity isn’t cheap, but I was sure I’d seen a few I could *borrow* a charge from. 😬
In the end, that would be kind of stealing, but places also let you easily charge your laptop, albeit that’s negligible vs. two monster bike batteries. Still not charging an excessive multi-ton car, but substantially more than I presume most places to want to offer for free.
Anyway, I didn’t find one but I did go rolling into the Town Center and met Nina (Spelling?) as she walked right up to me and inquired about the R&M Load 75. After discussing for a few minutes I hope to see her riding about on a new Load 75 in the near future with her kiddo! It’d be great to have more company over here on the east side in the bakfiets community!
On that note, I’m going to finally get around to setting up a bakfiets meet here on the east side, stay tuned over @ https://bakfiets.bike/ to get that notification (i.e. subscribe for email and you’ll get notified in your inbox). So far this year has started off a bit nuts and with the closure of G&O a few months ago it really threw me off for starting the bakfiets meets!
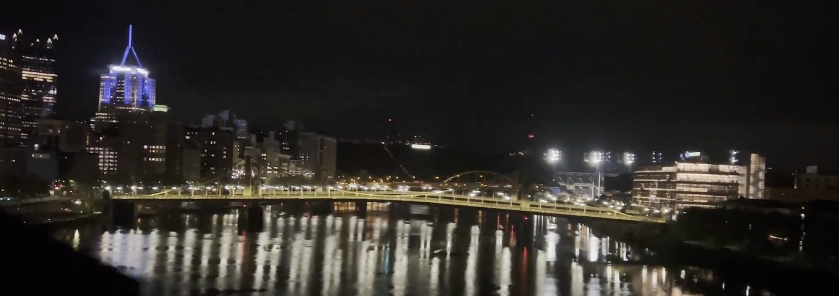
Eastside Link Light Rail
One of the places I’ve started frequenting to work in, as it’s nice and large, plenty of seats, is the Dote at Redmond Technology Station. Two issues, which is kind of standard for Microsoft, is that they get places like this on campus but then don’t really truly open them up to the public. They don’t offer a public wifi but sometimes have the public Microsoft account that you can use. But that’s a bit sketch, to which hopefully Microsoft sorts that out with the private businesses that they invite onto campus to operate but then make them operate as pseudo private establishments. A coffee shop in this modern era has wifi, so come on Microsoft, let em’ have truly public usable wifi!
But I digress, wifi aside, it’s a really interesting location. Super chill to work there, however I am concerned it stays open over time considering the current state of light rail opening (it’s partially open).
The starter line, as it has been dubbed, runs from Redmond Technology Station to Bellevue South. The key population center it runs through is Bellevue, which provides some anchor to a degree, albeit very few people seem ready to use it in Bellevue and as many in the area know, Bellevue is about as auto-dependent and pedestrian friendly as a parking lot. There are parts of it that are nice but overall it isn’t really acclimate to walking or to using transit, sadly enough. It’ll get there one day, considering the transit center and routes, but overall the people here are a bit myopic about the whole situation – so far.
That’s it for today’s thoughts, back into introspection.