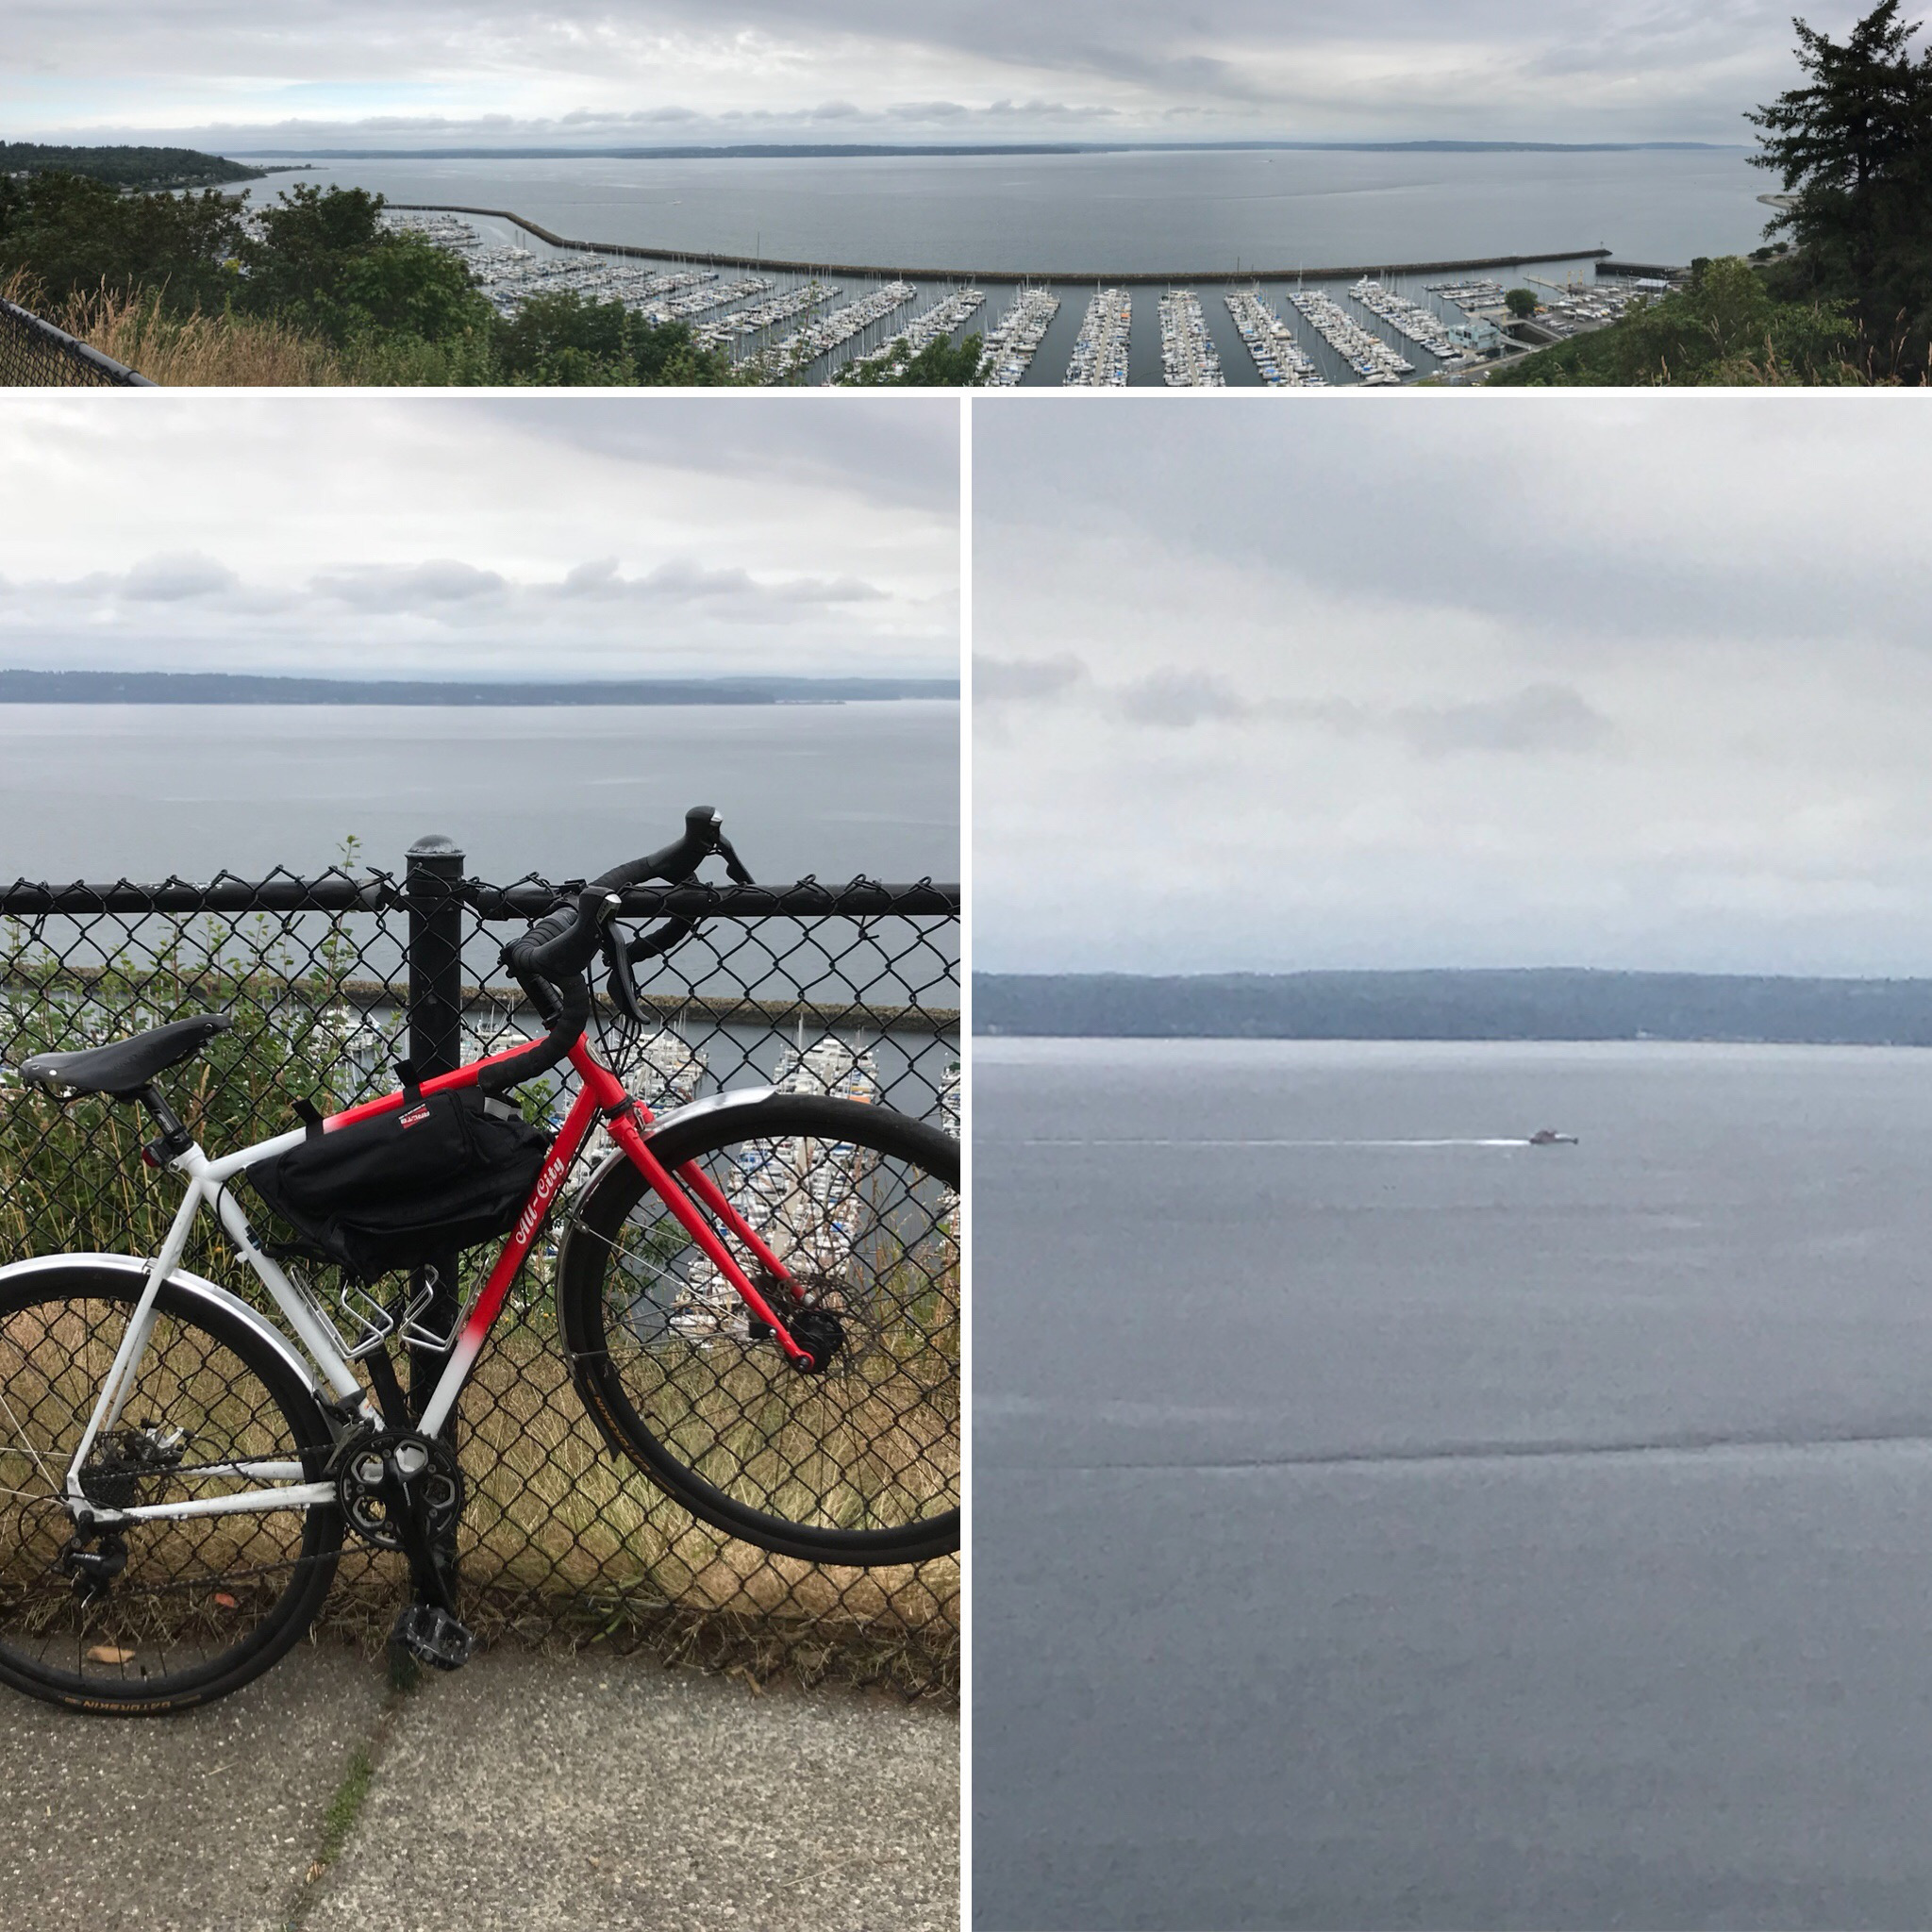
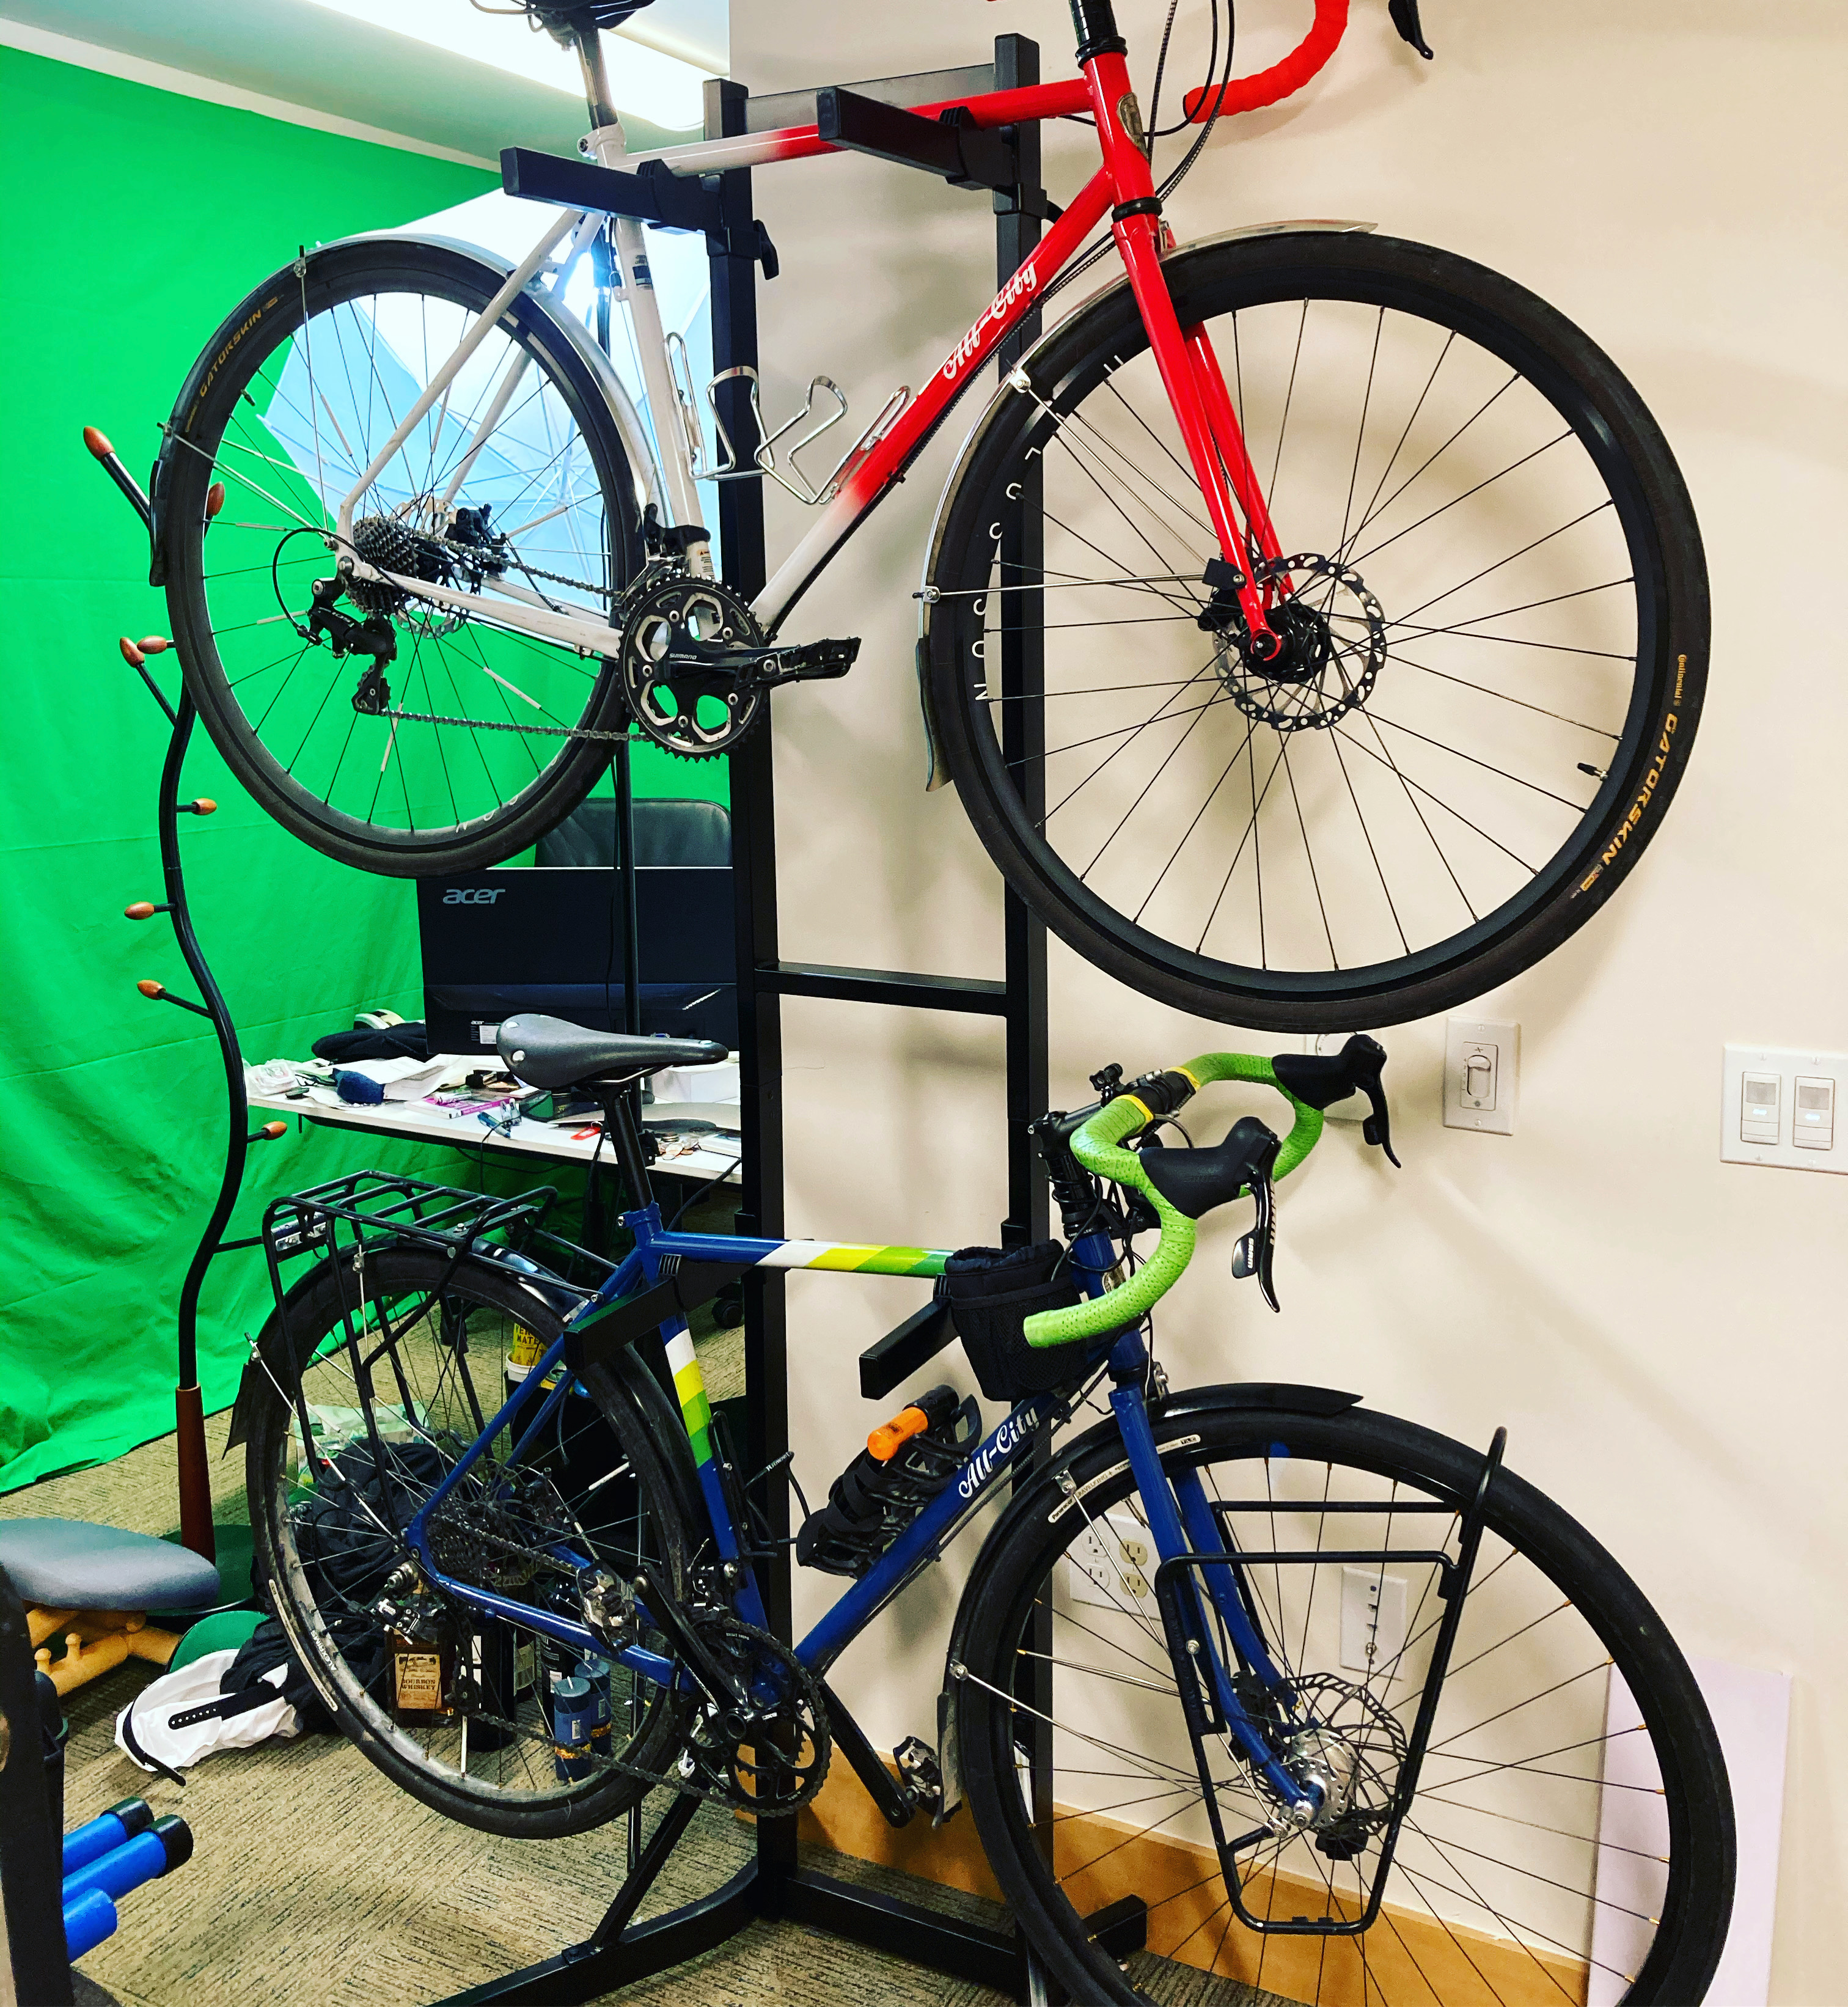
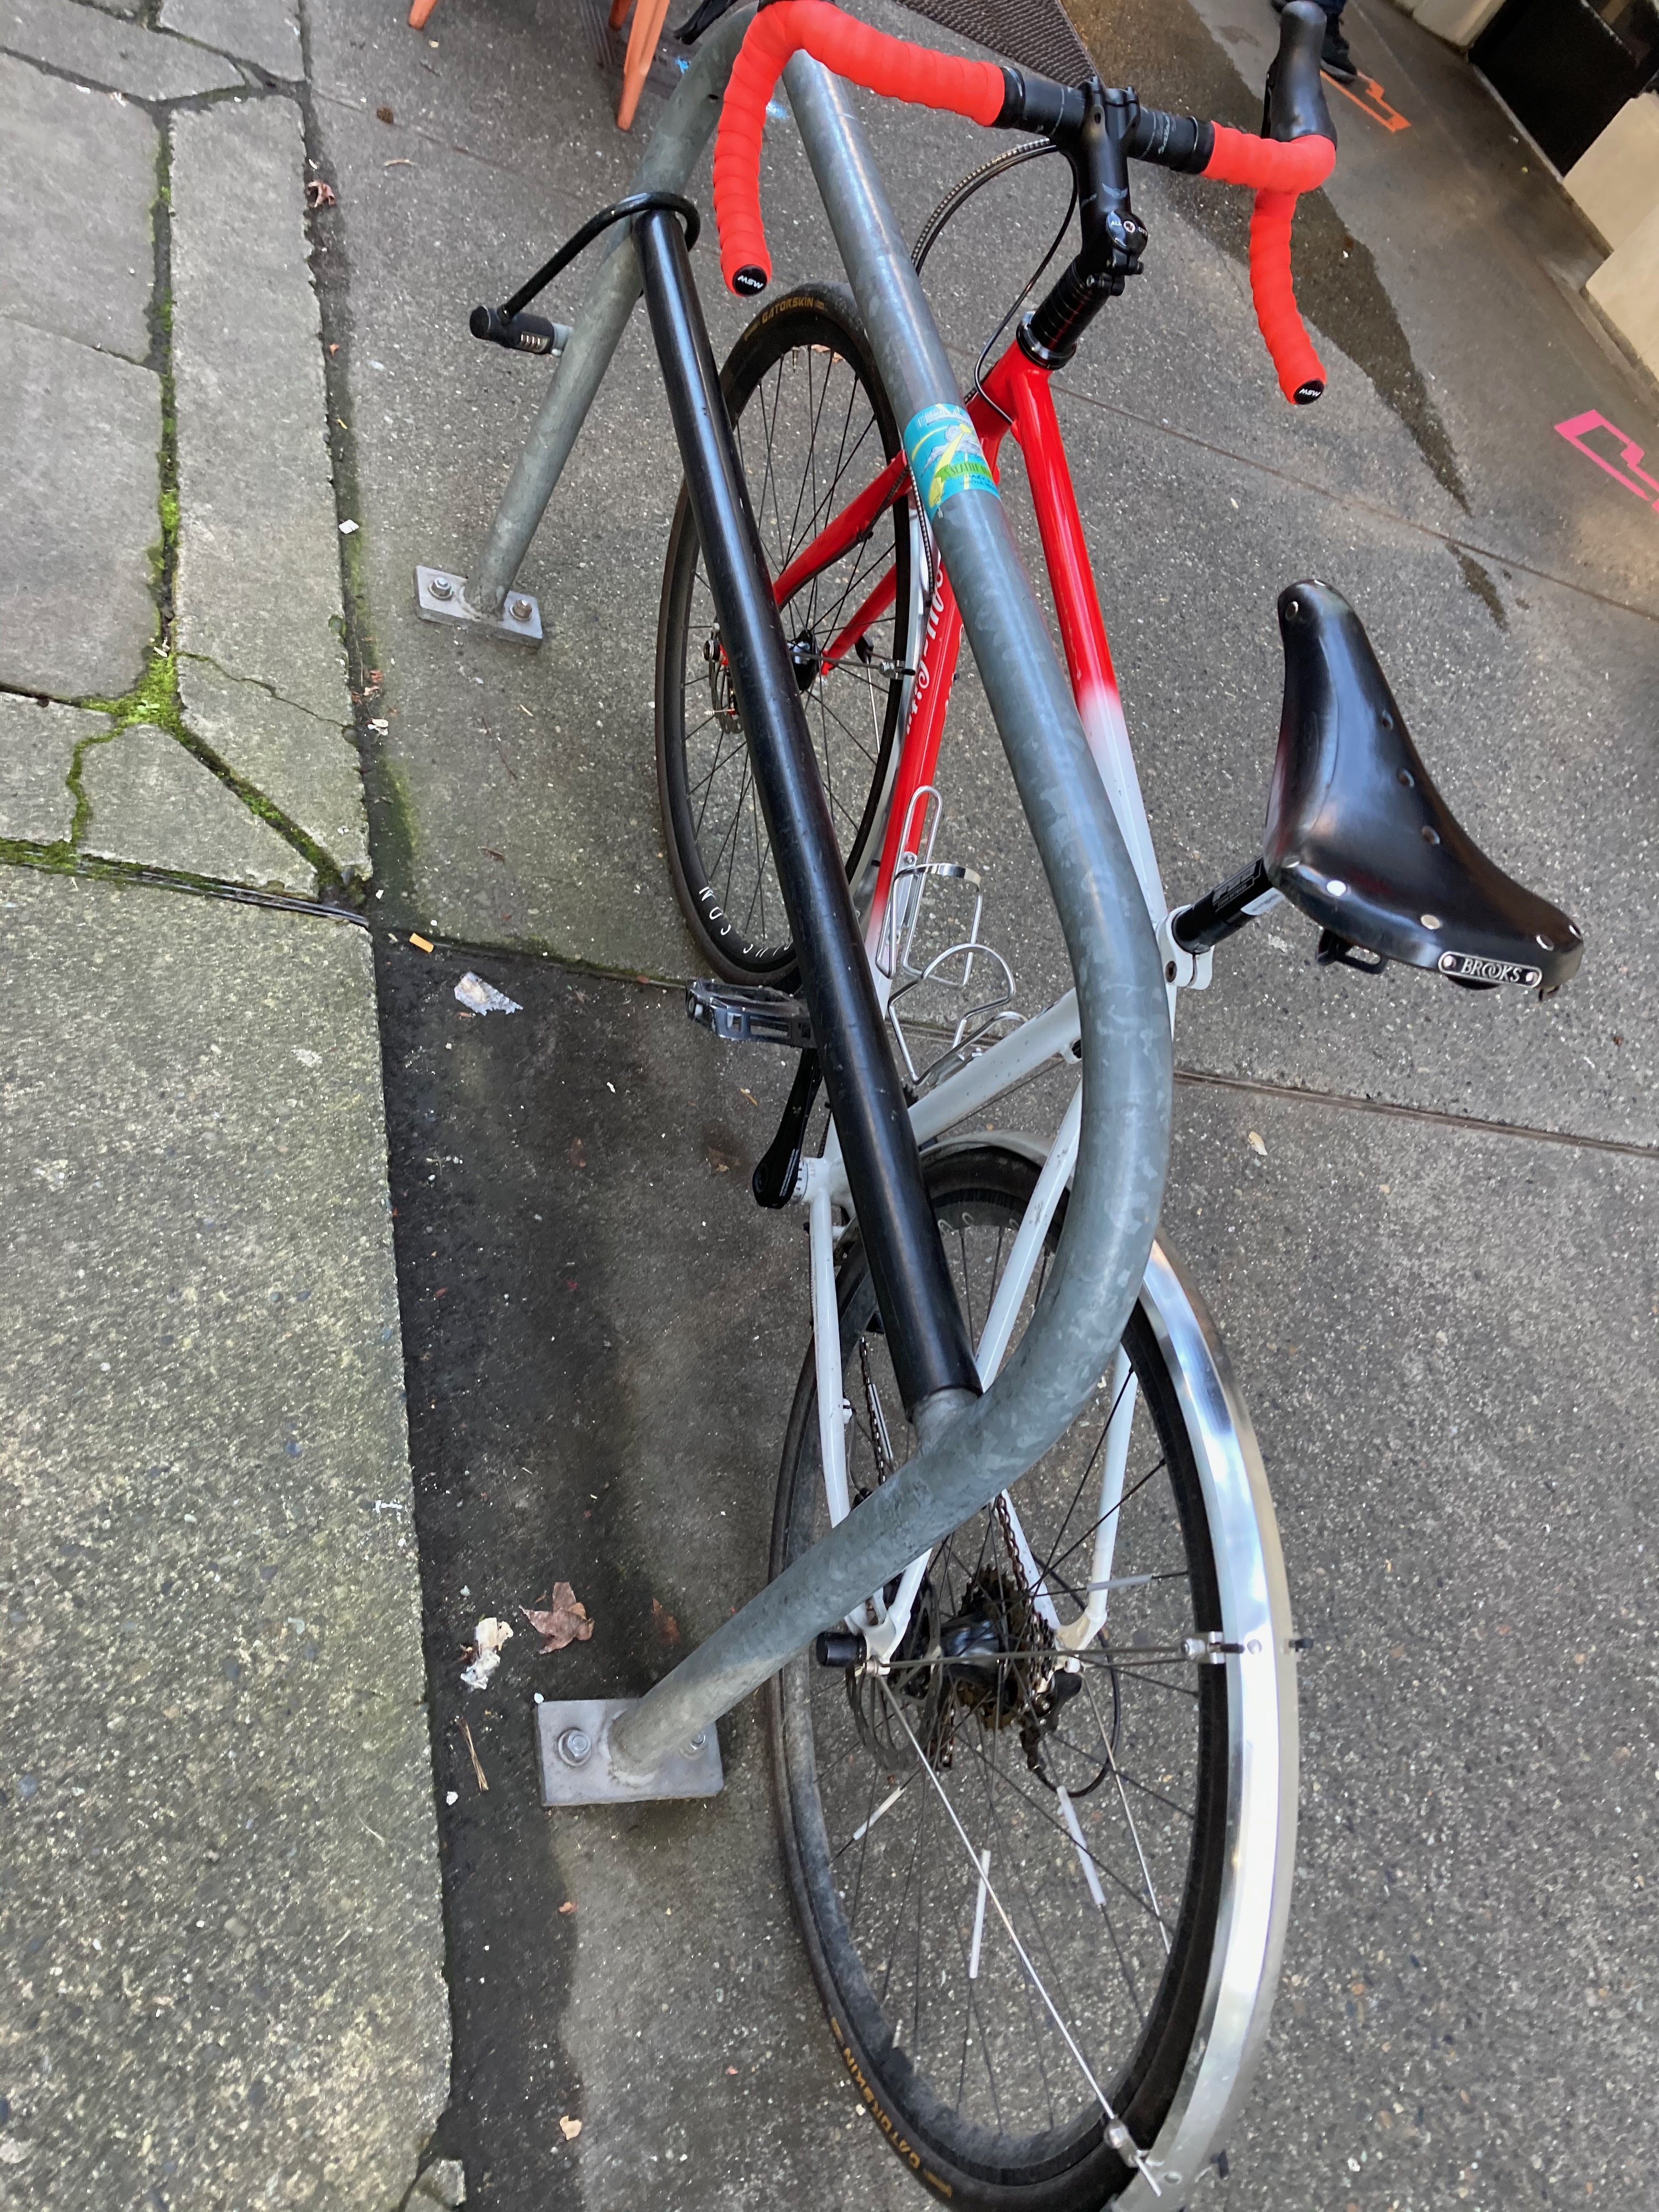
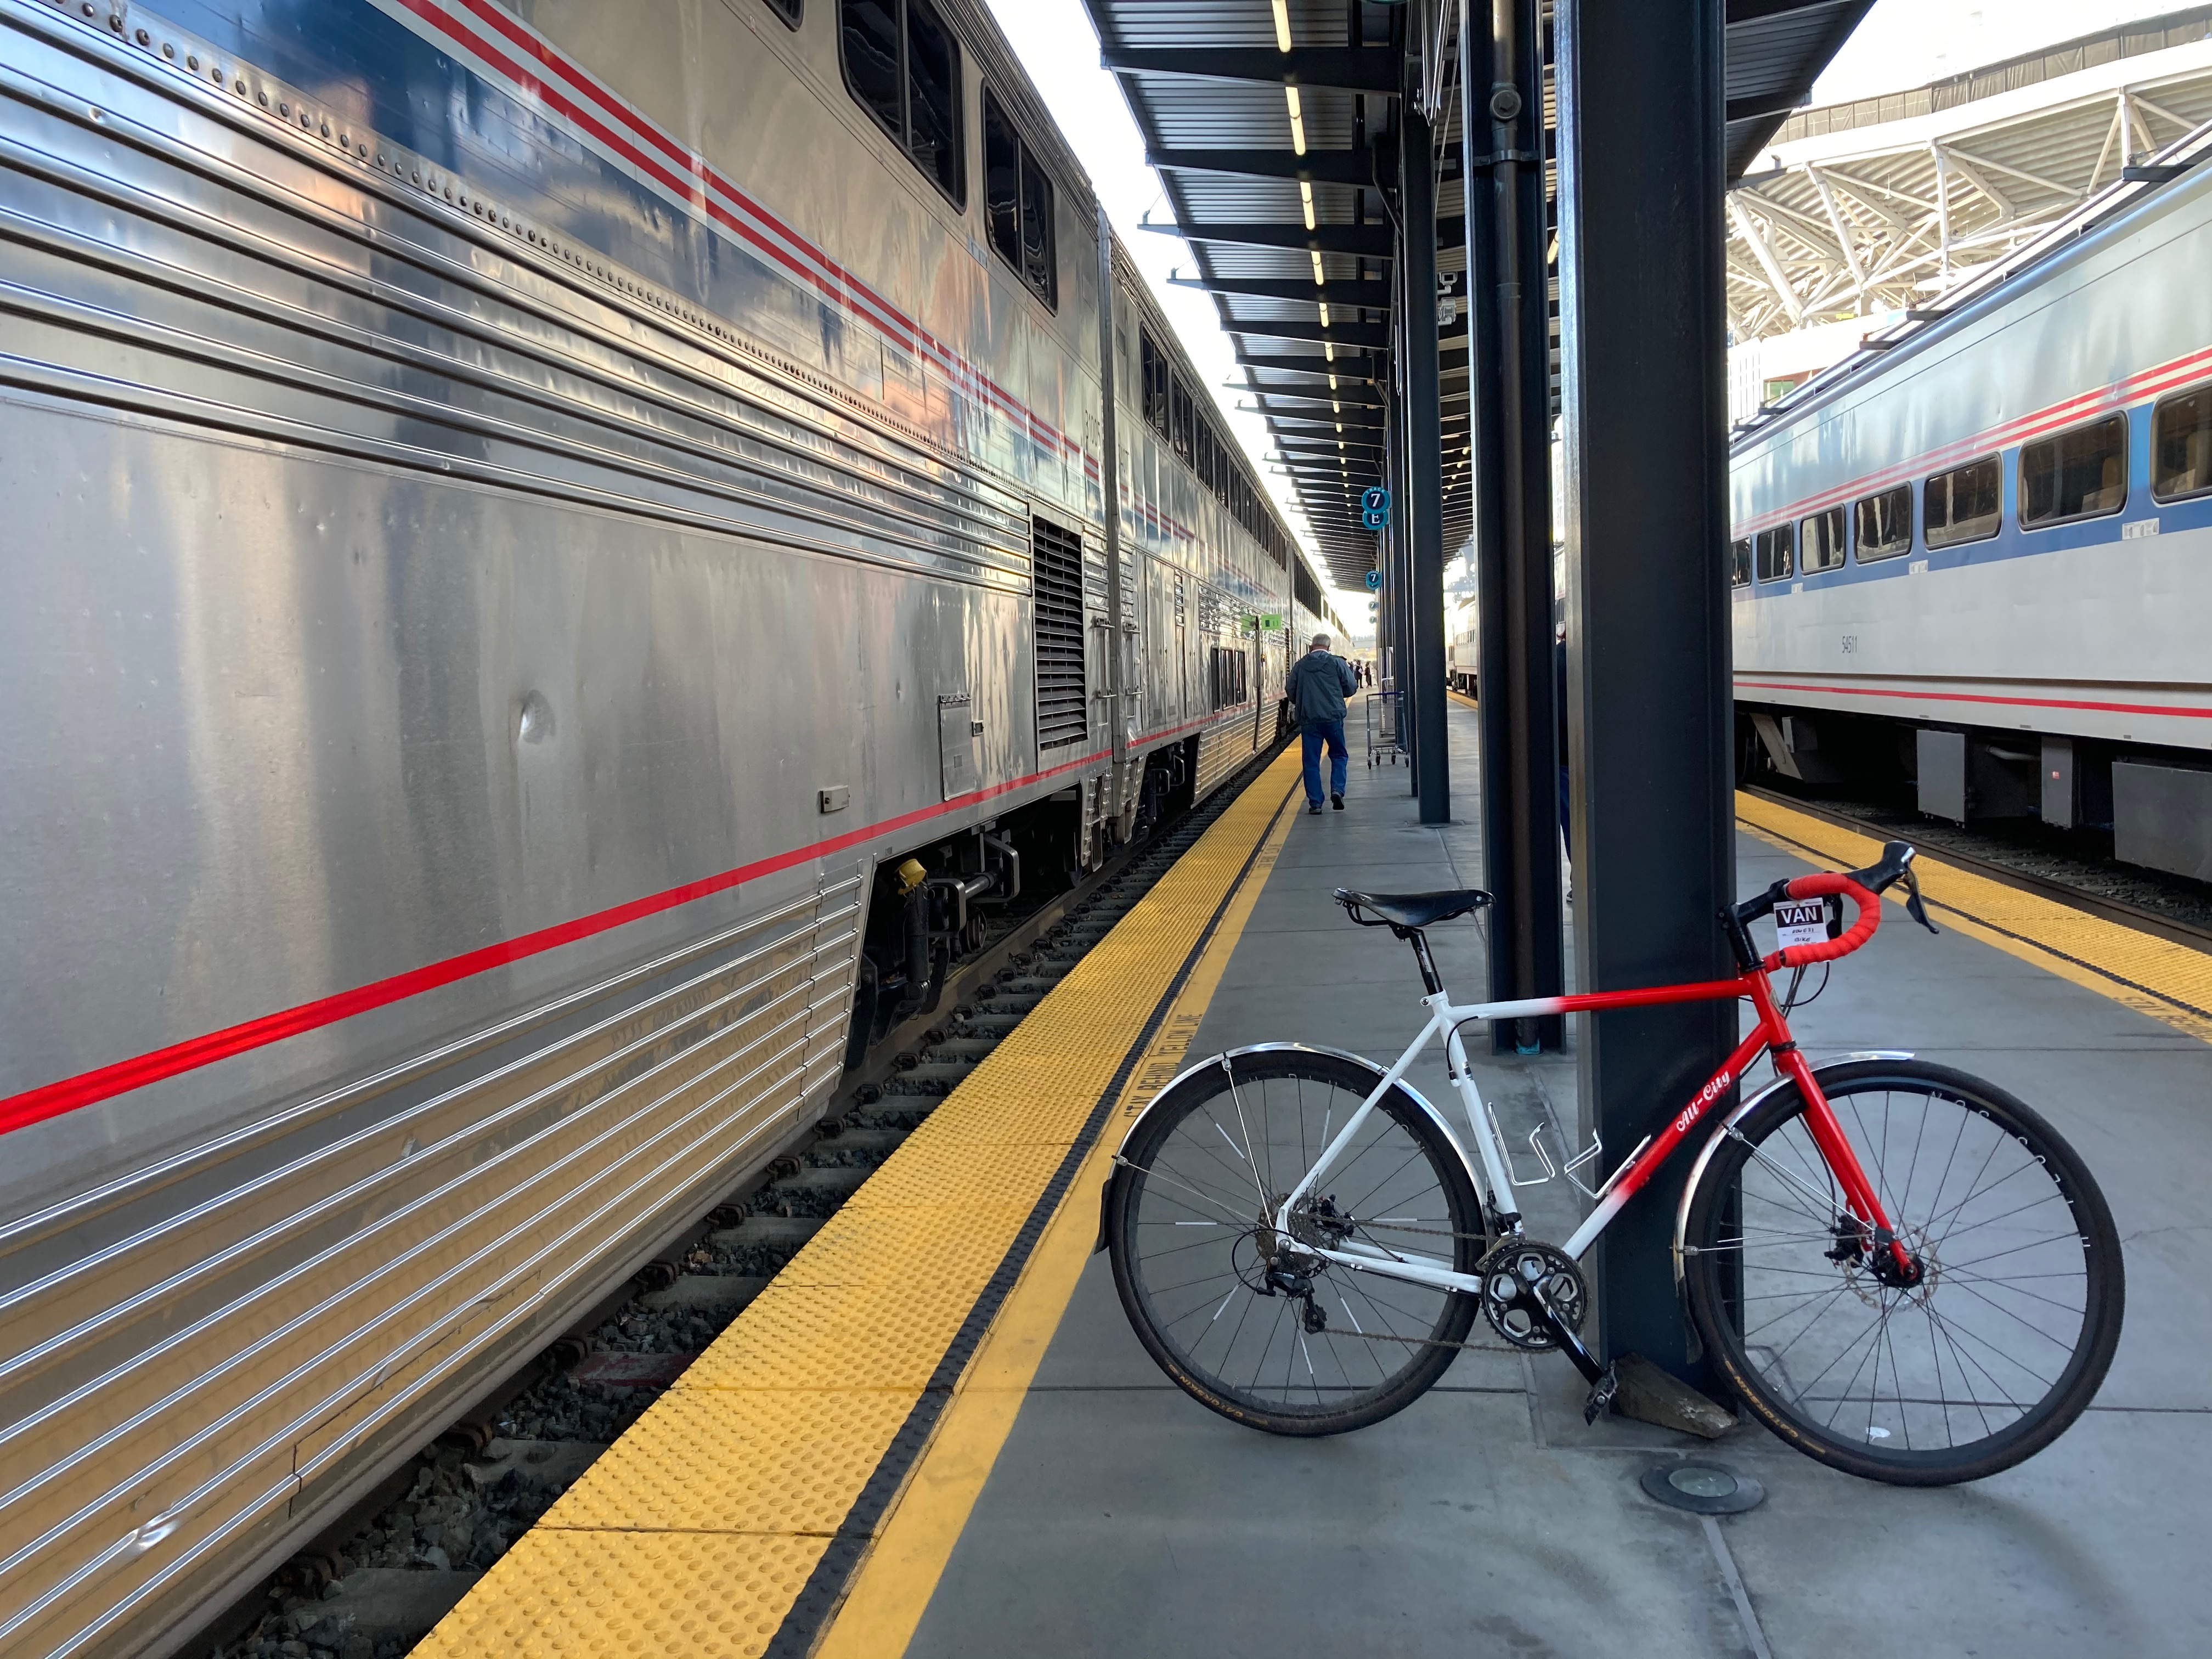
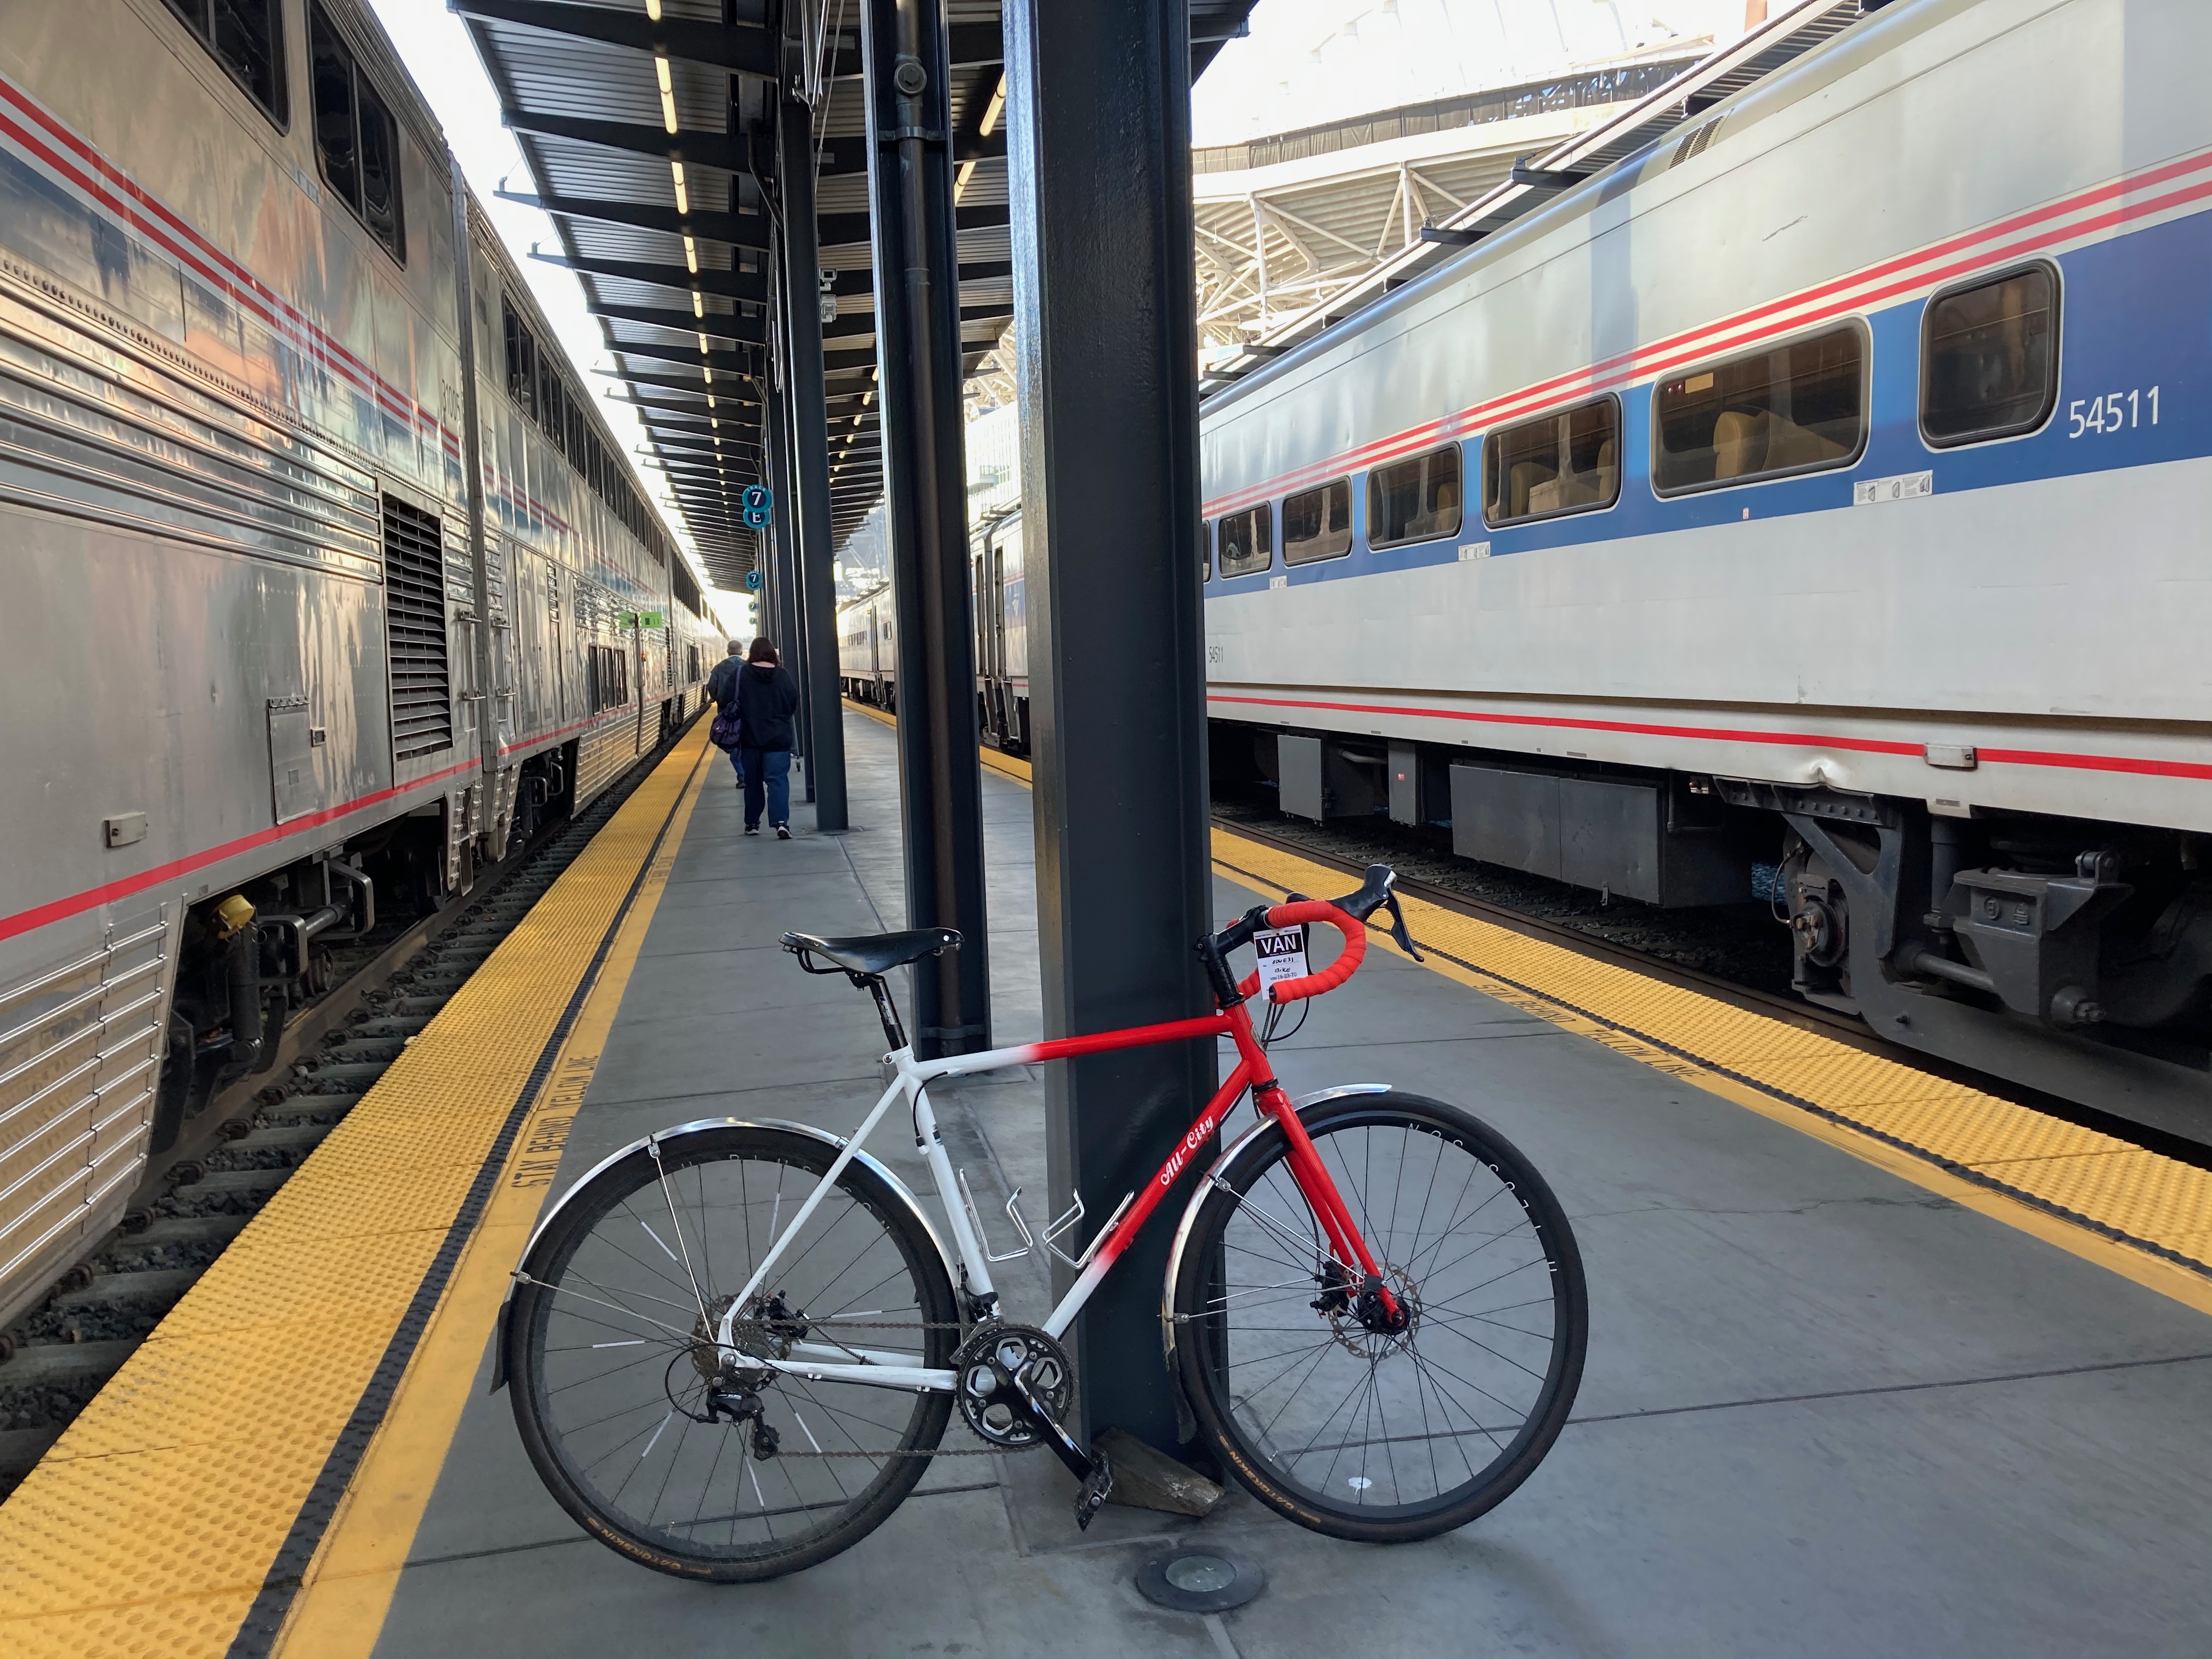
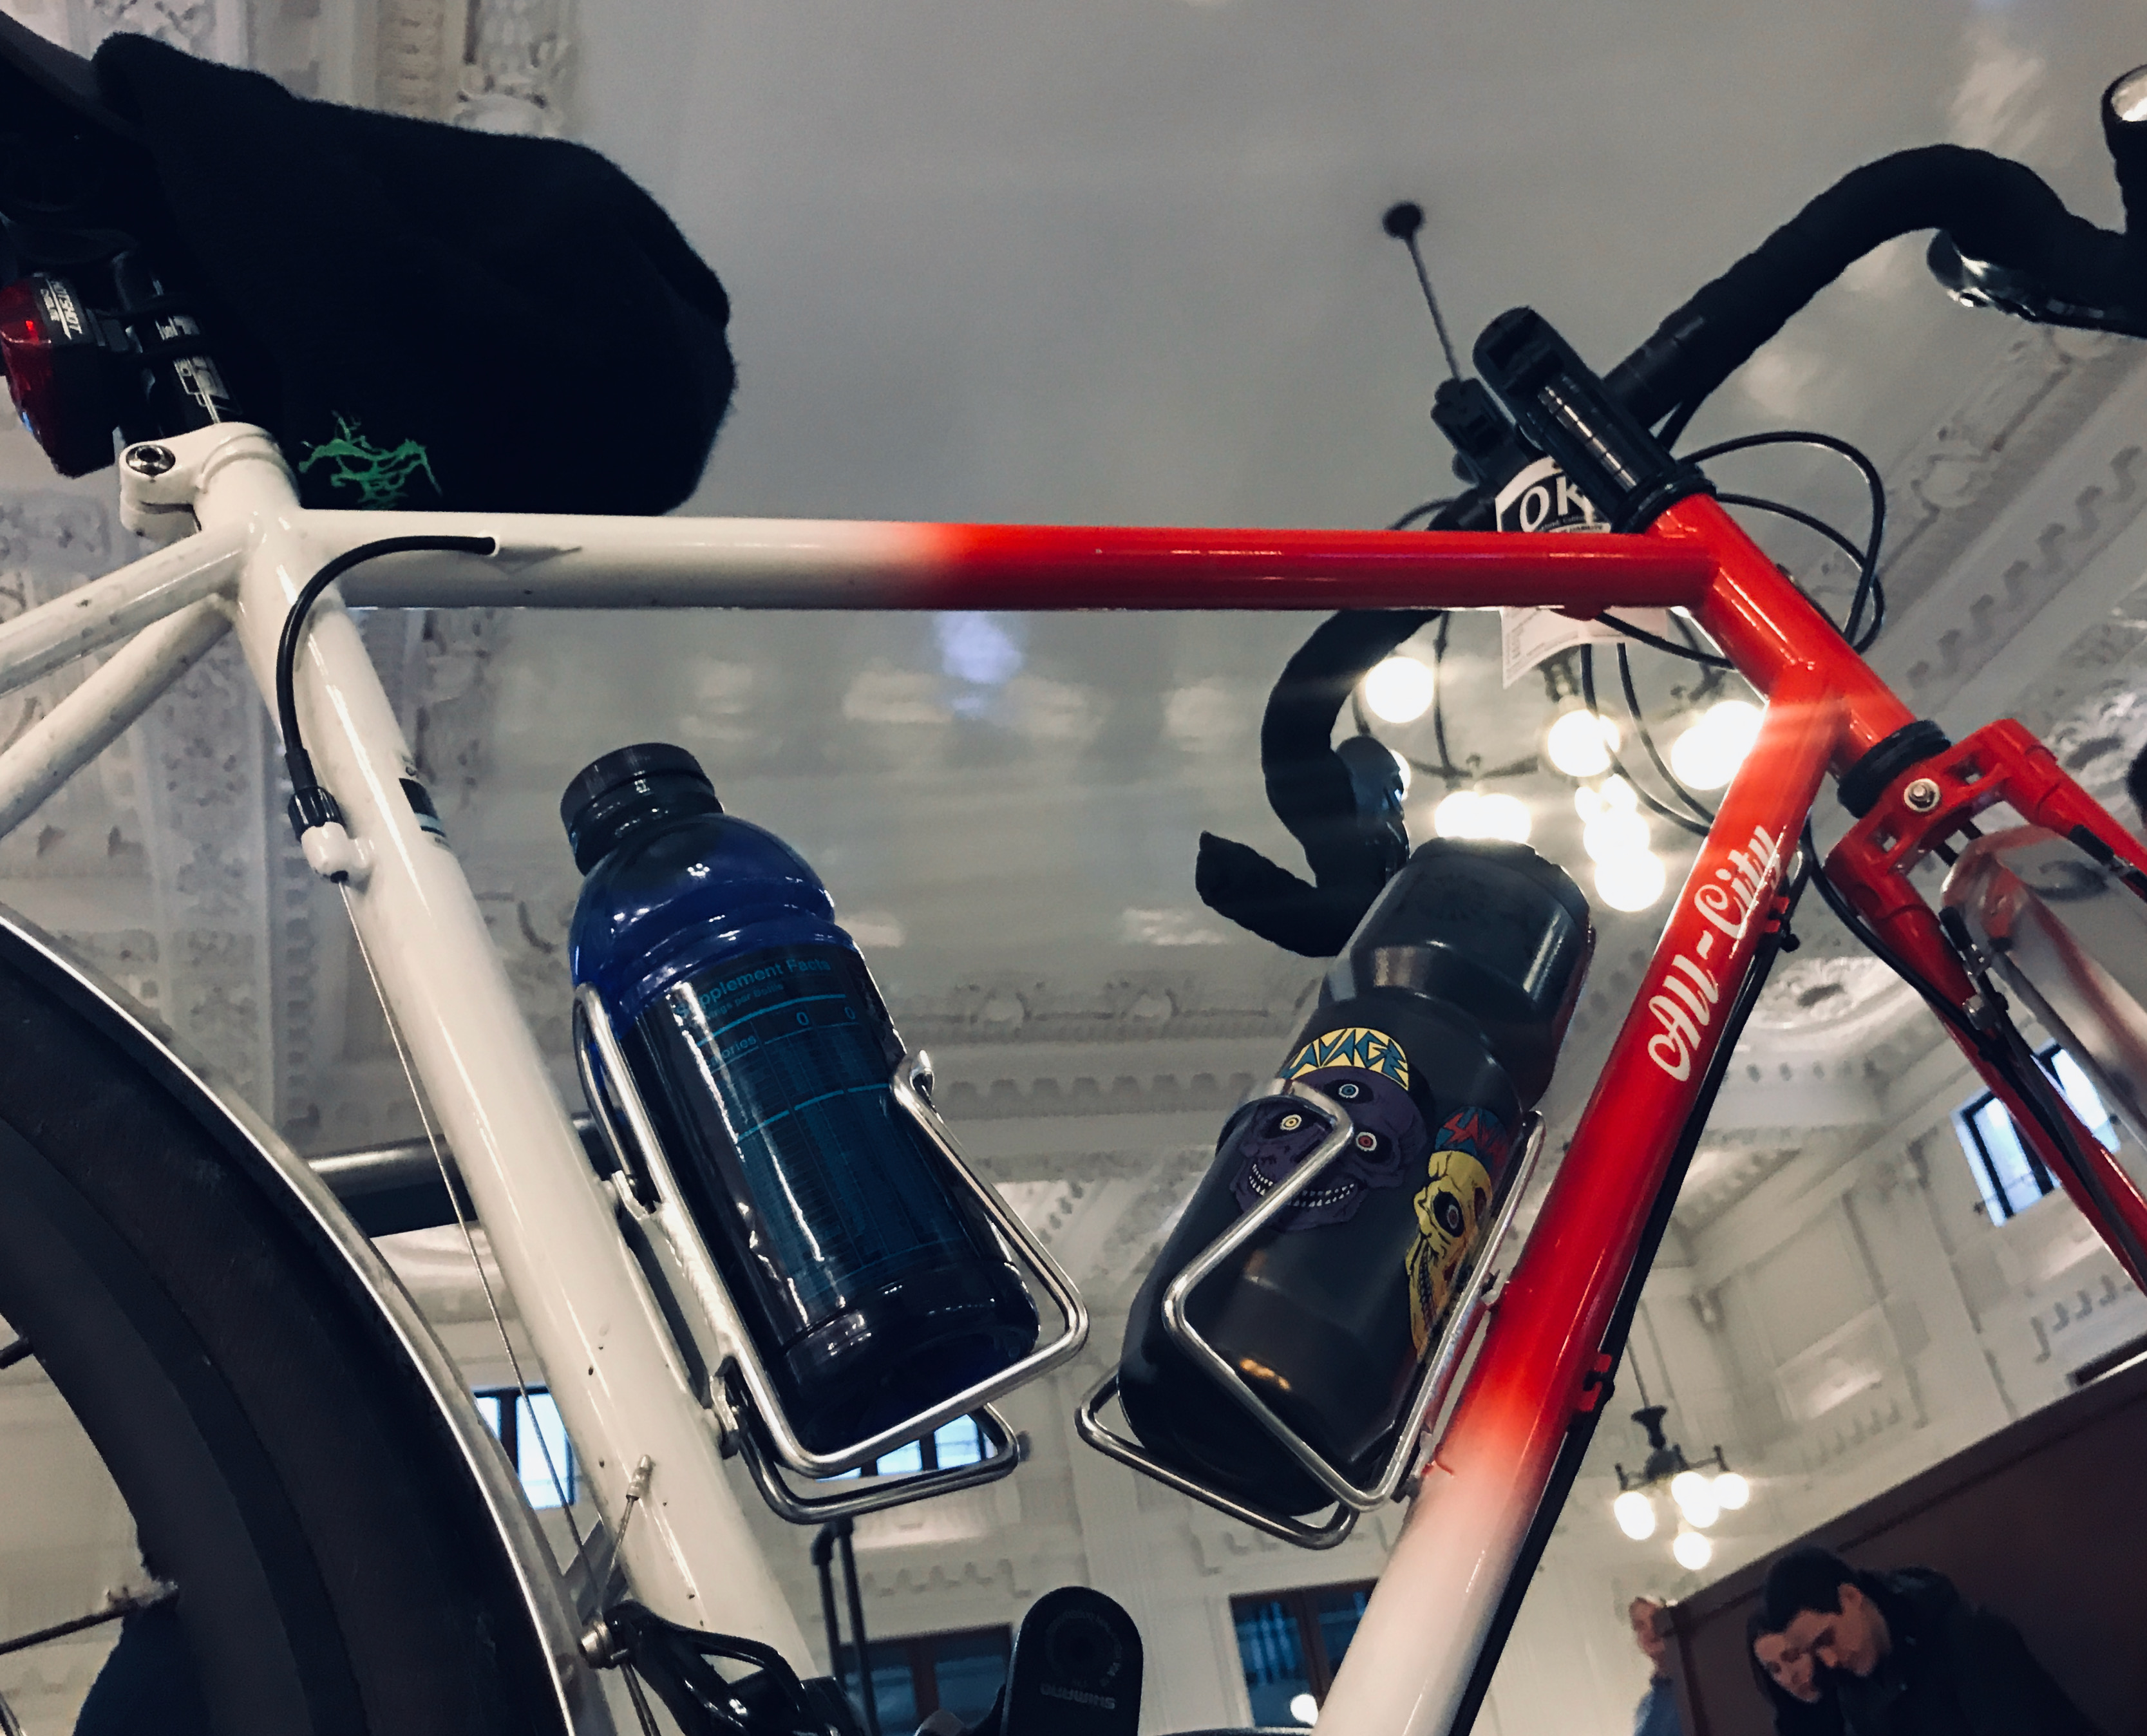
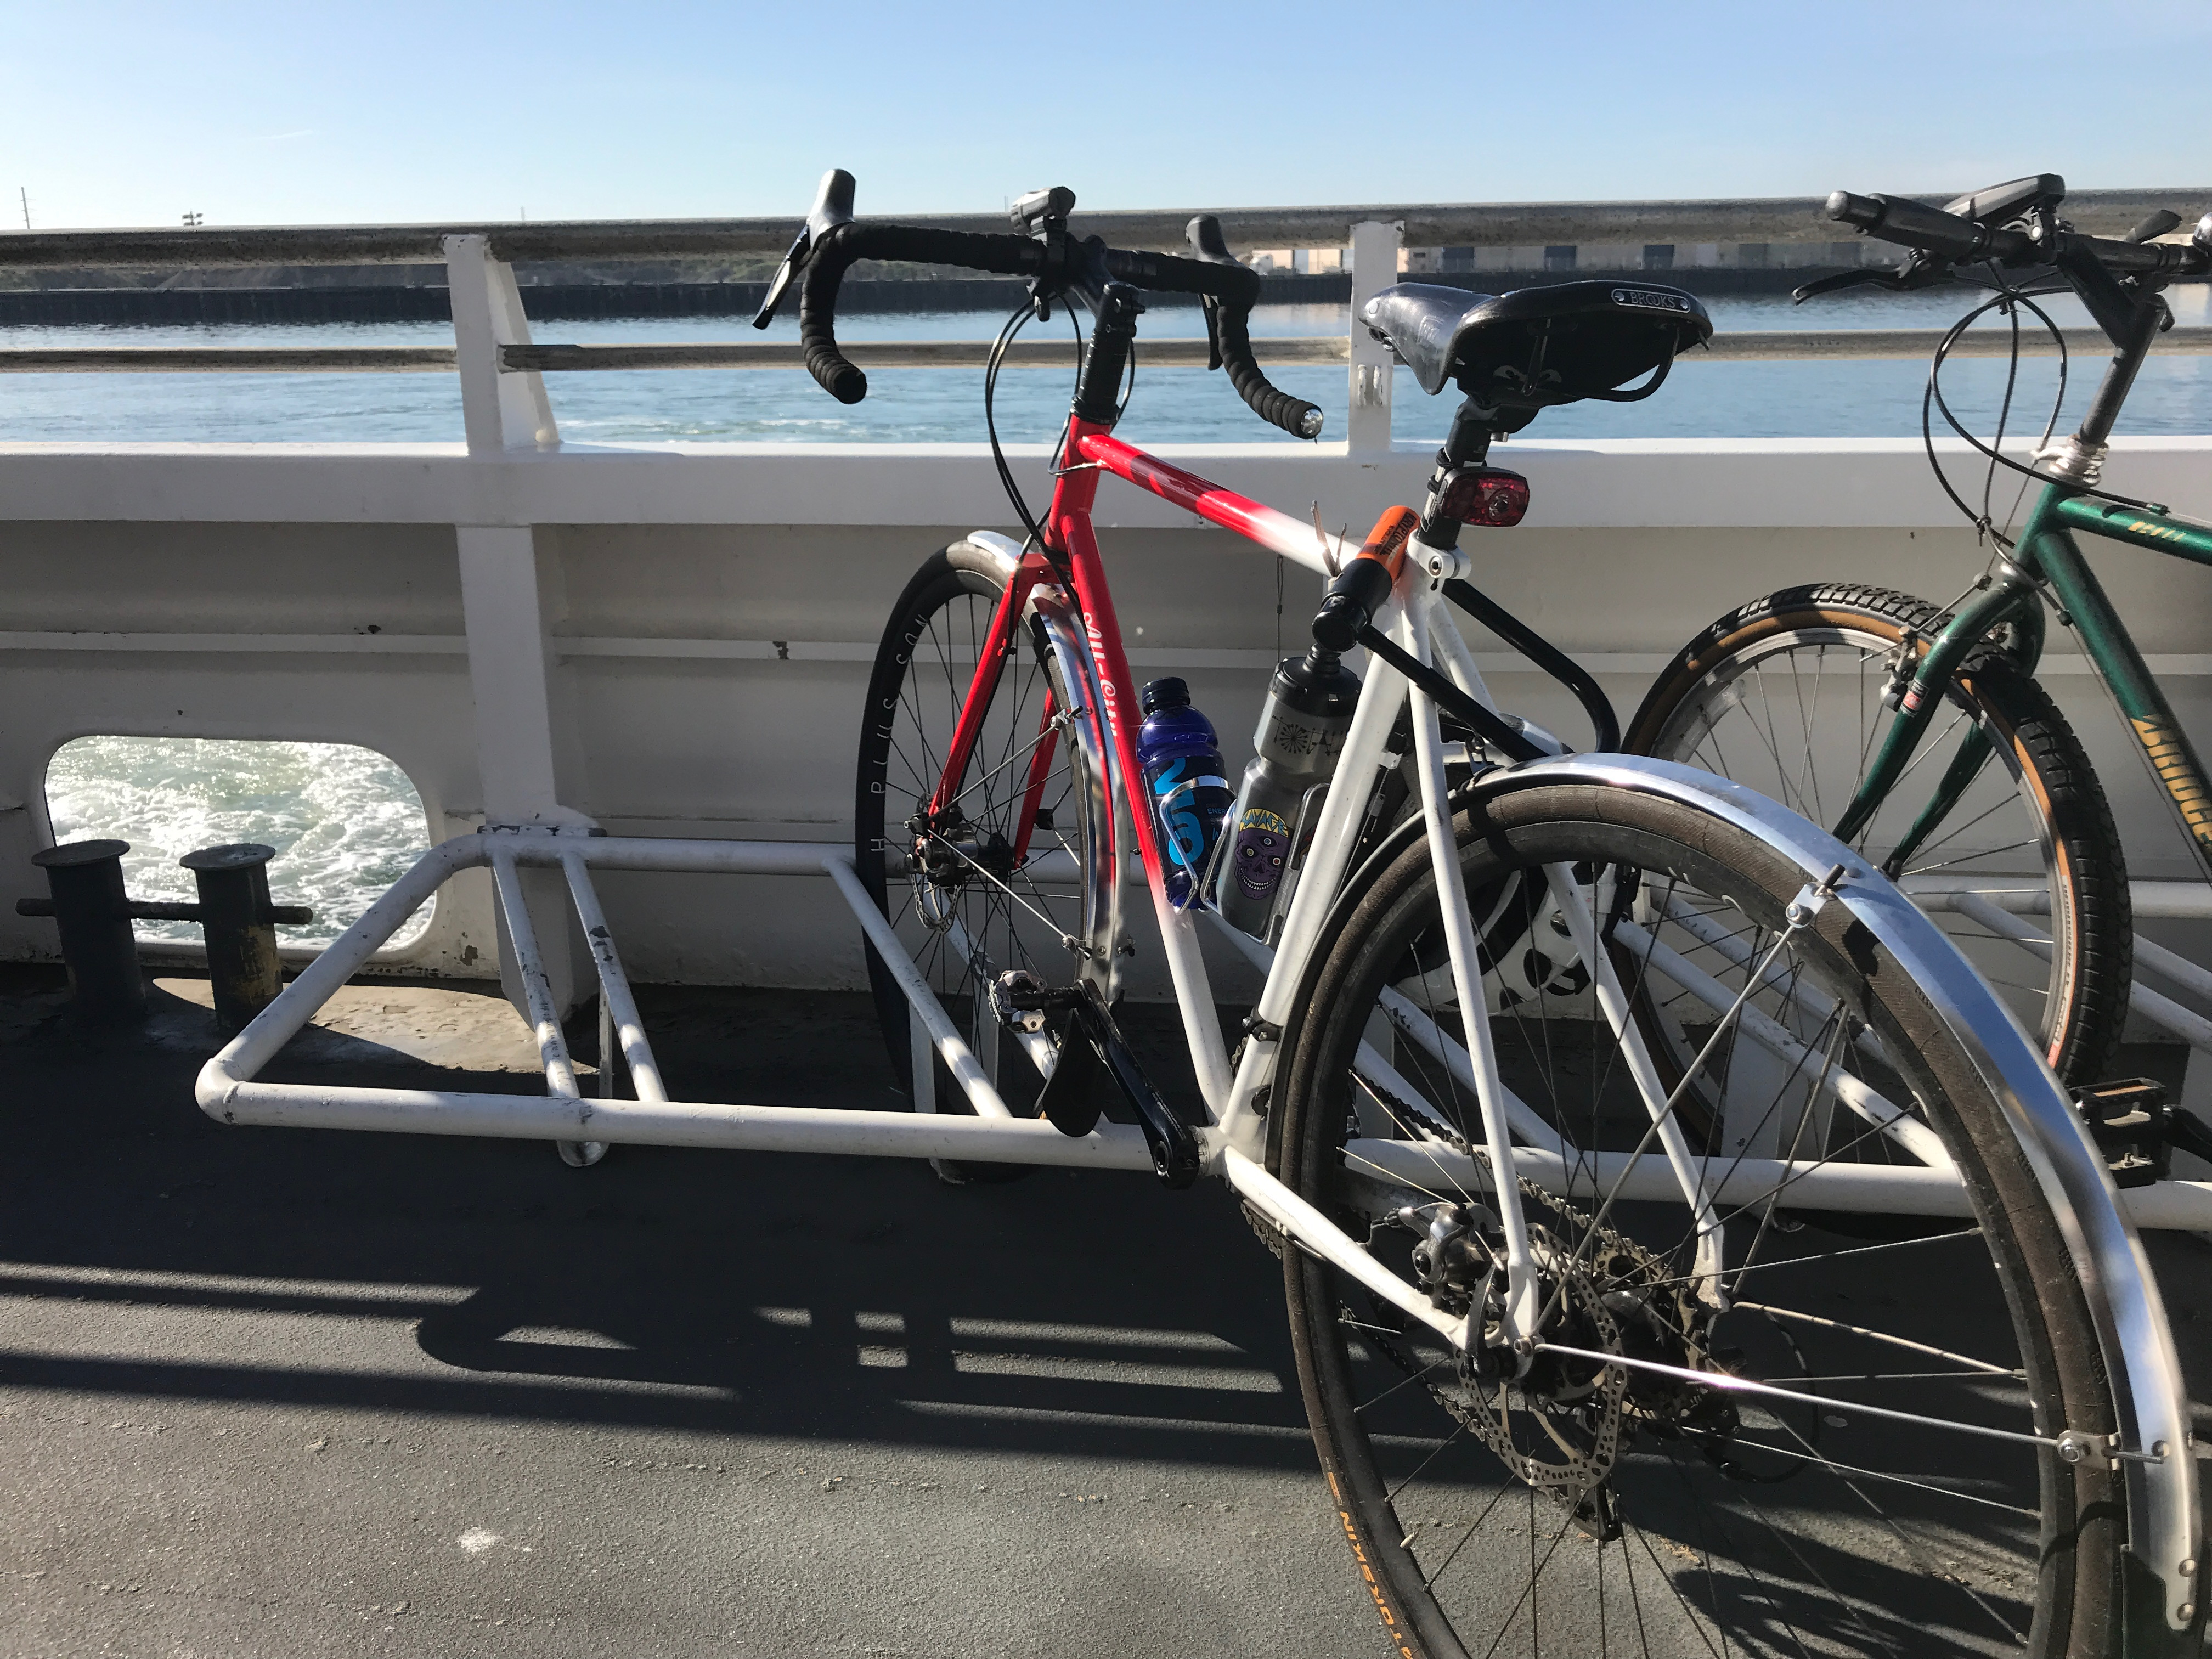
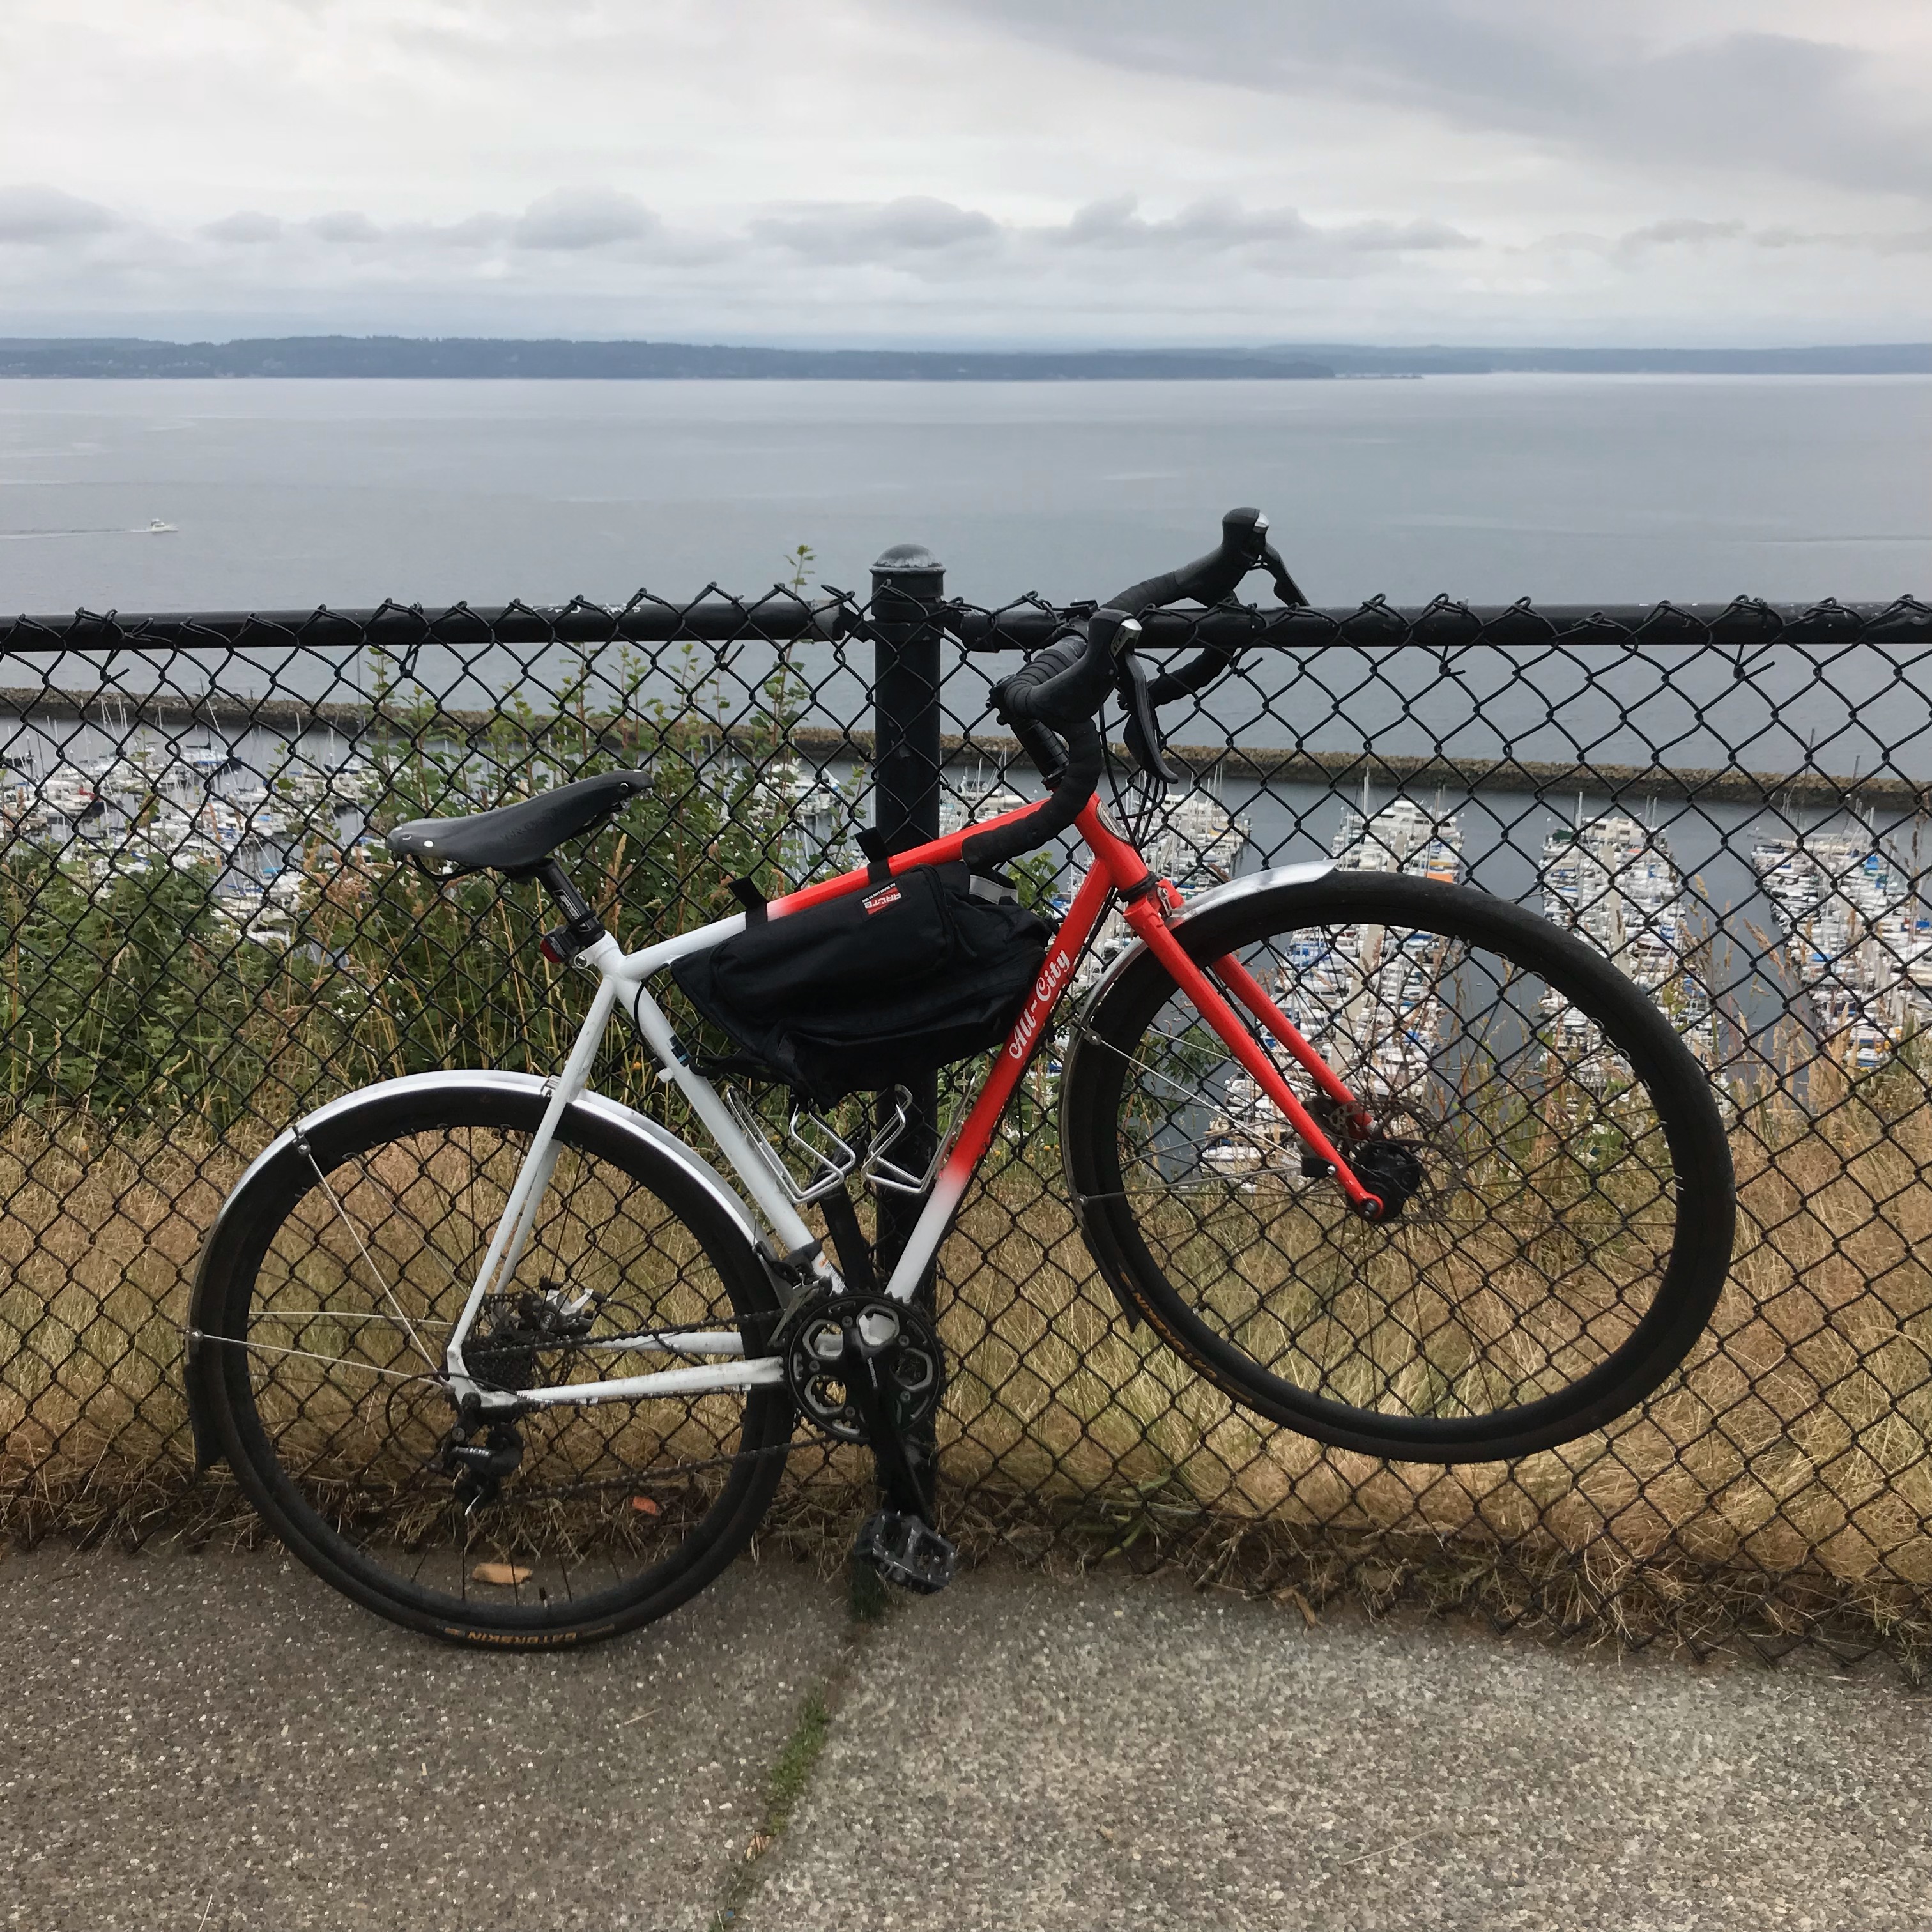
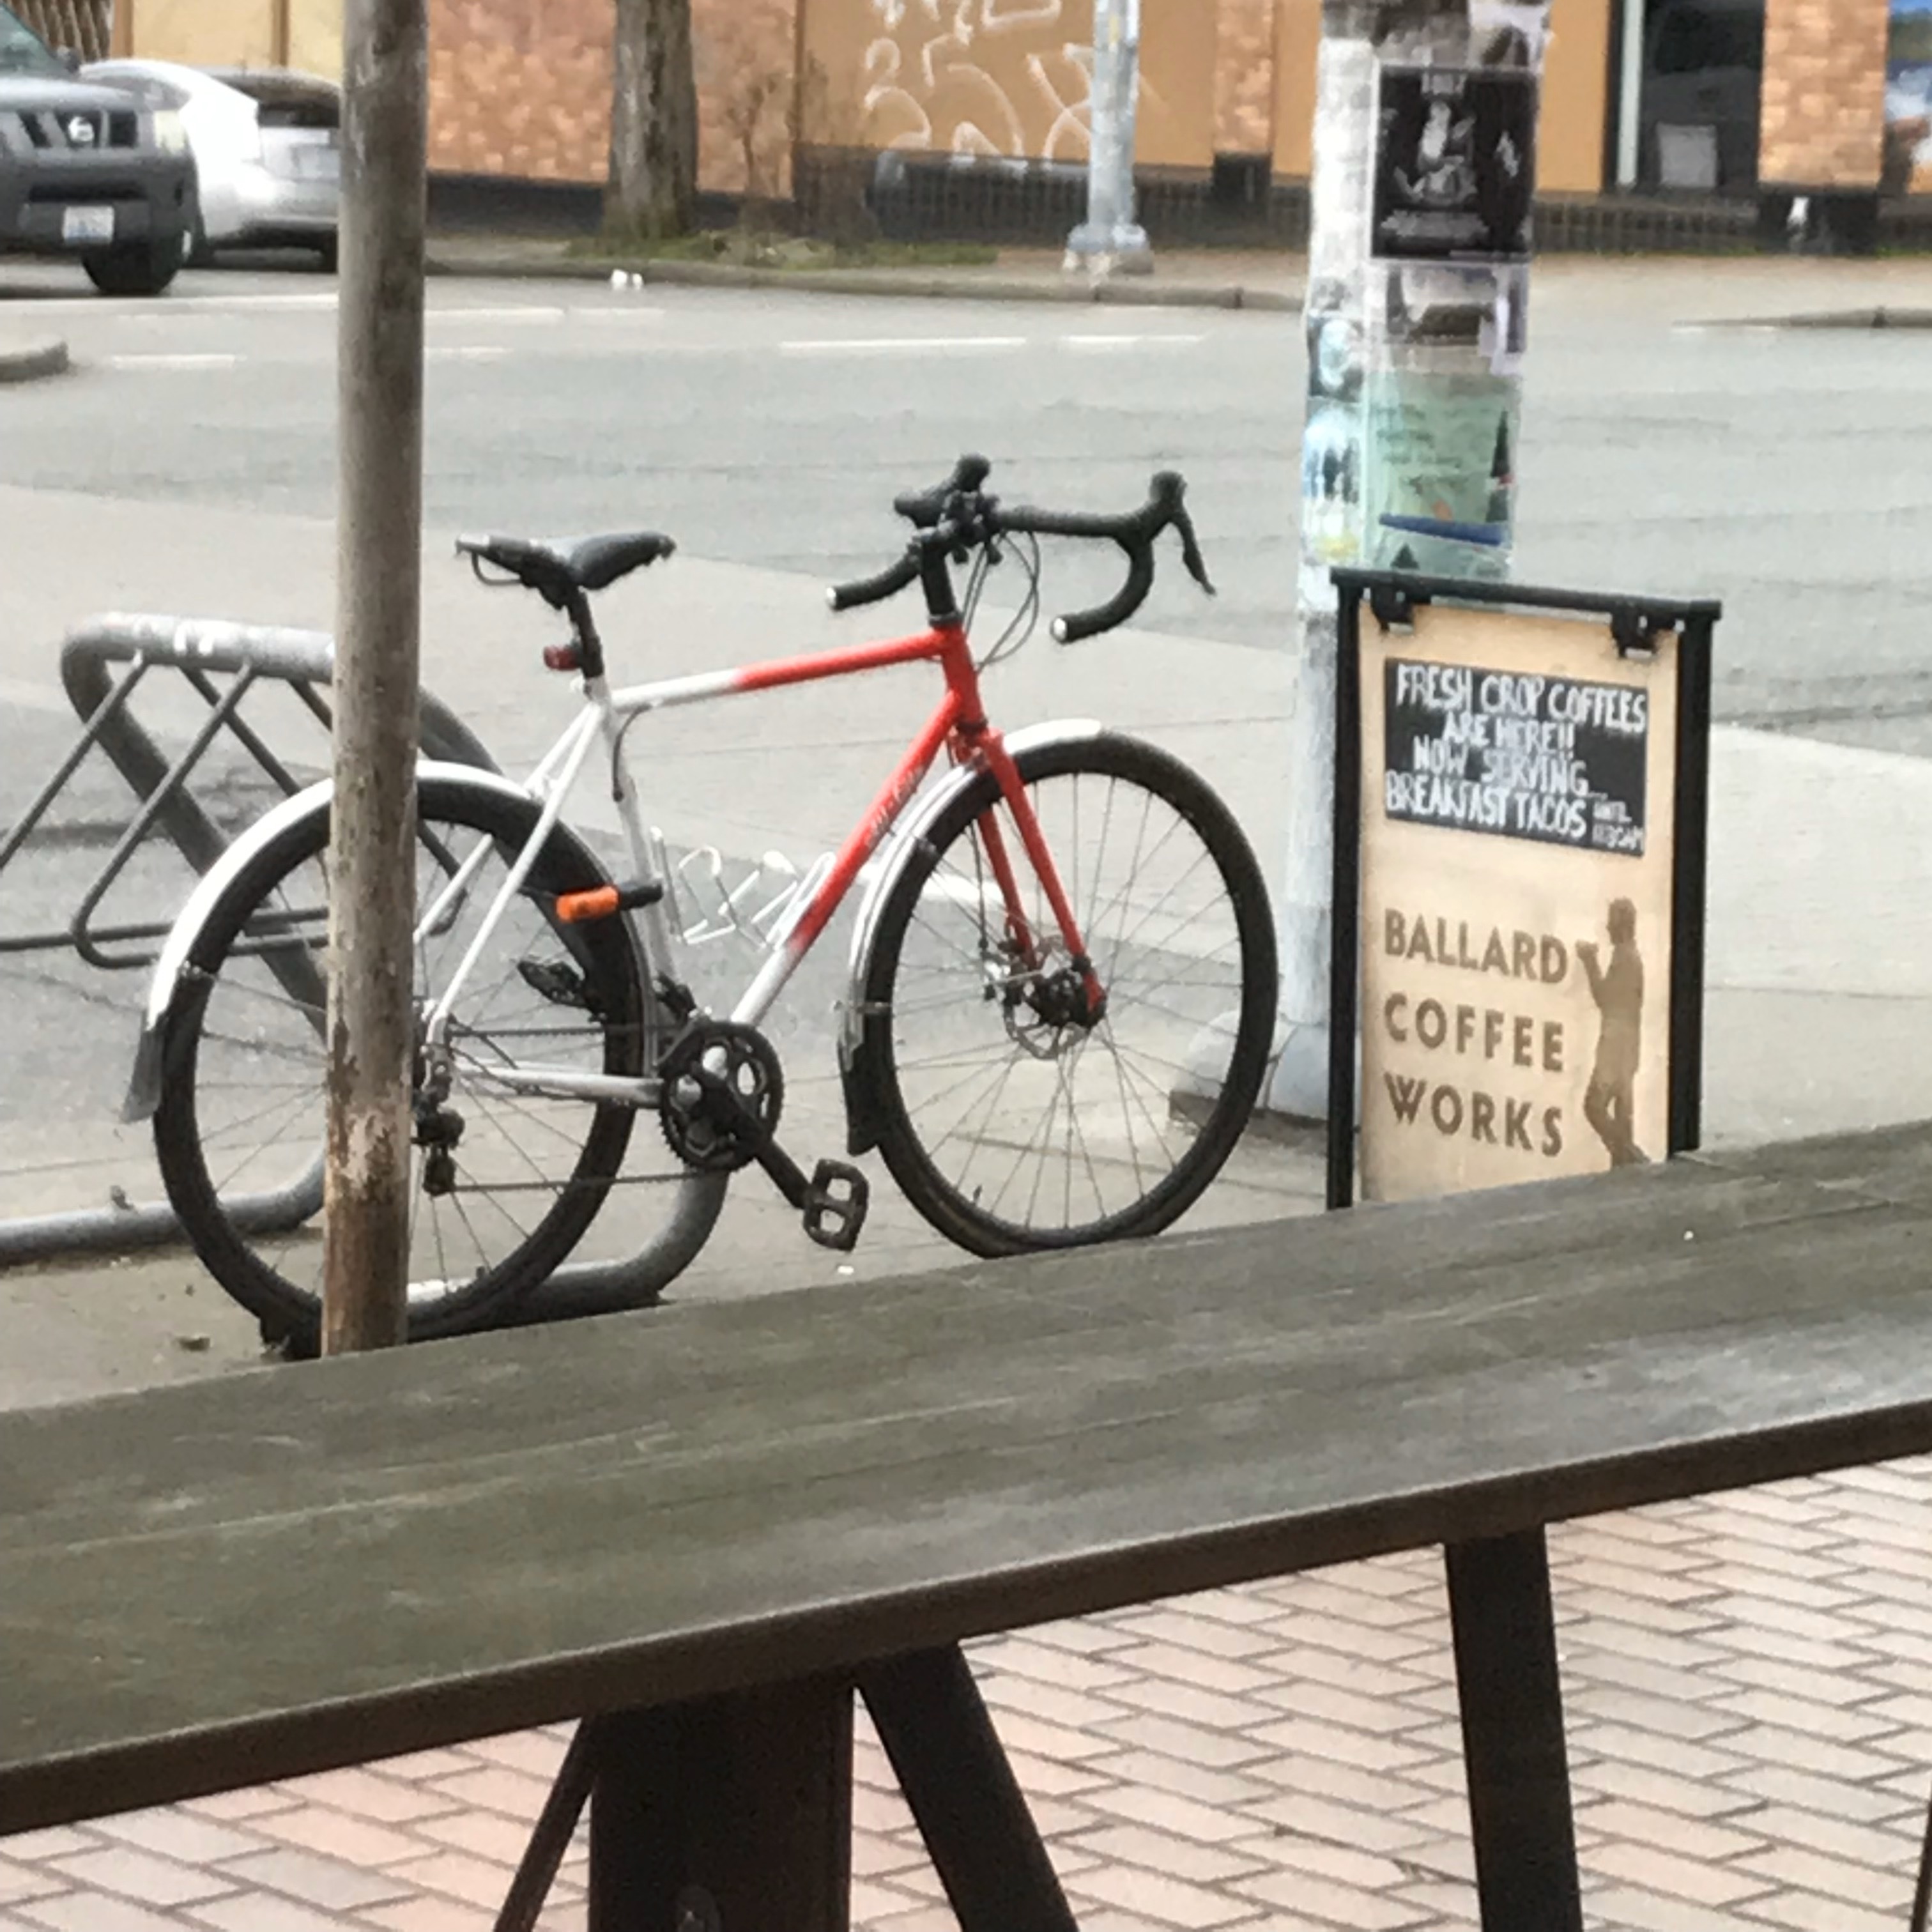
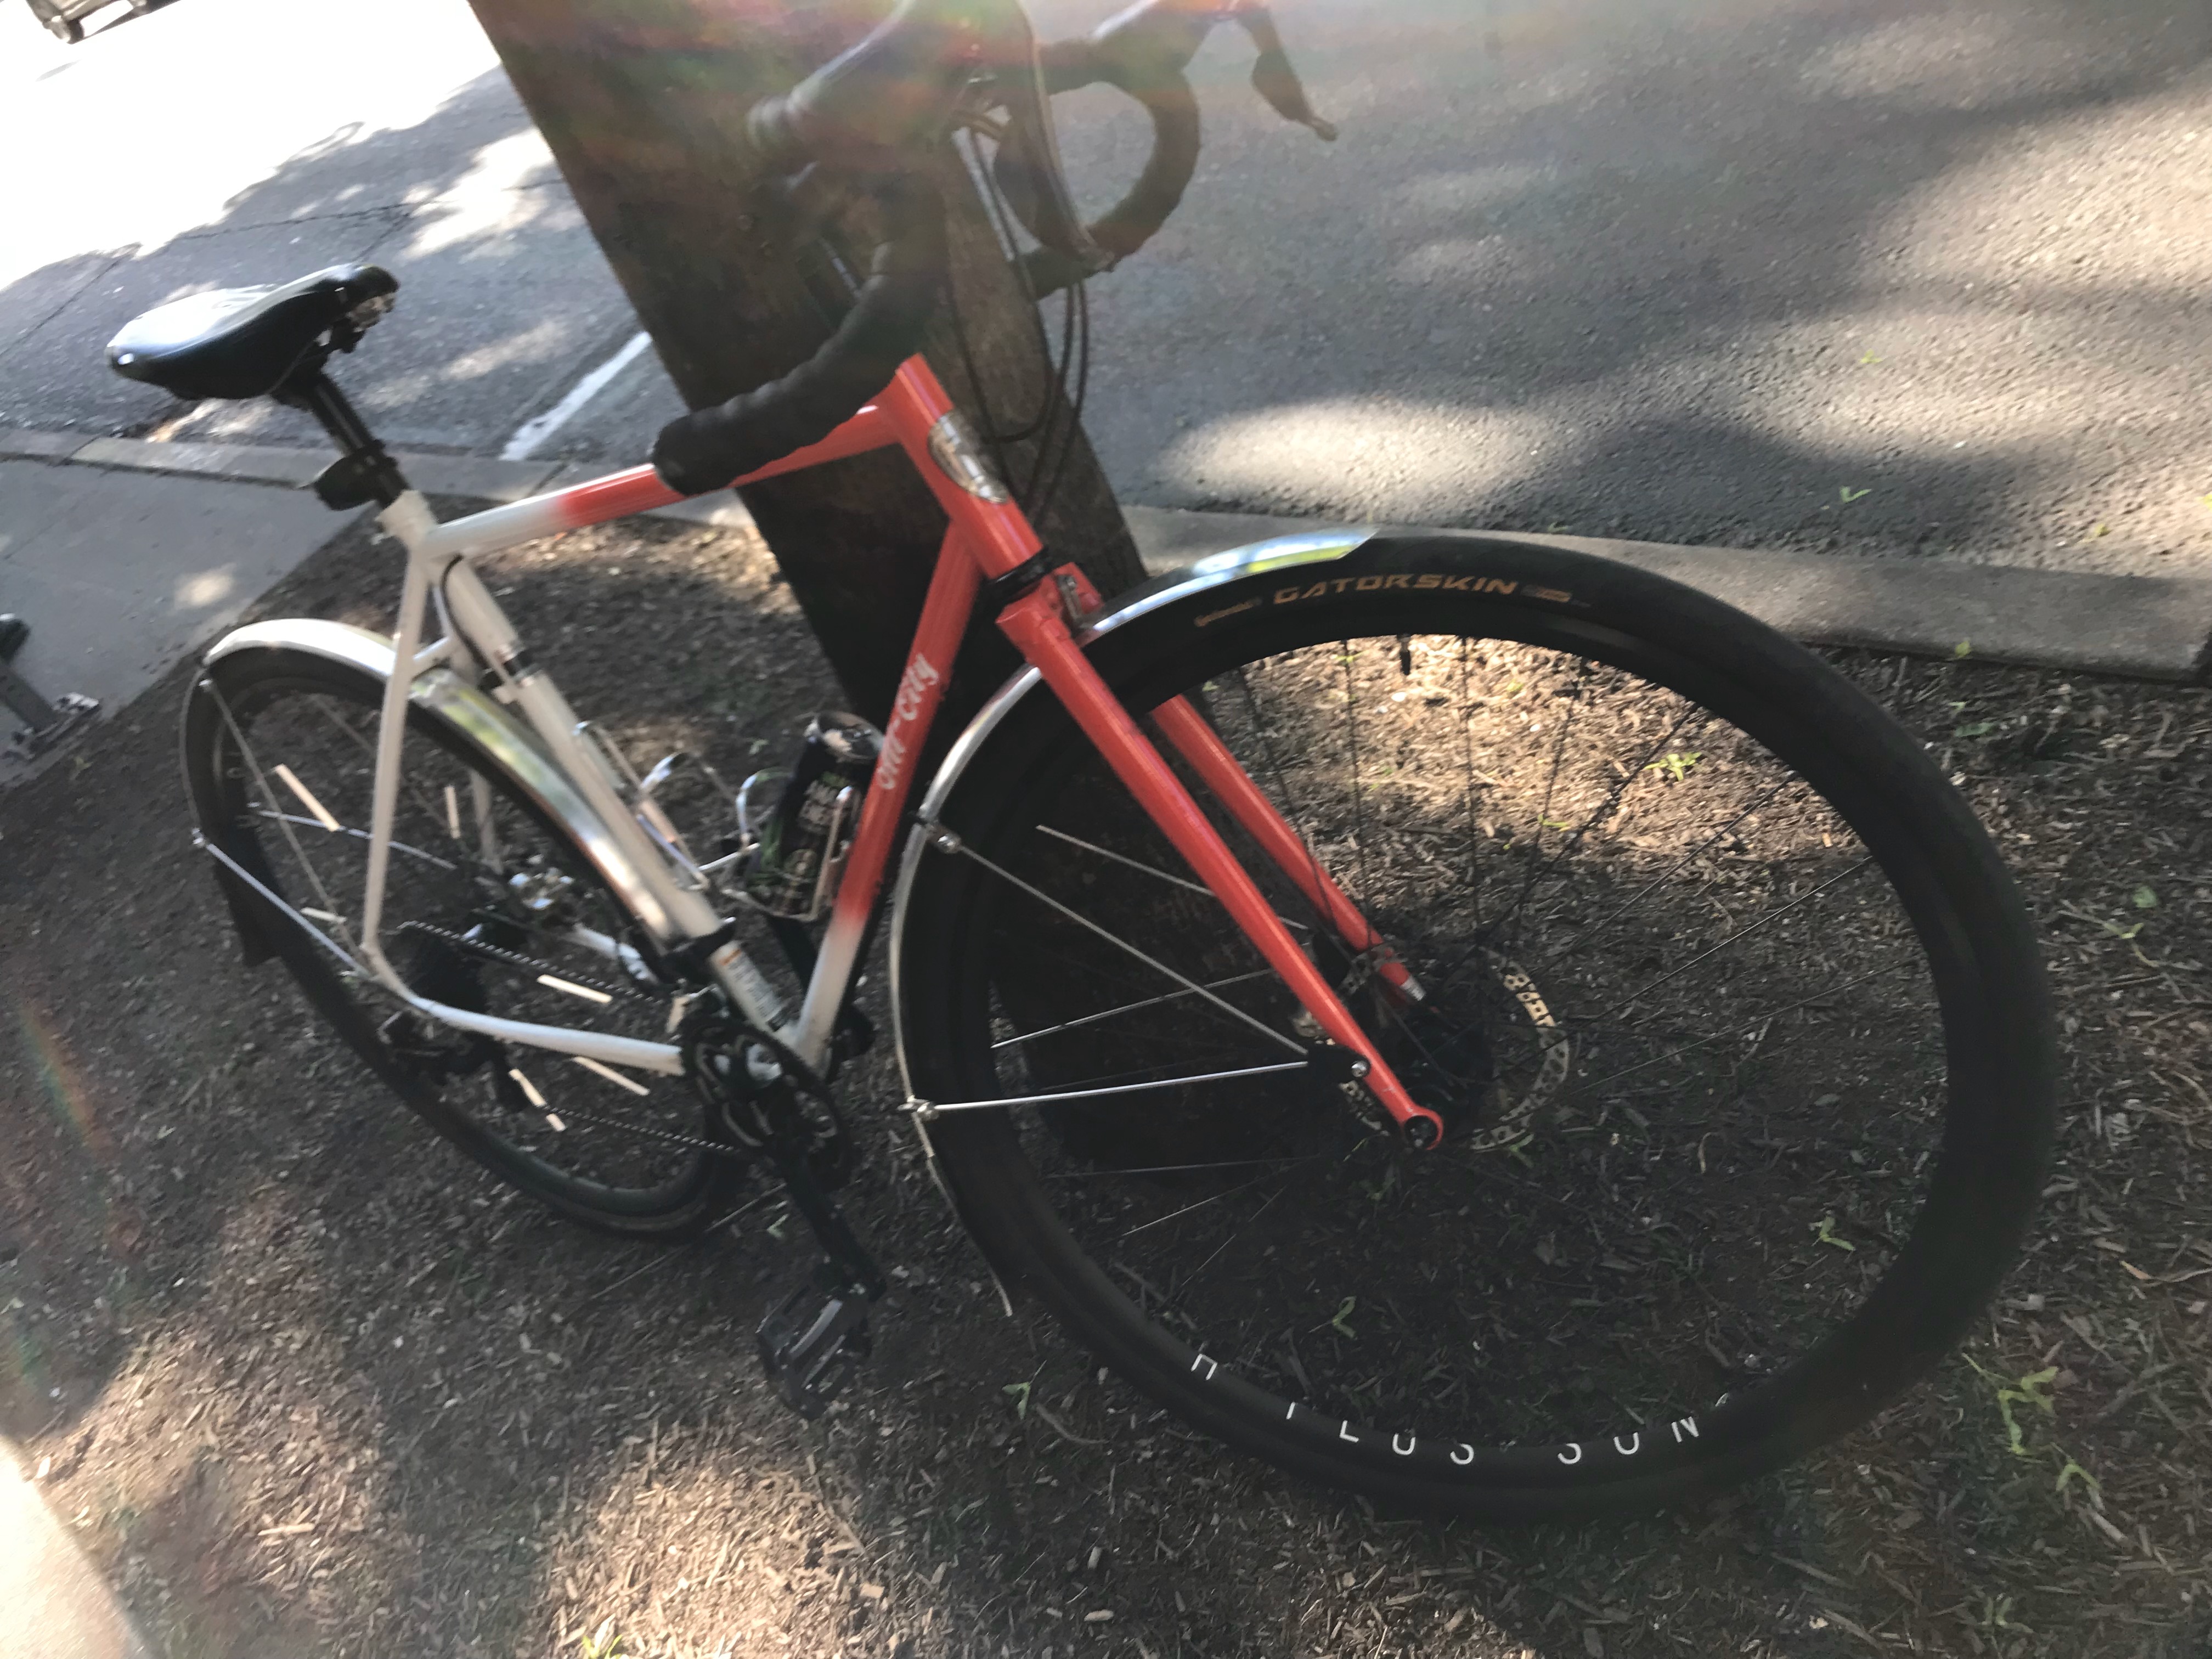
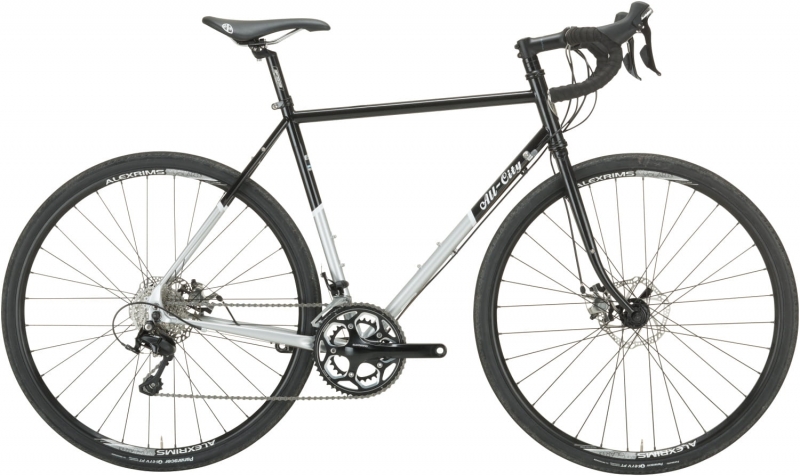
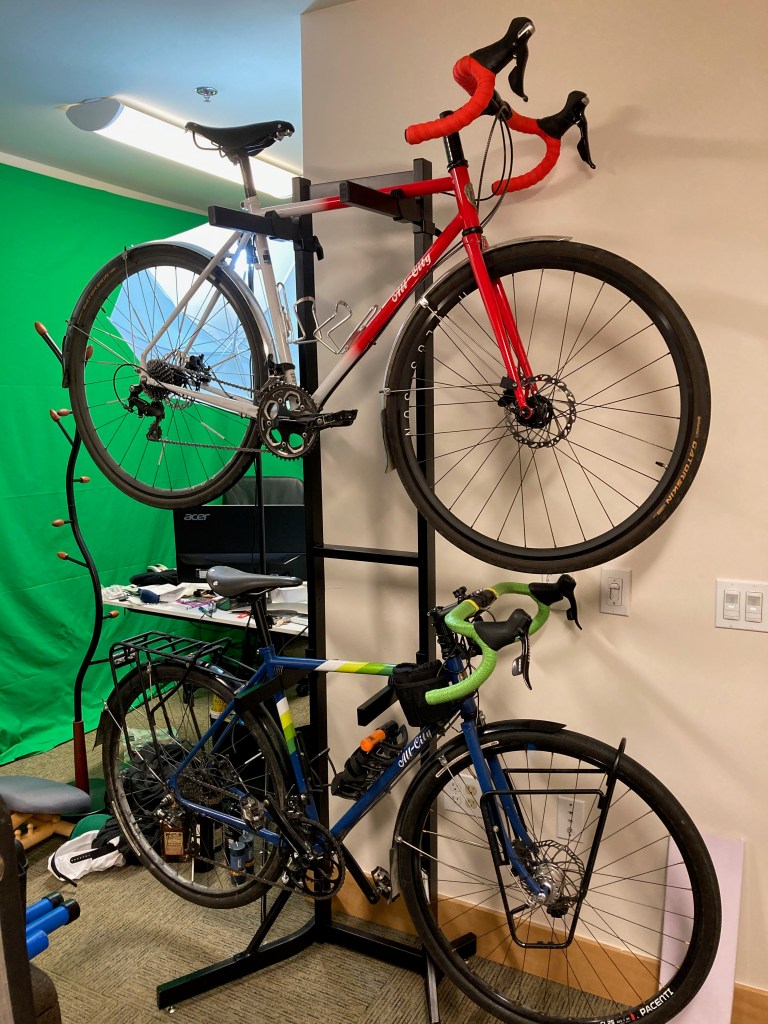
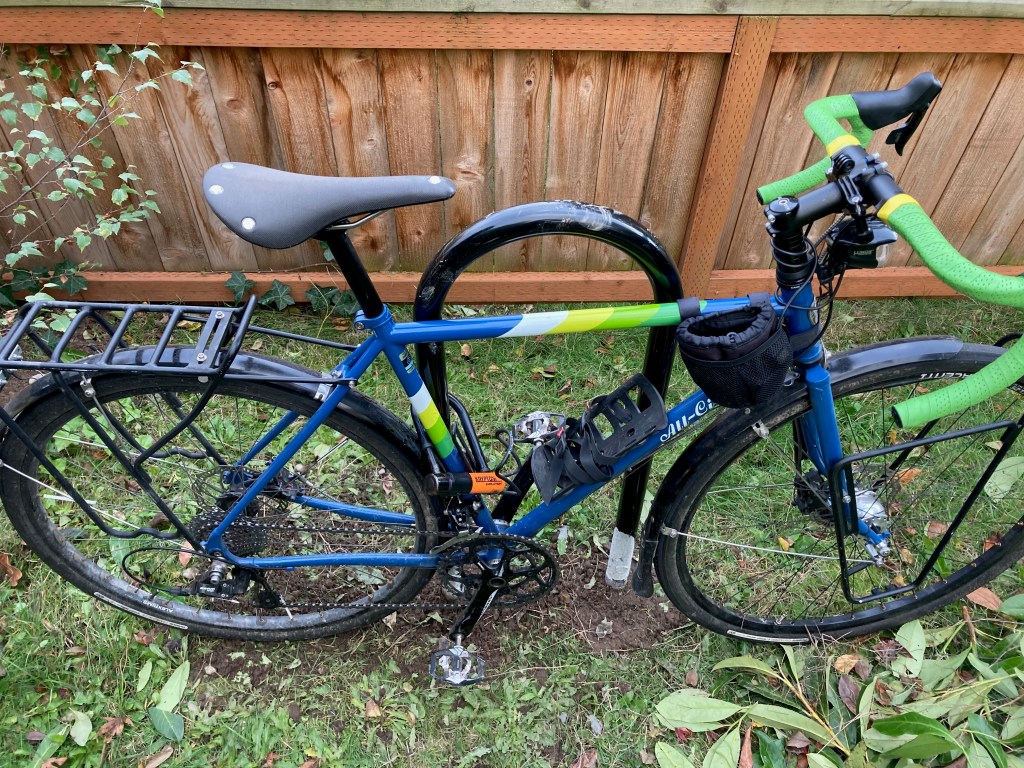
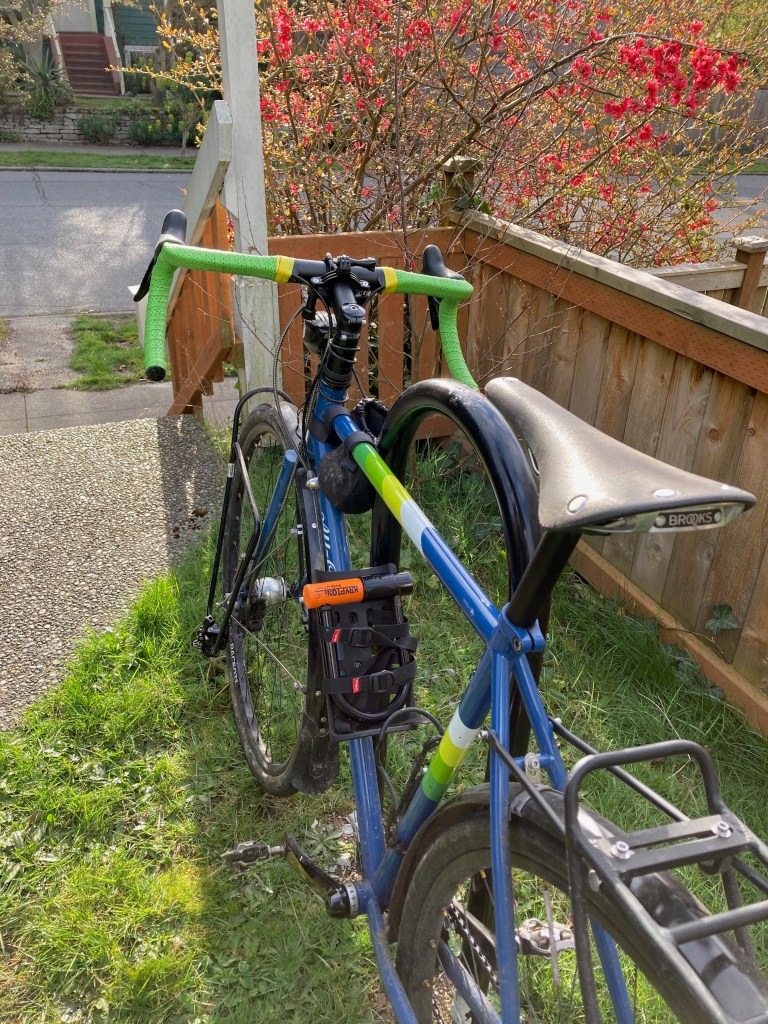
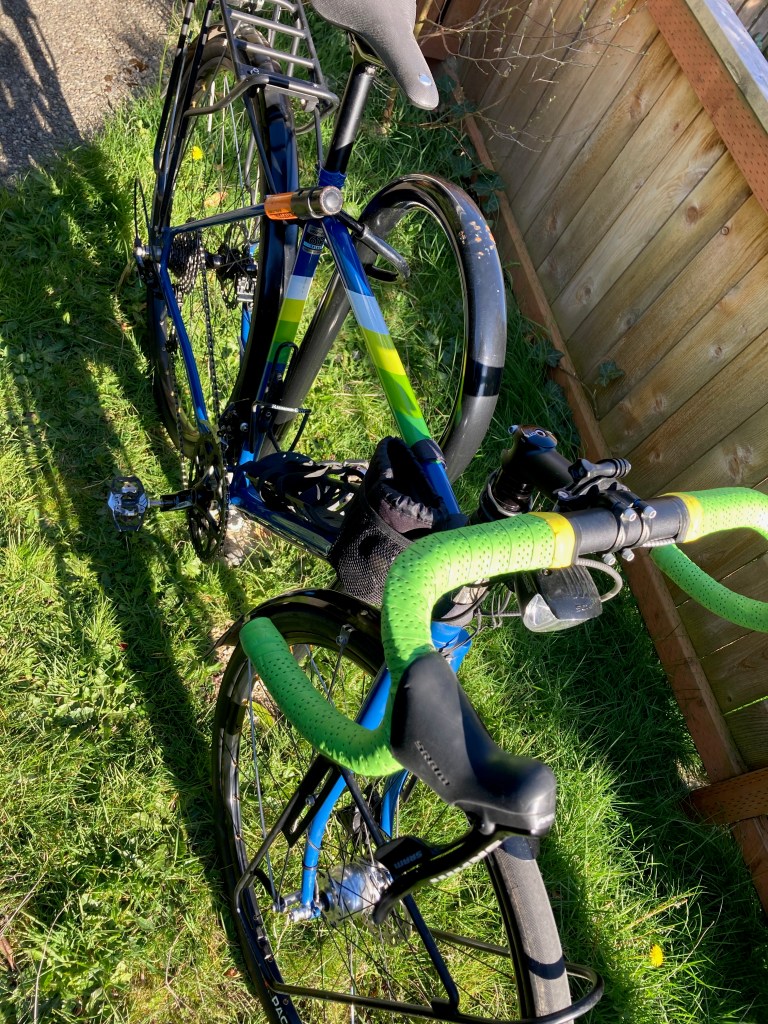
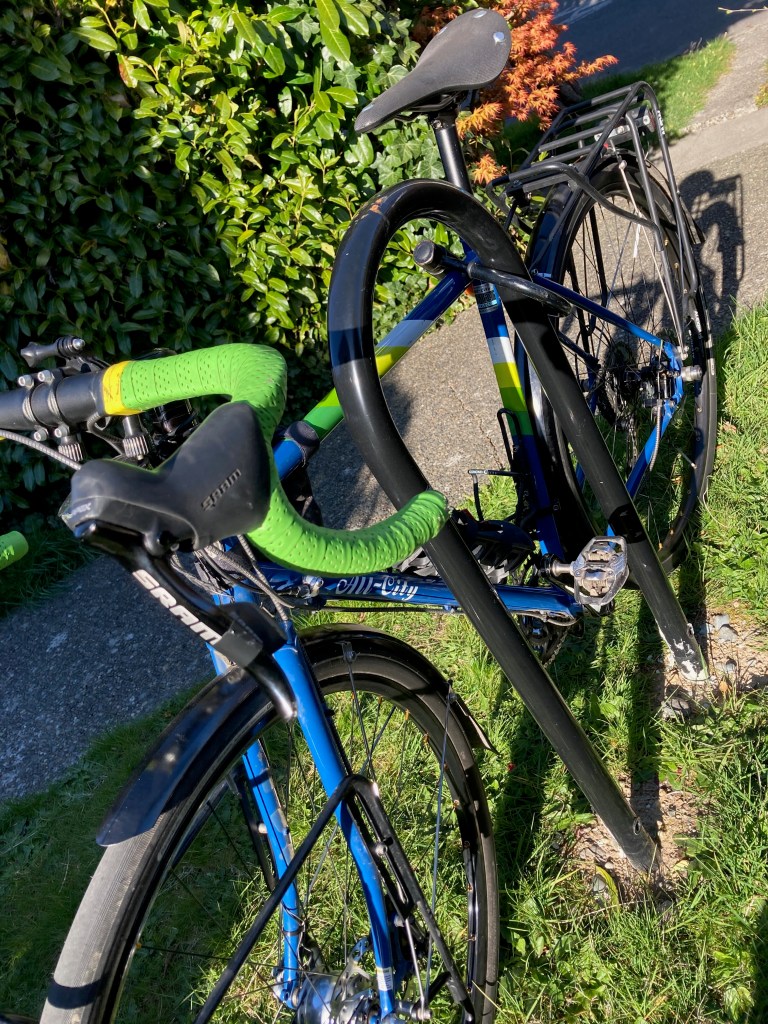
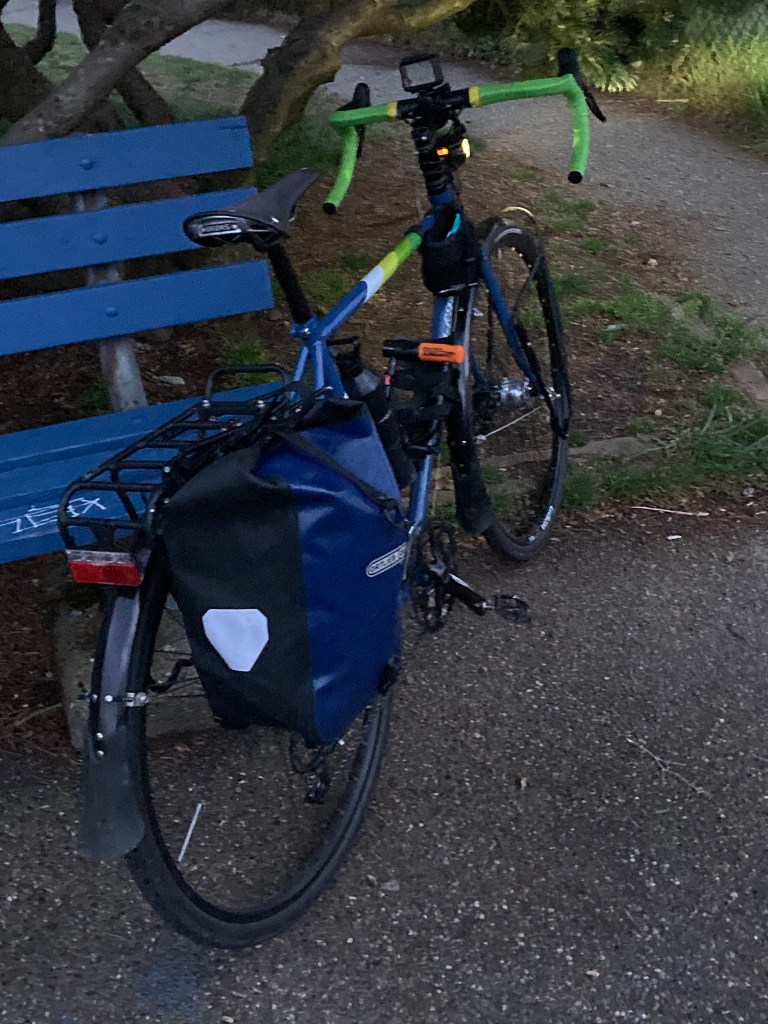
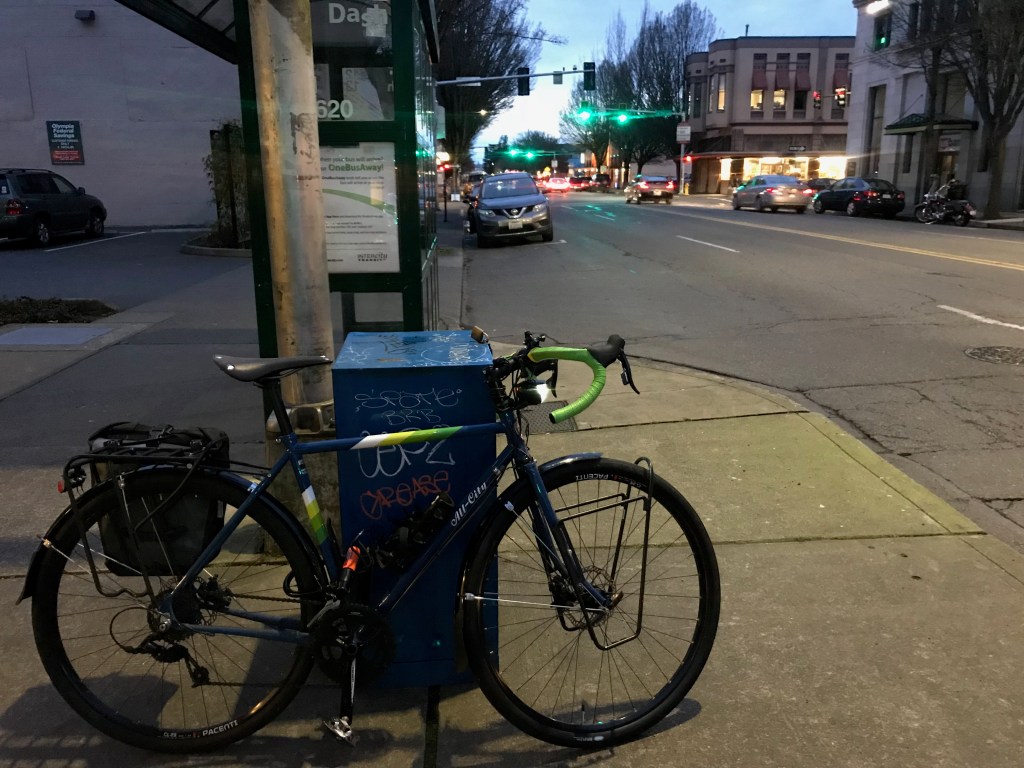
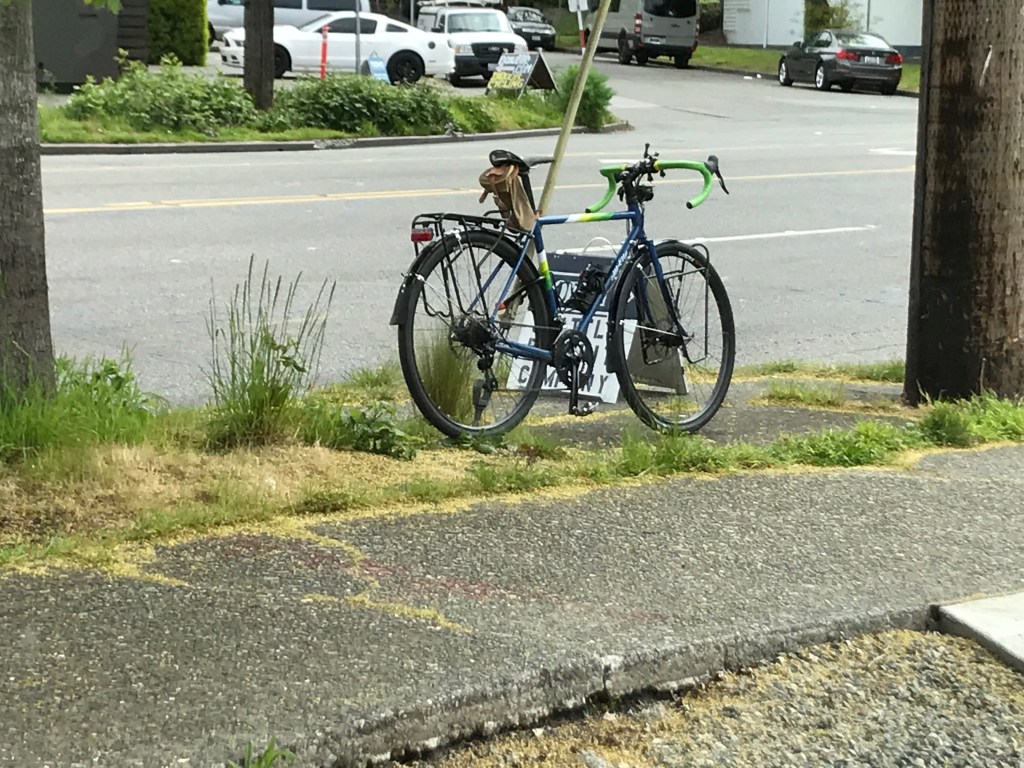
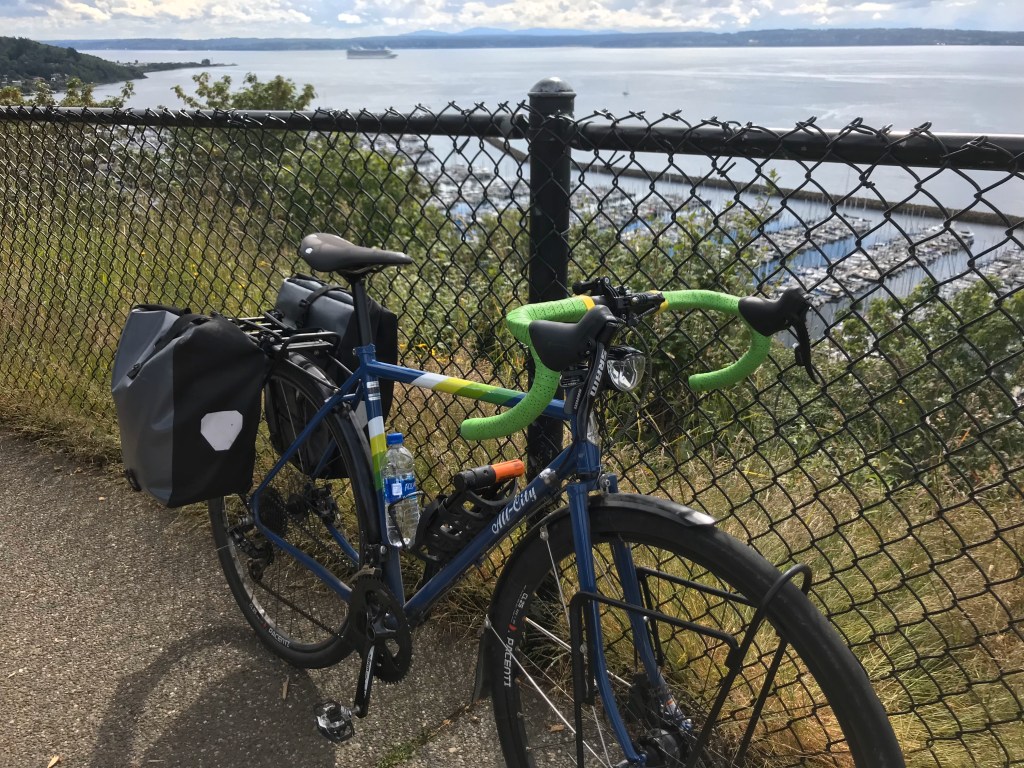
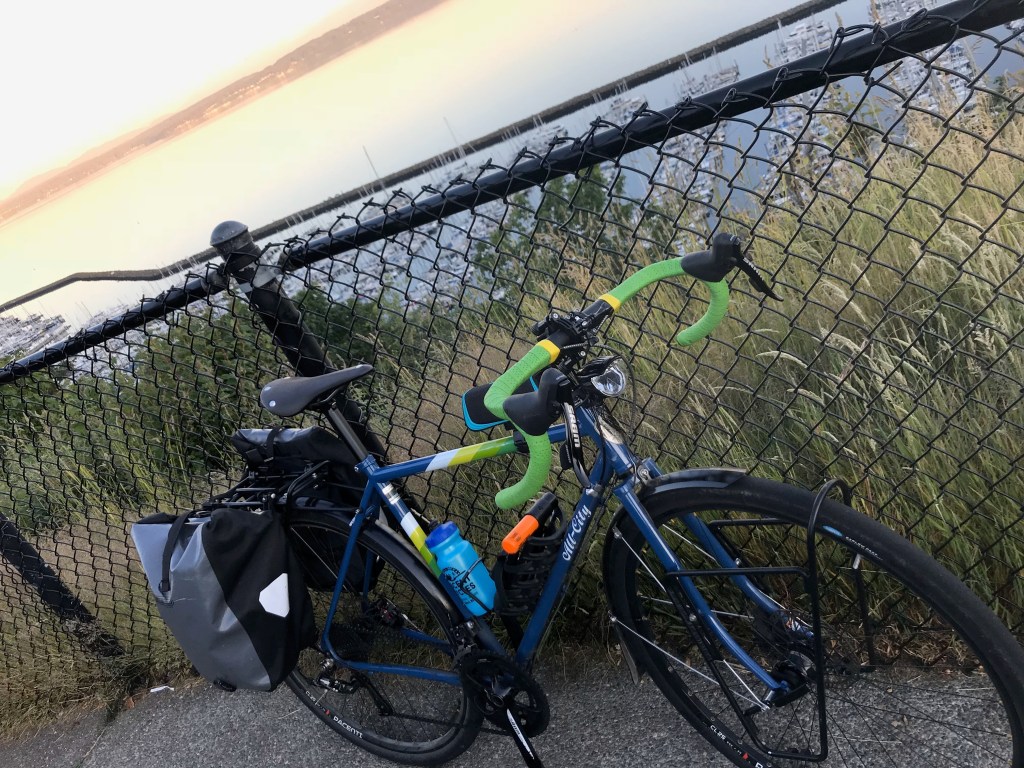
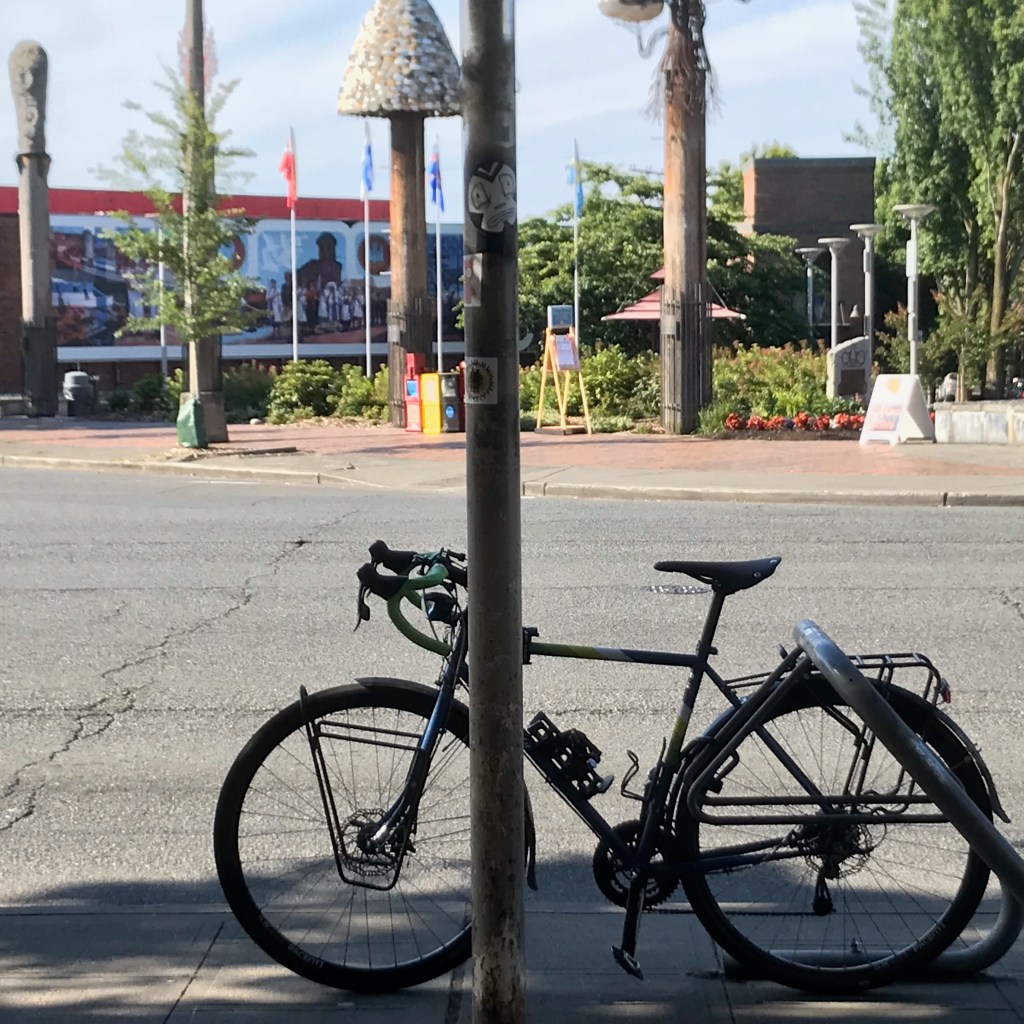
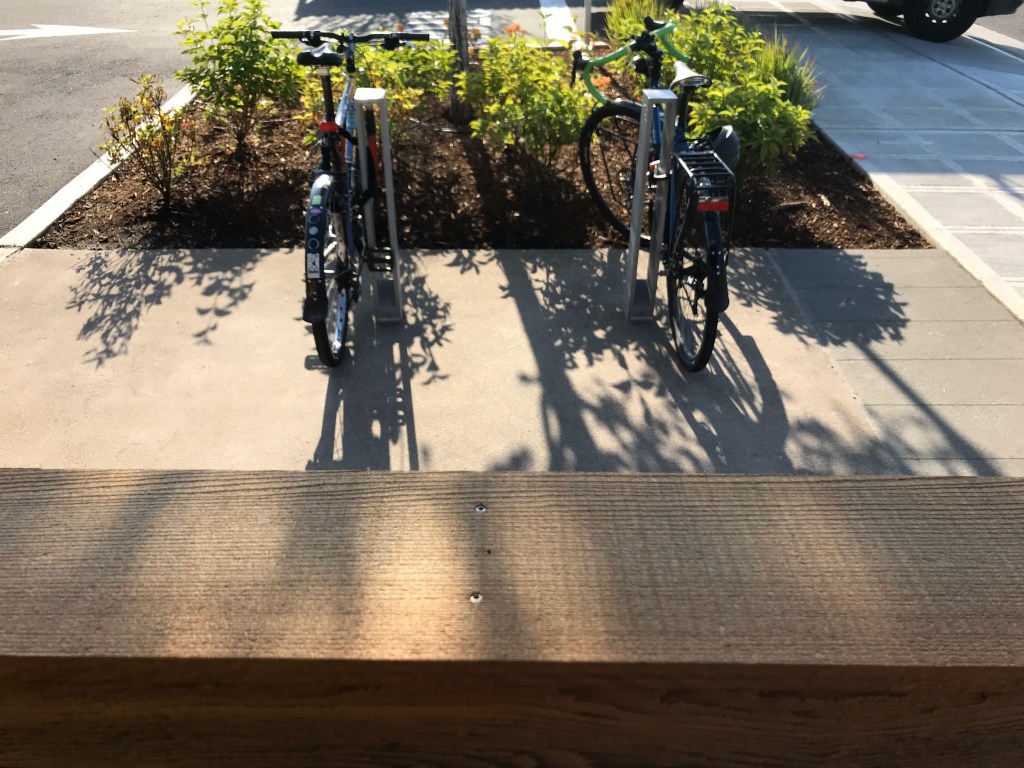
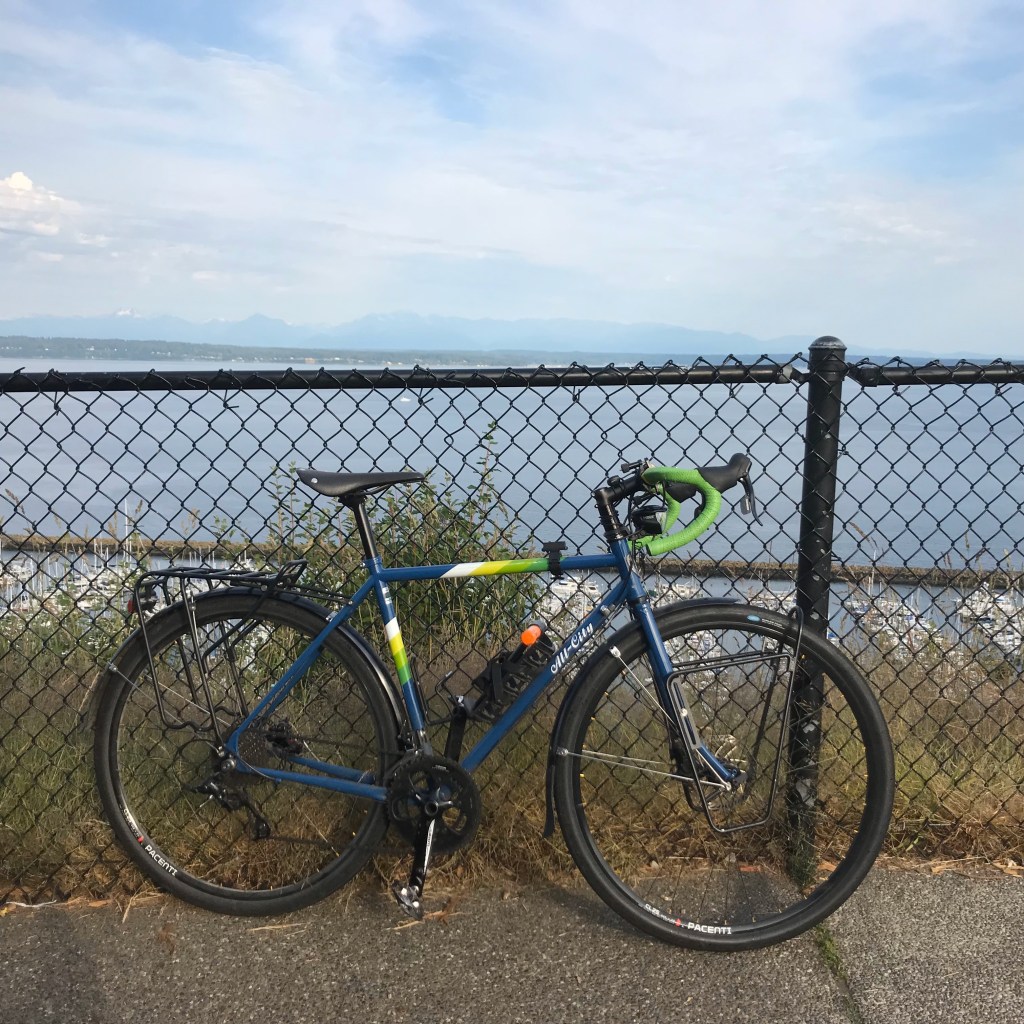
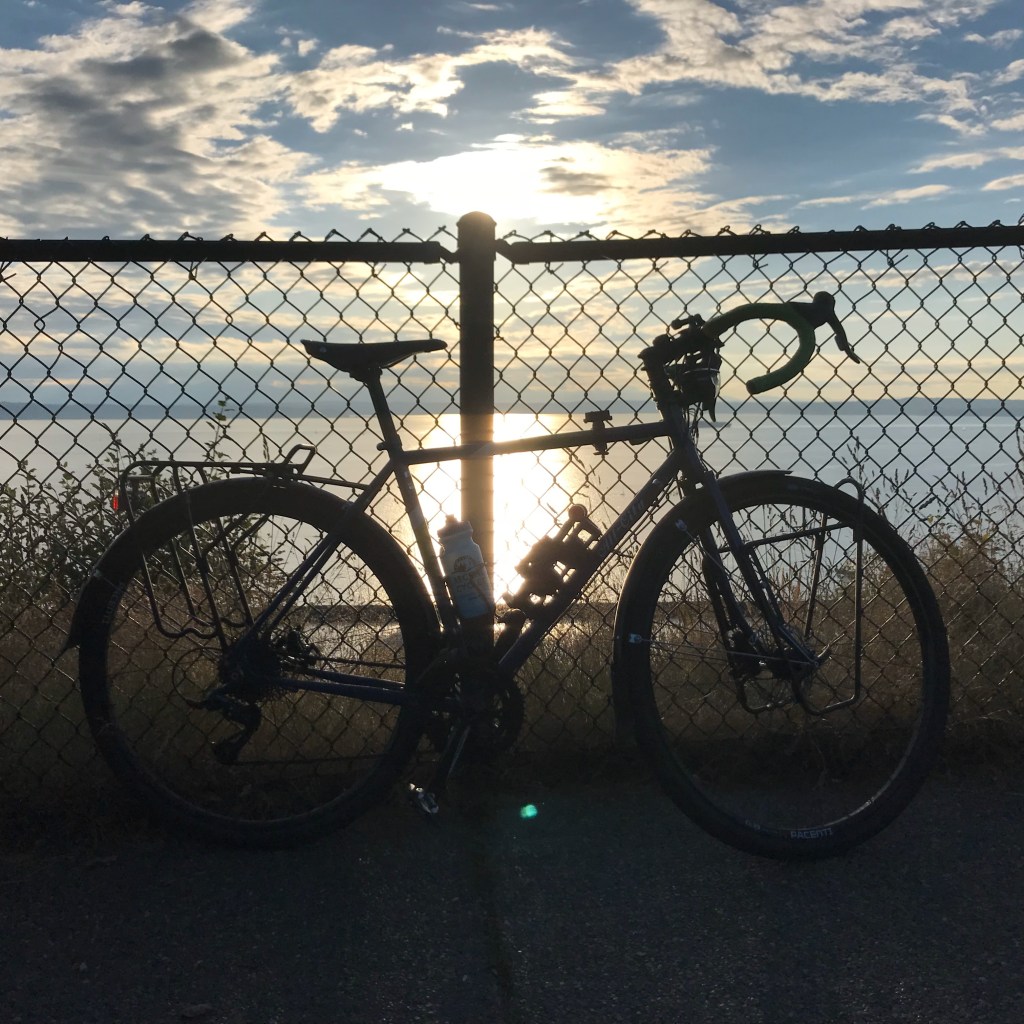
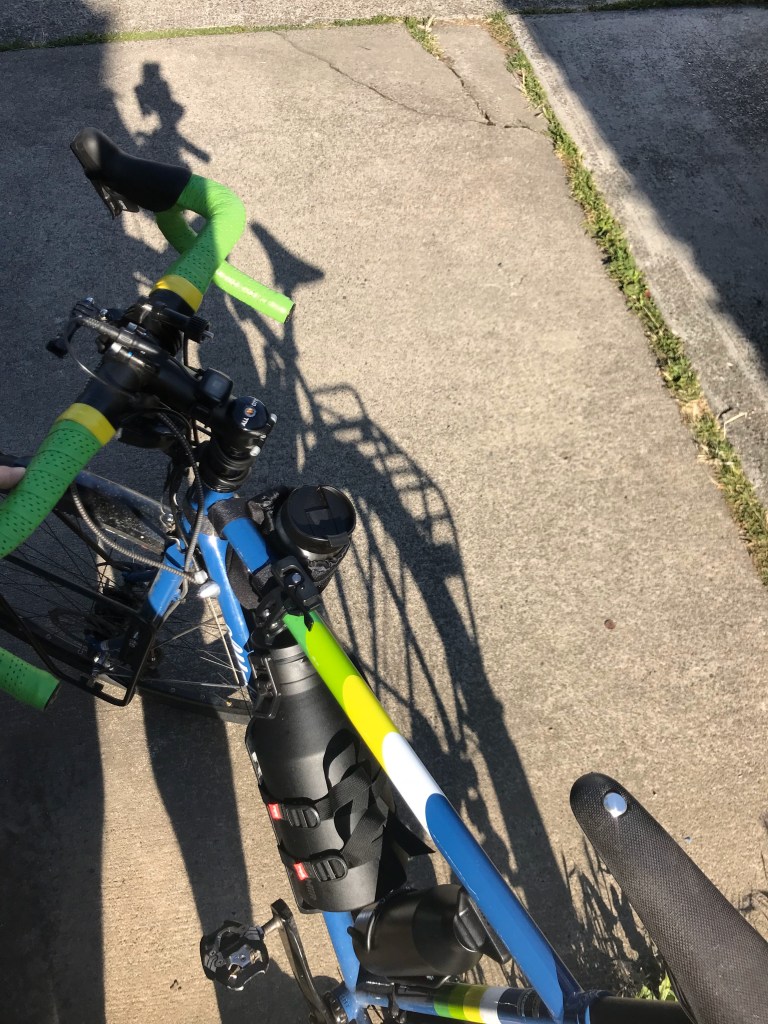
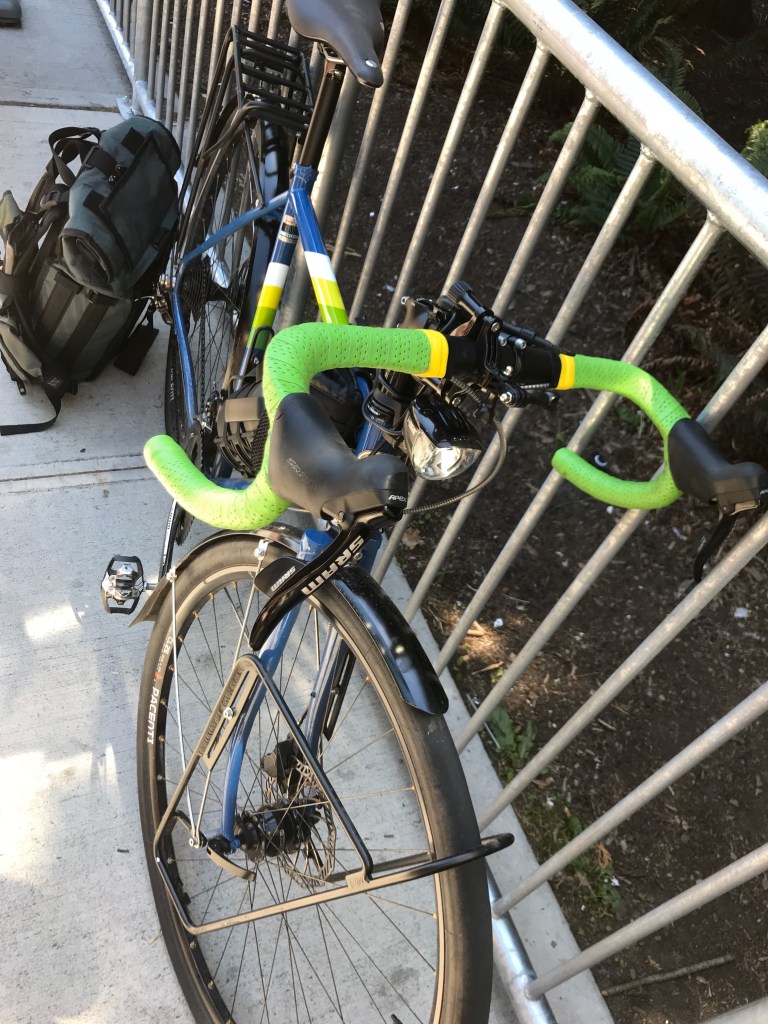
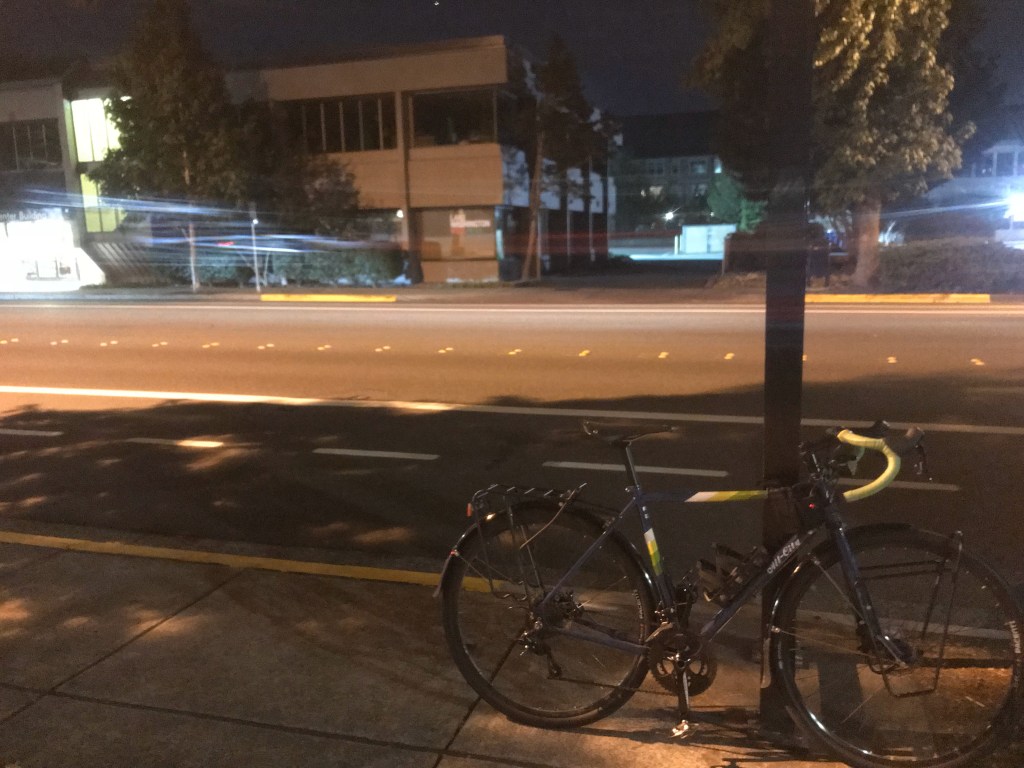
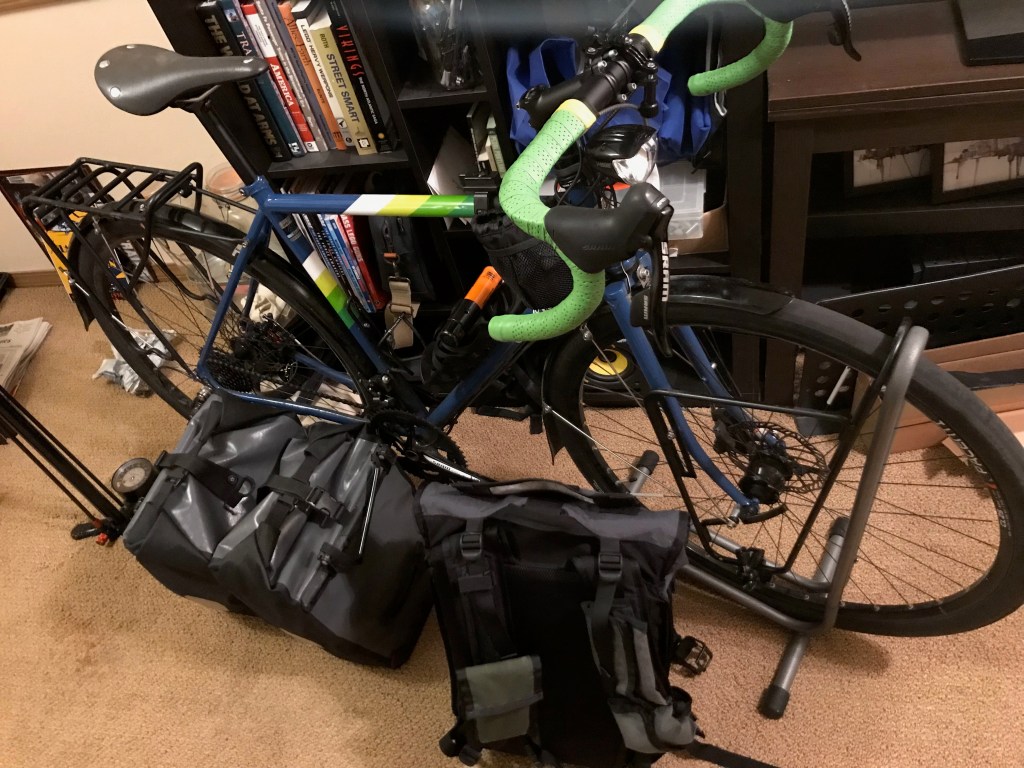
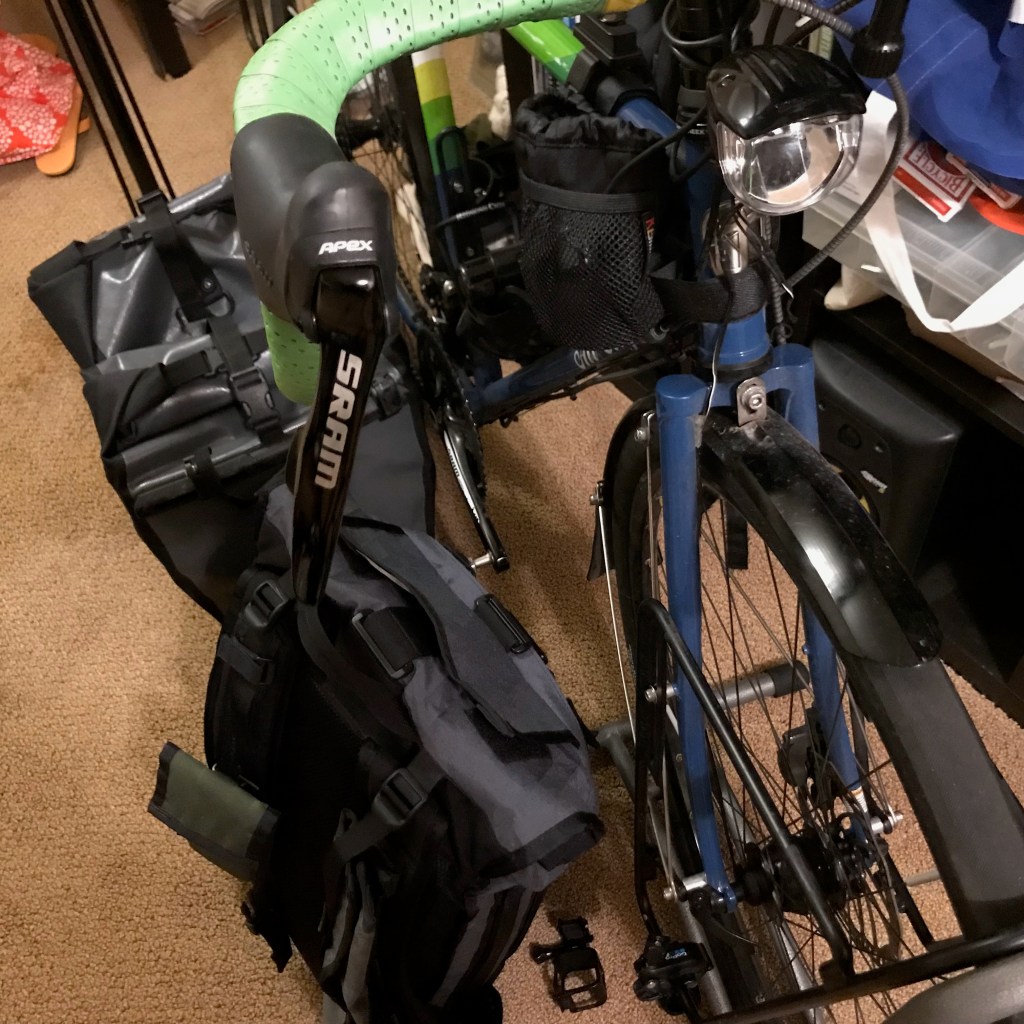
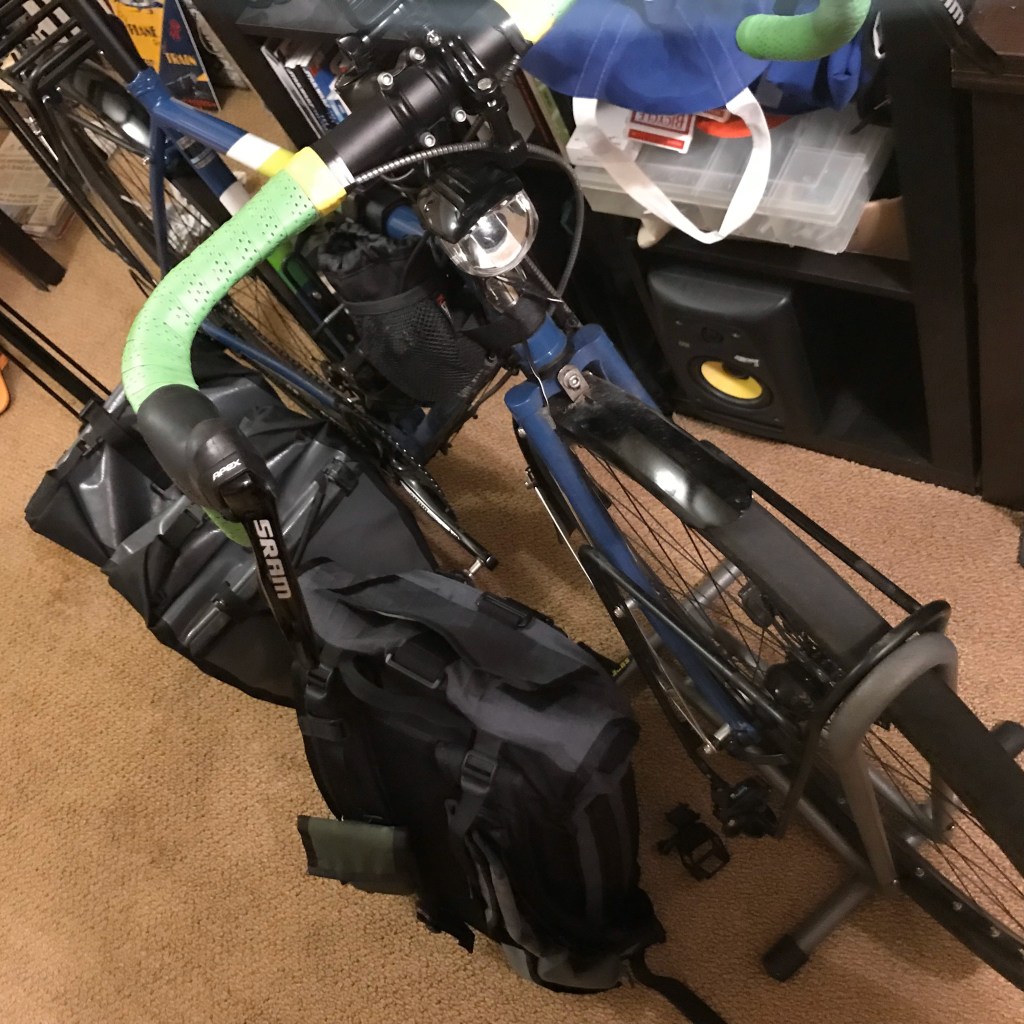
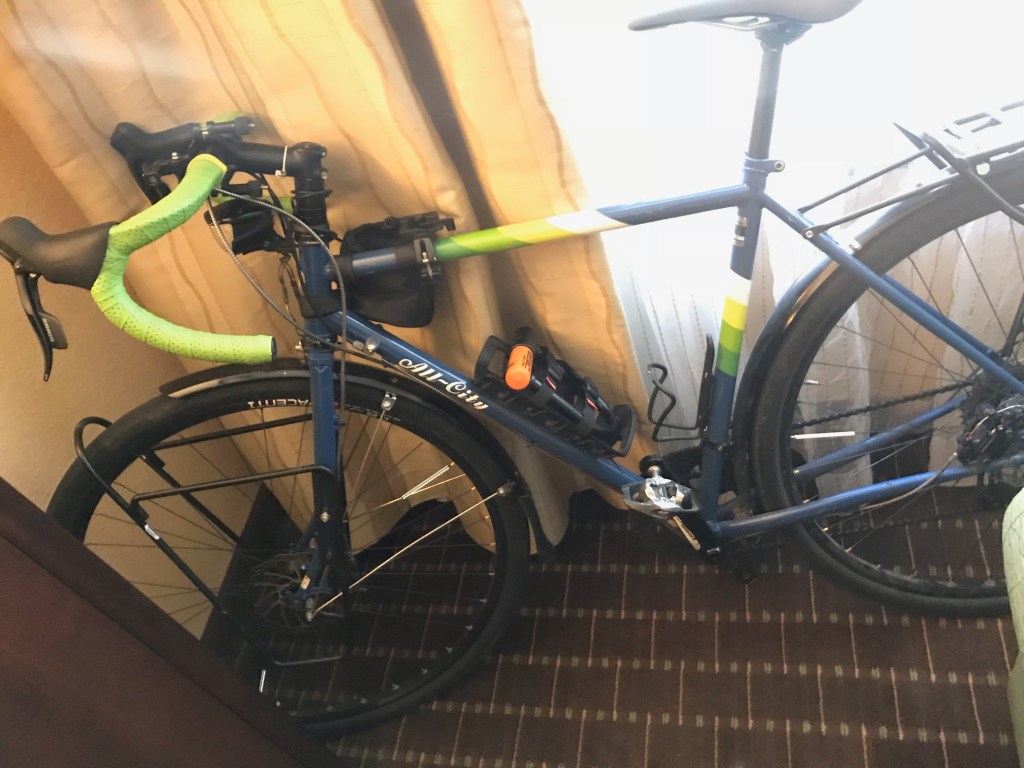
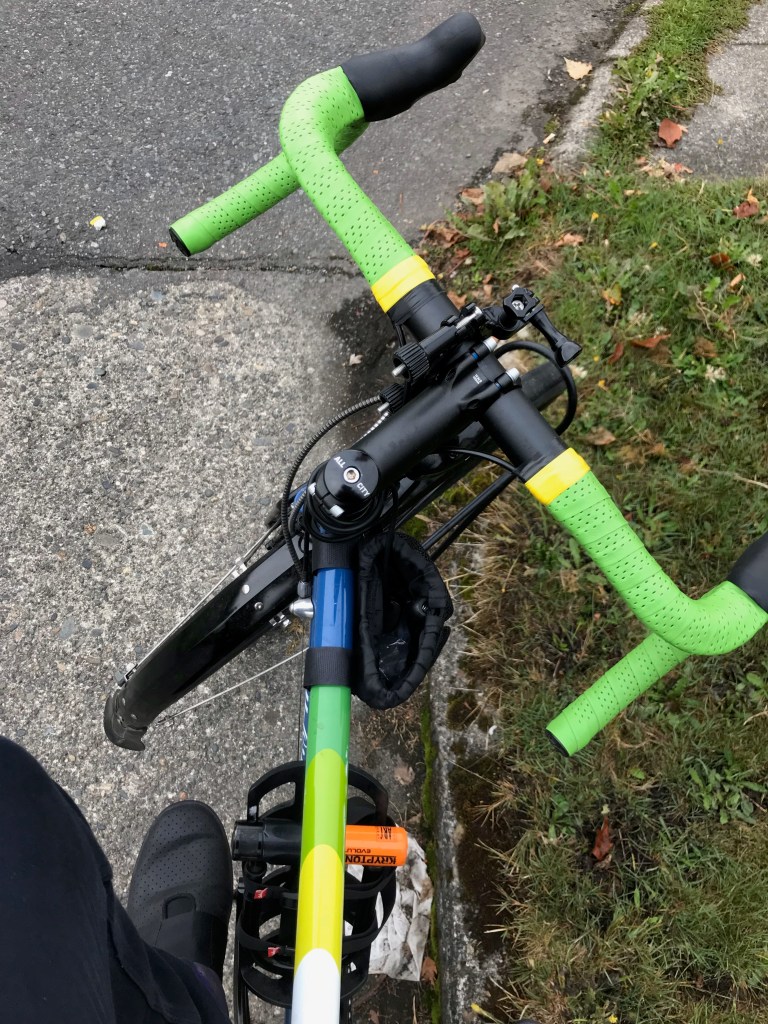
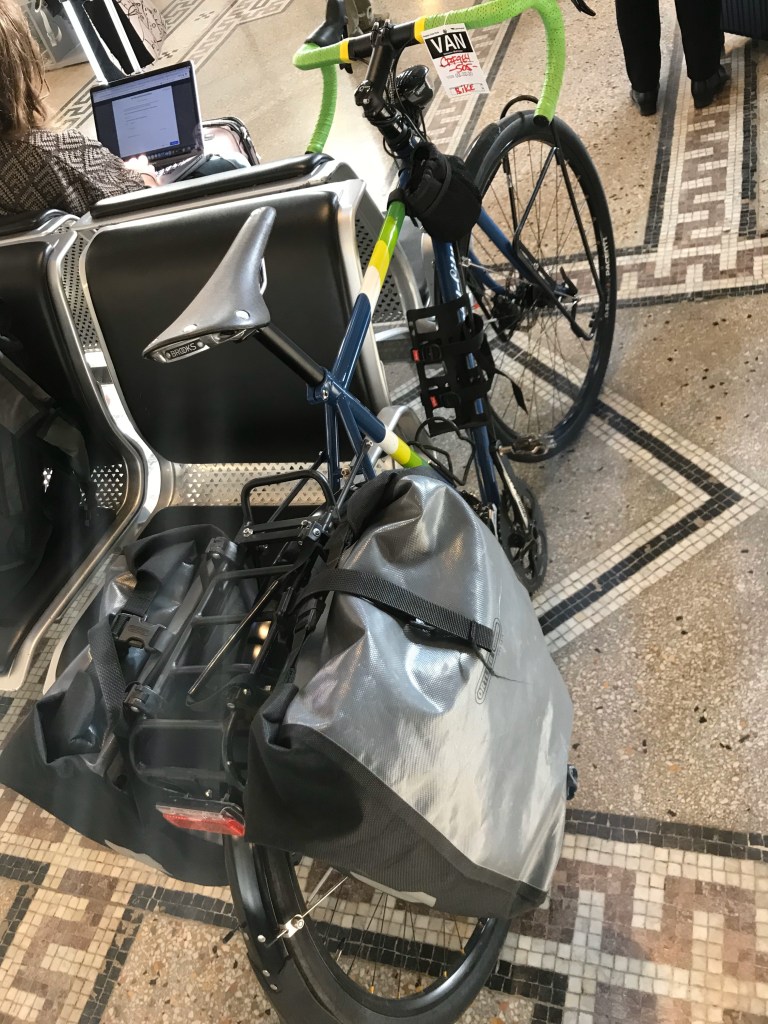
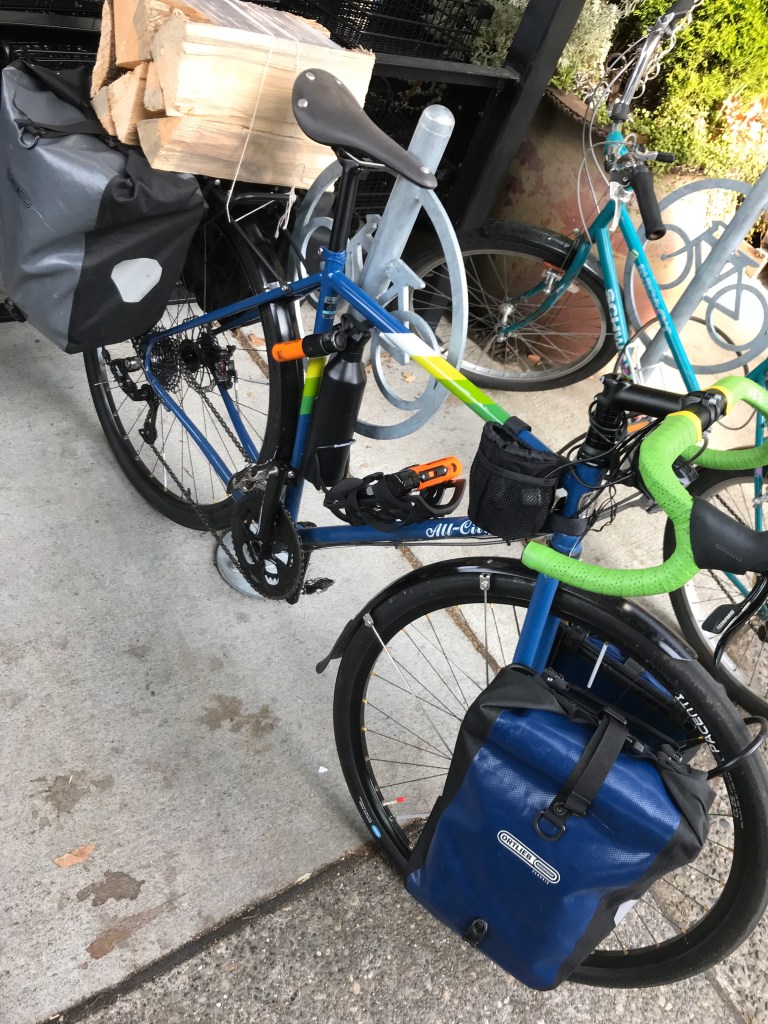
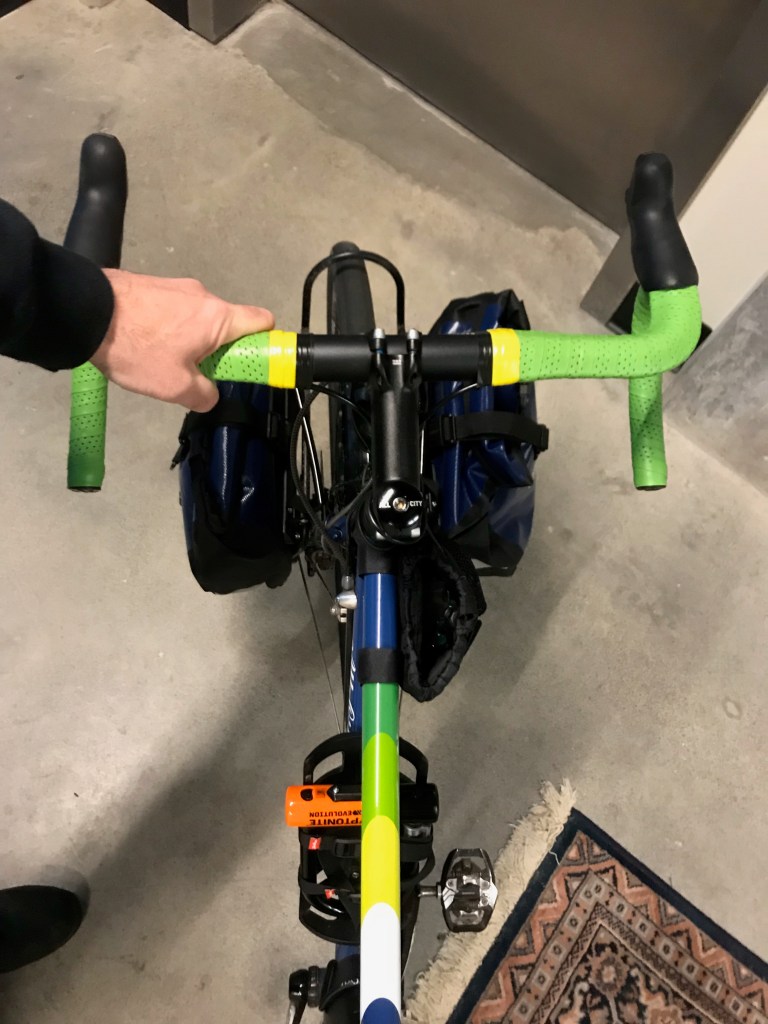
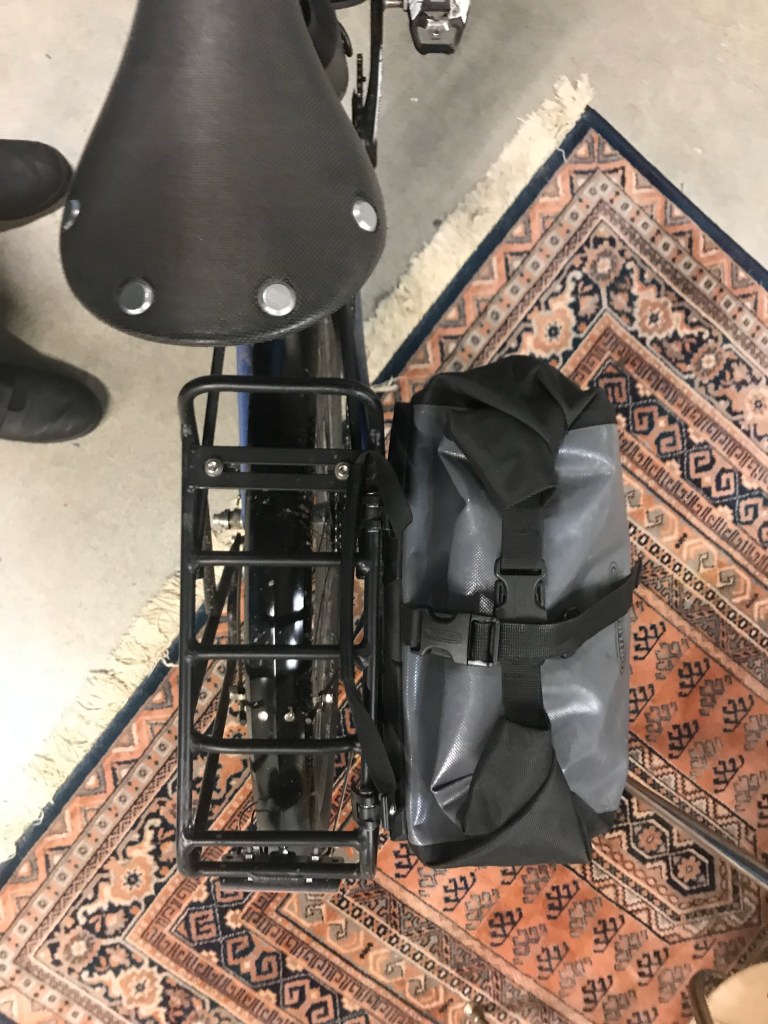
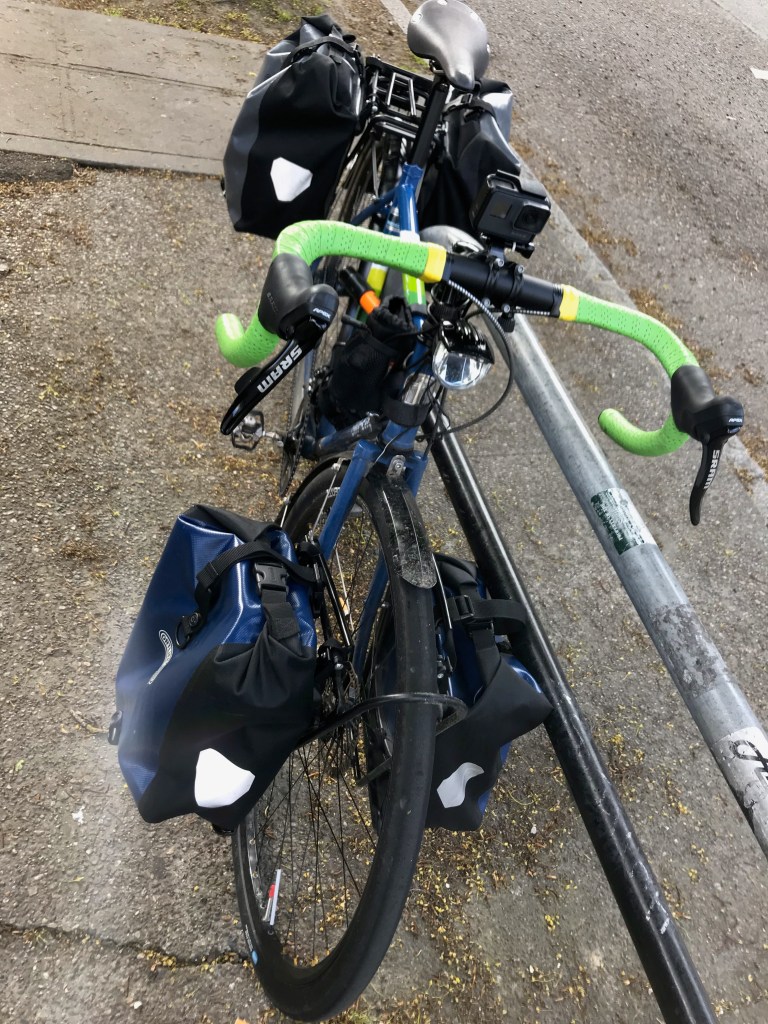
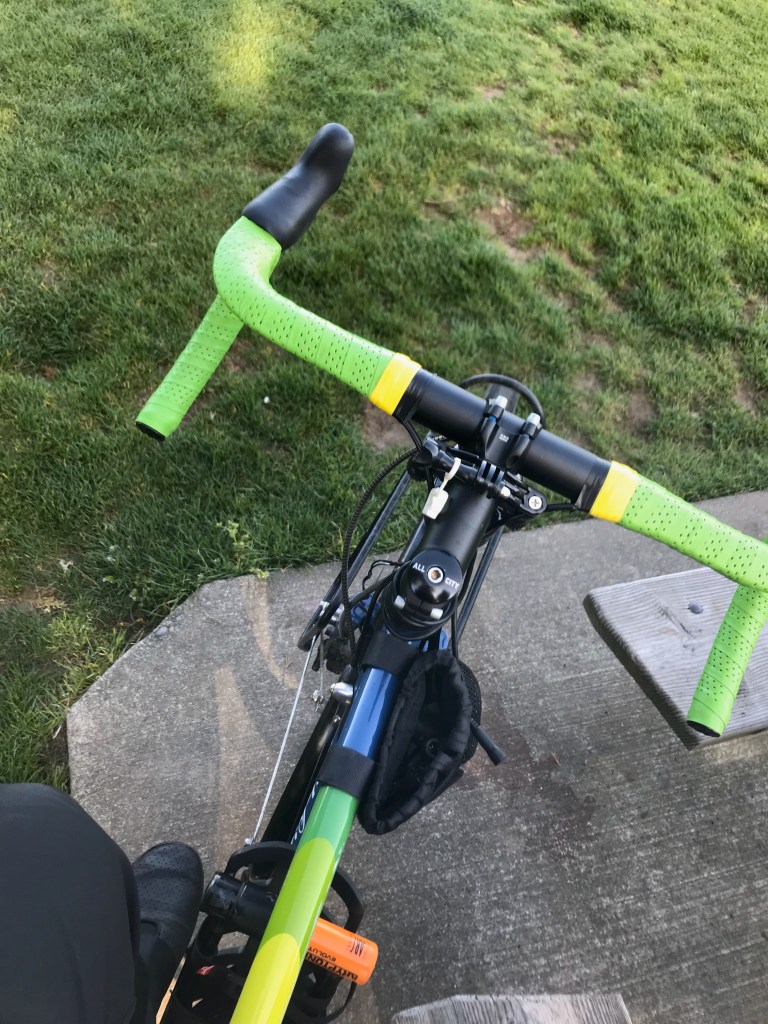
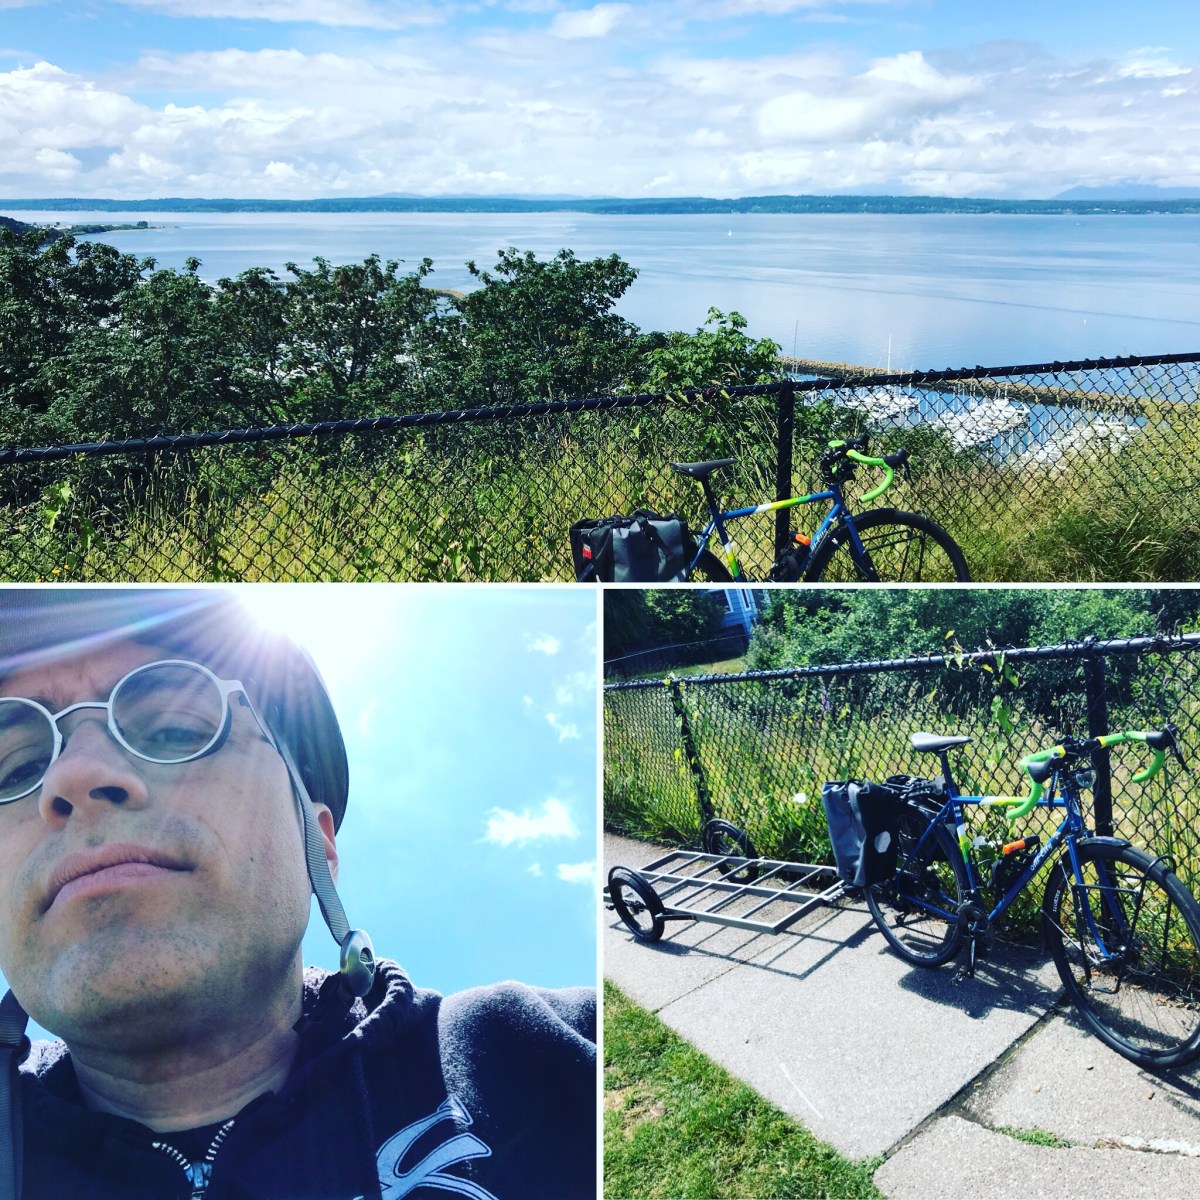
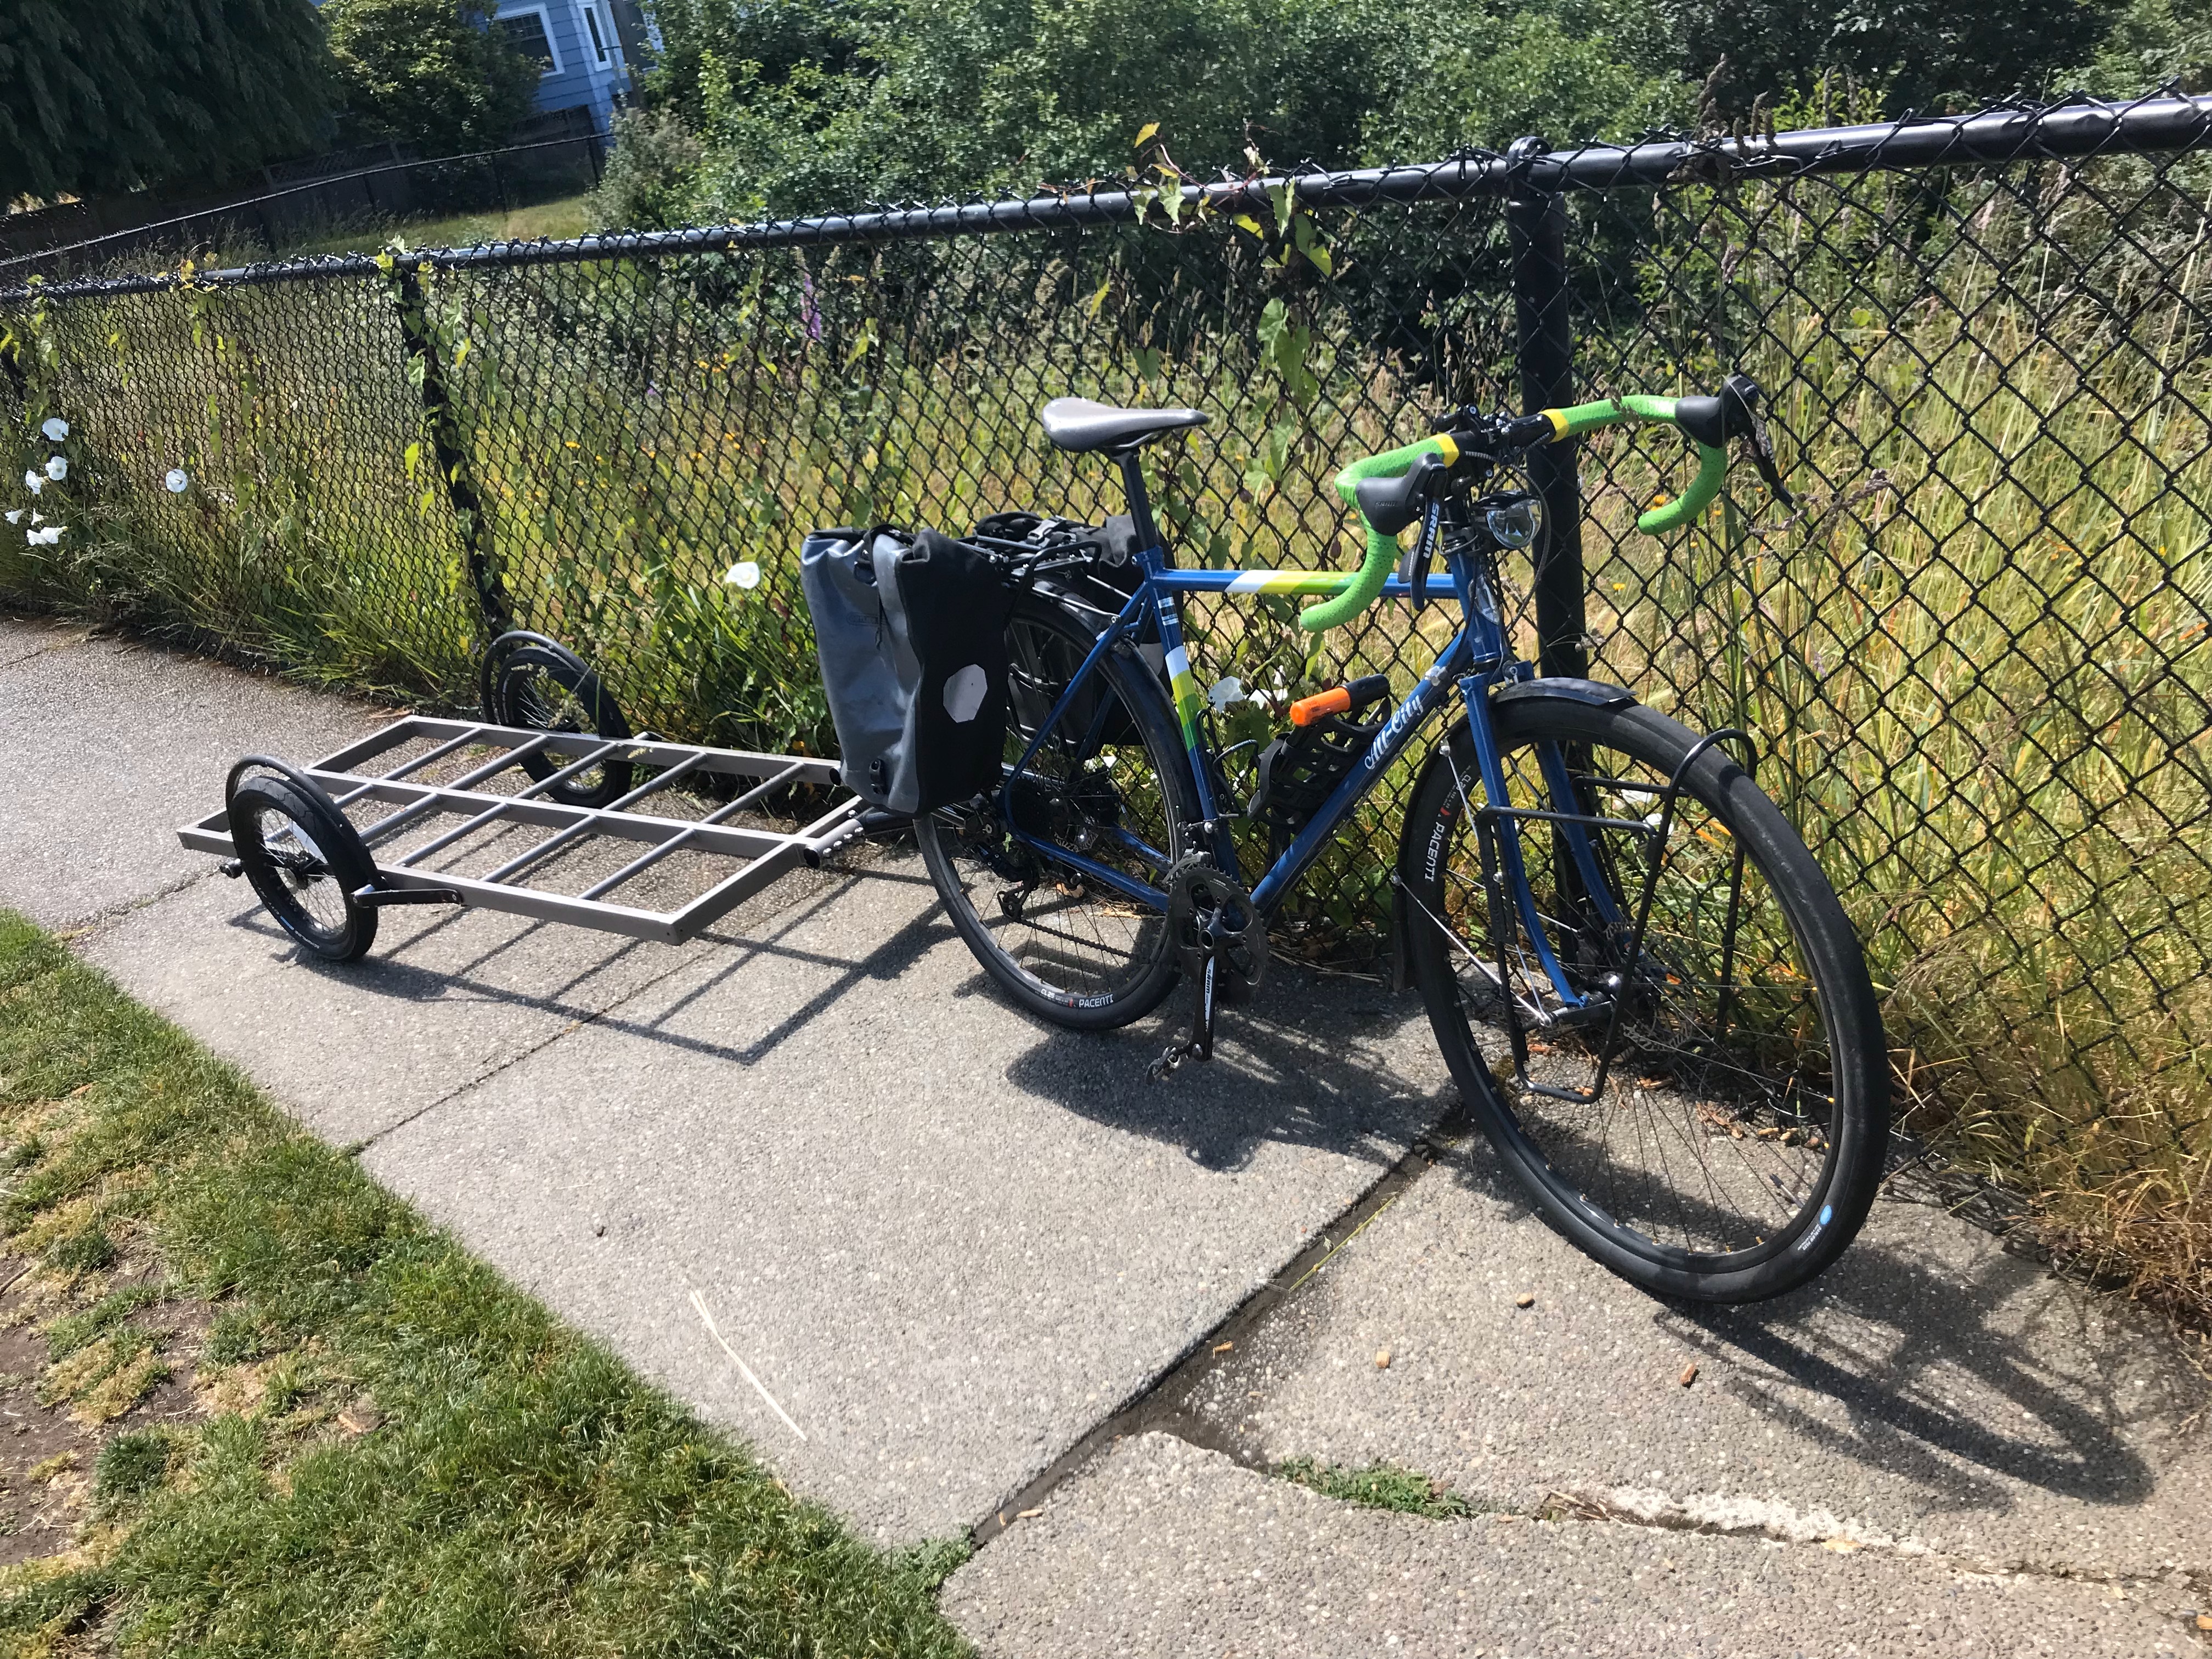
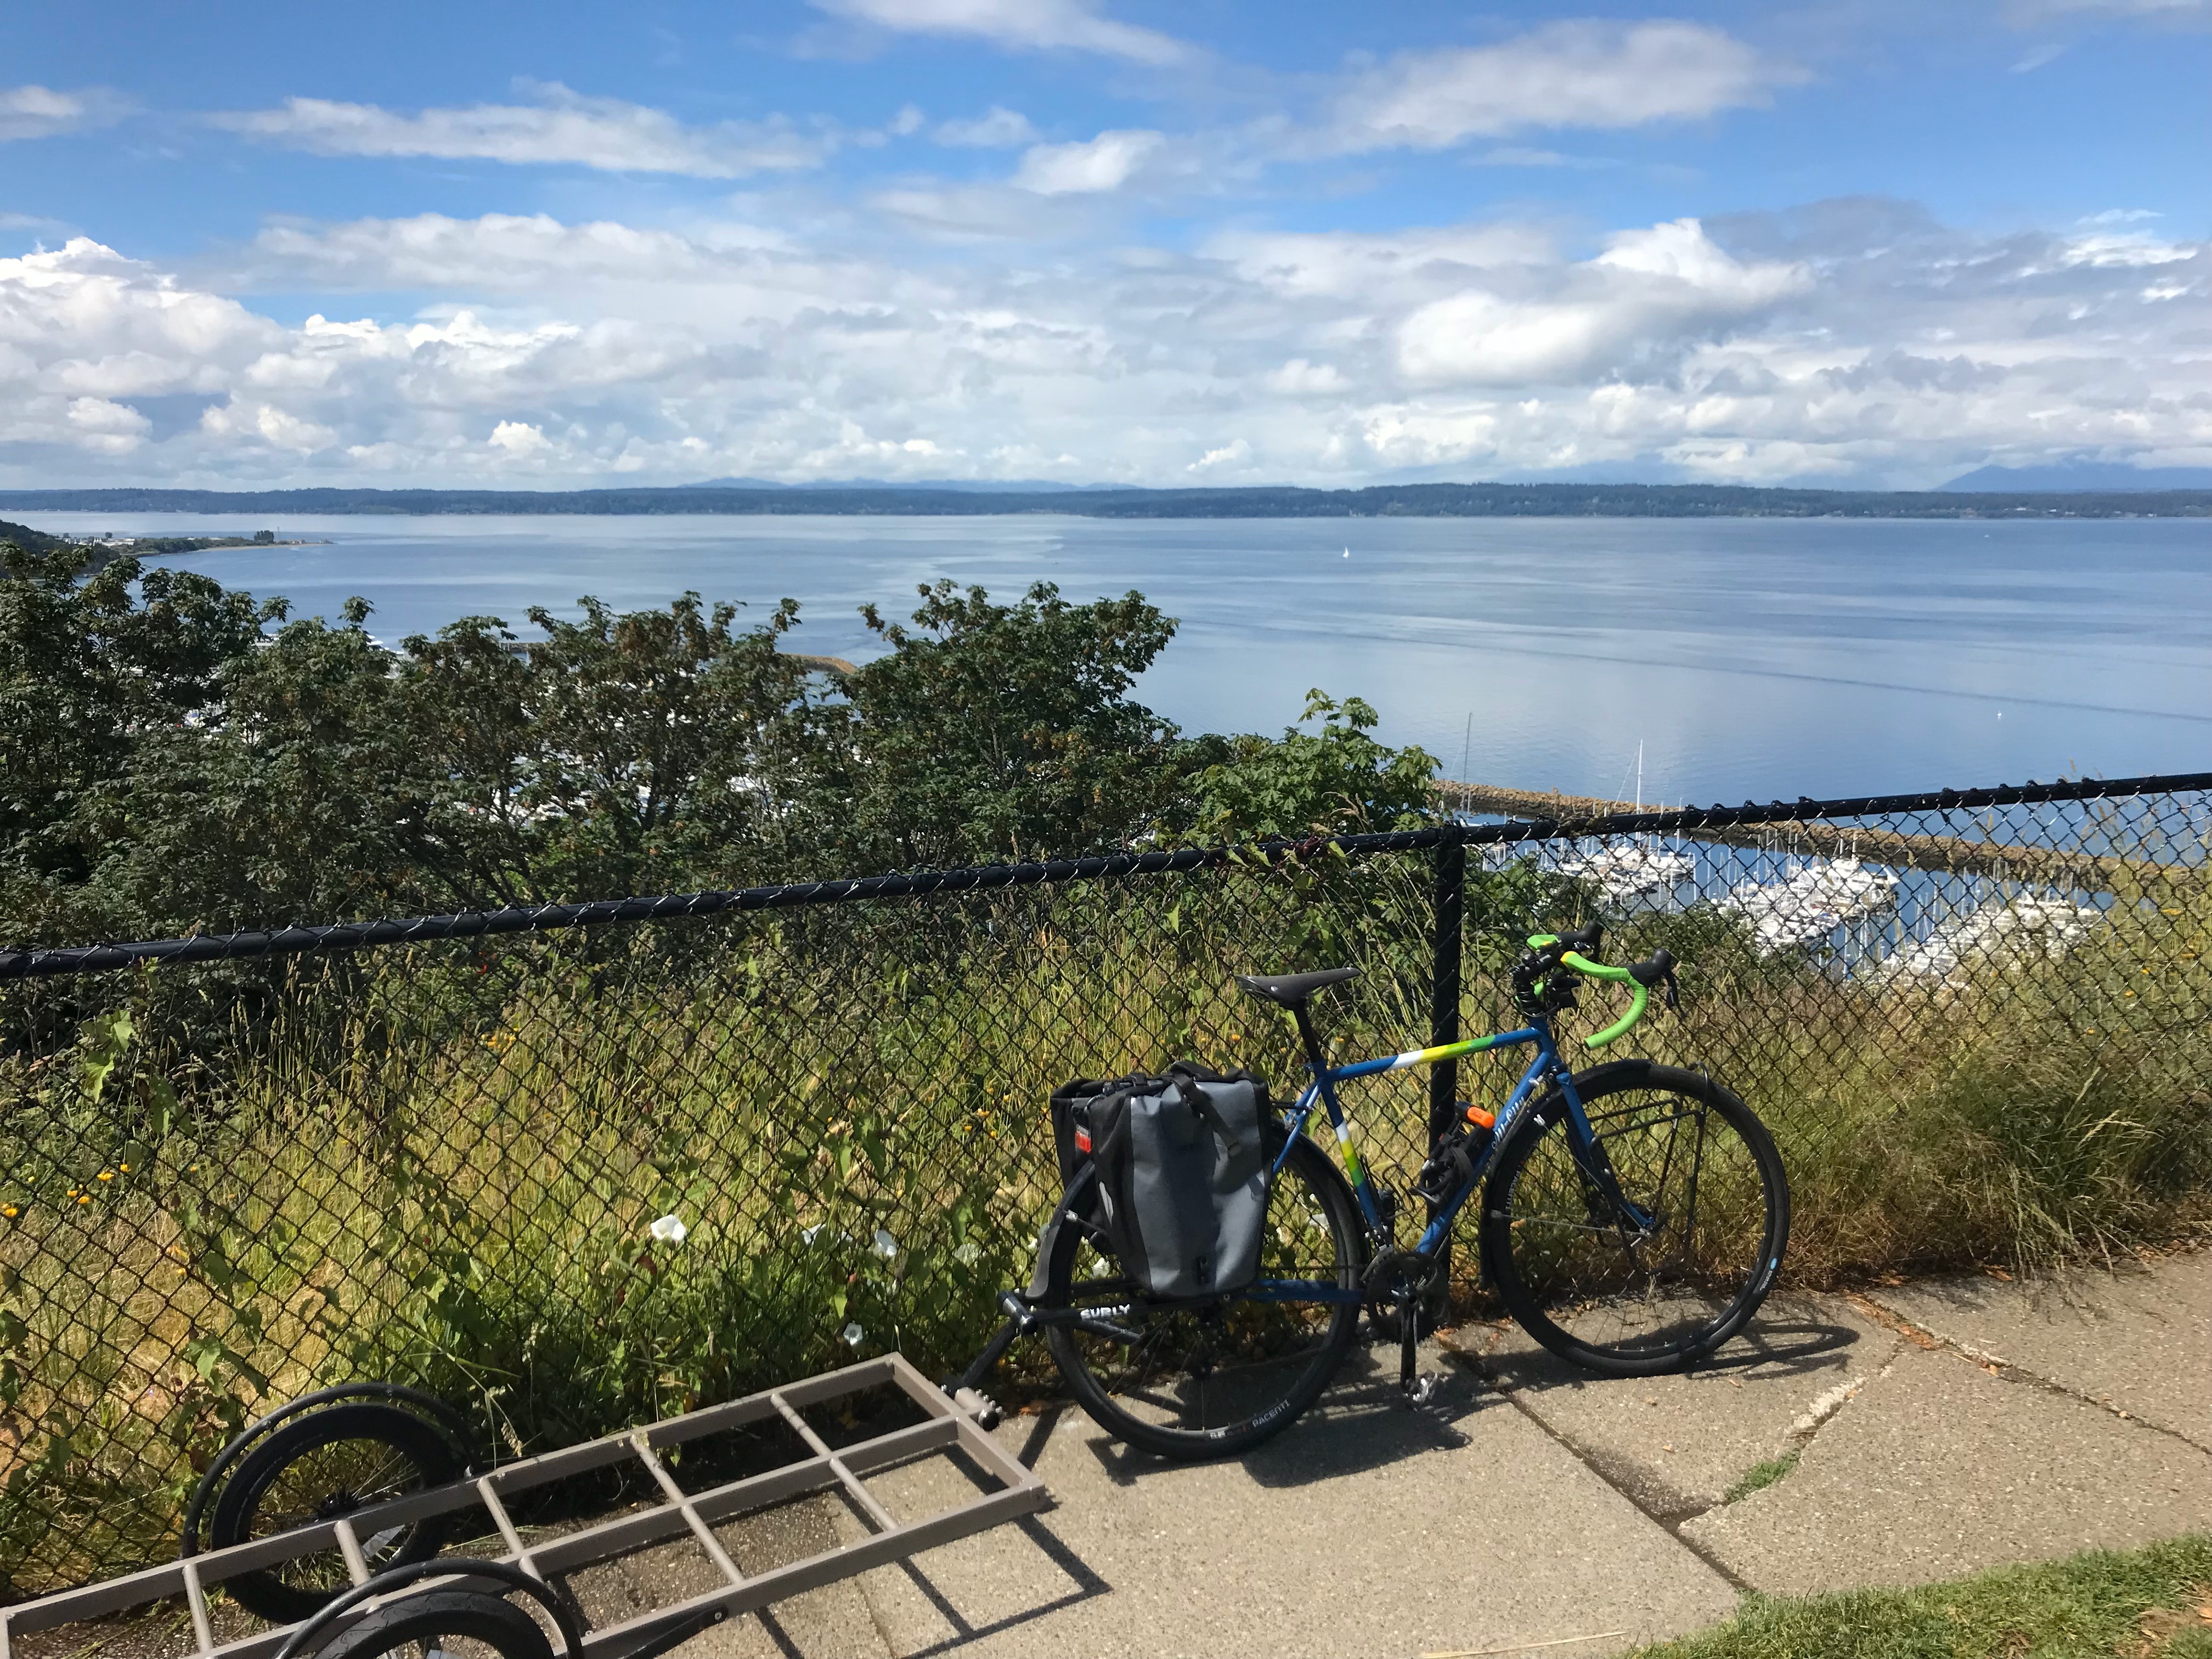
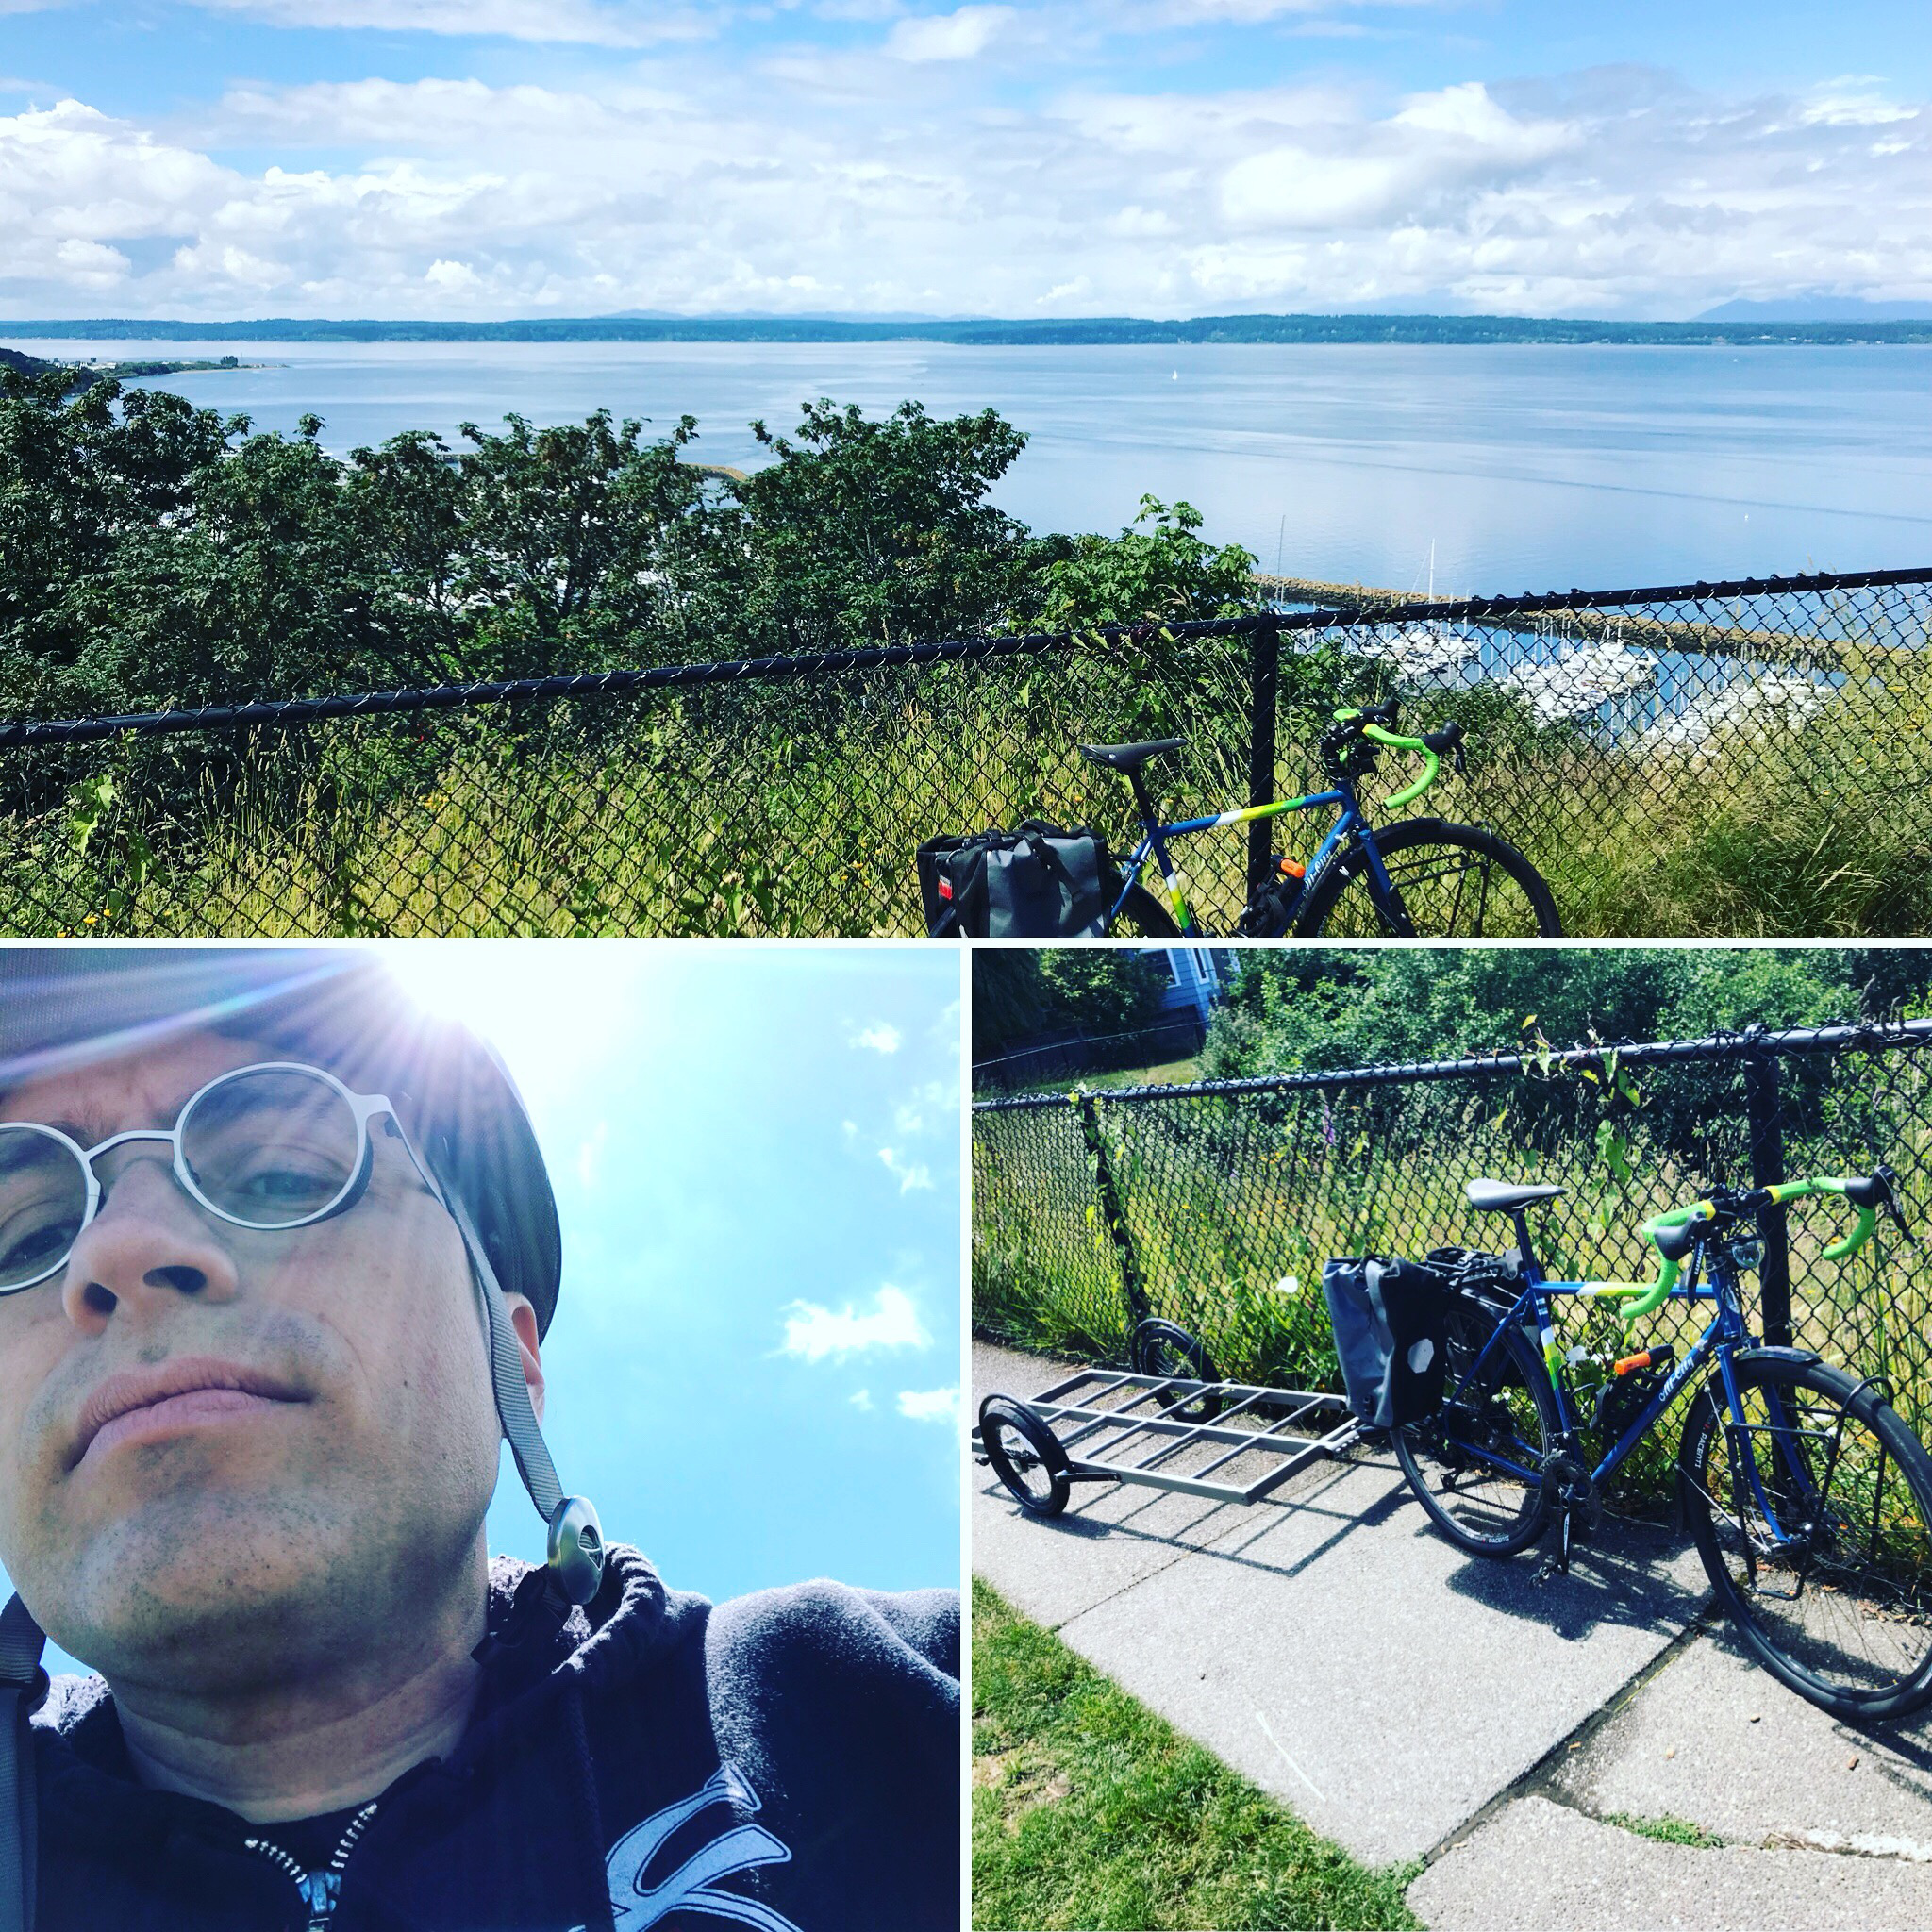
I picked up an All-City Macho Man just a few weeks before I got the Space Horse Disc built at Back Alley Bike Repair here in Seattle! From here on though, I’m going to call the bike by it’s now given name of Pop Rocket.
The Pop Rocket has traveled with me to well over a dozen cities over the last few years. Except for the fenders, everything on this bike started out stock.
Specifications
Headset: Cane Creek 10 series
Stem: Salsa Guide, 1-1/8th threadless, 31.8 clamp
Handlebar: Salsa Cowbell 3, 31.8Tape Black
Shift/Brake lever Shimano 105
Brake: Hayes CX-Expert, 160mm rotors
Front Derailleur: Shimano CX70 31.8 with 28.6 shim
This is my main ride for almost everything. I’ve got larger tires on for smooth riding in bumpy ole’ Seattle. Good gearing. A reliable and comfortable seat. Solid additional parts like Chris King Hubs, etc.
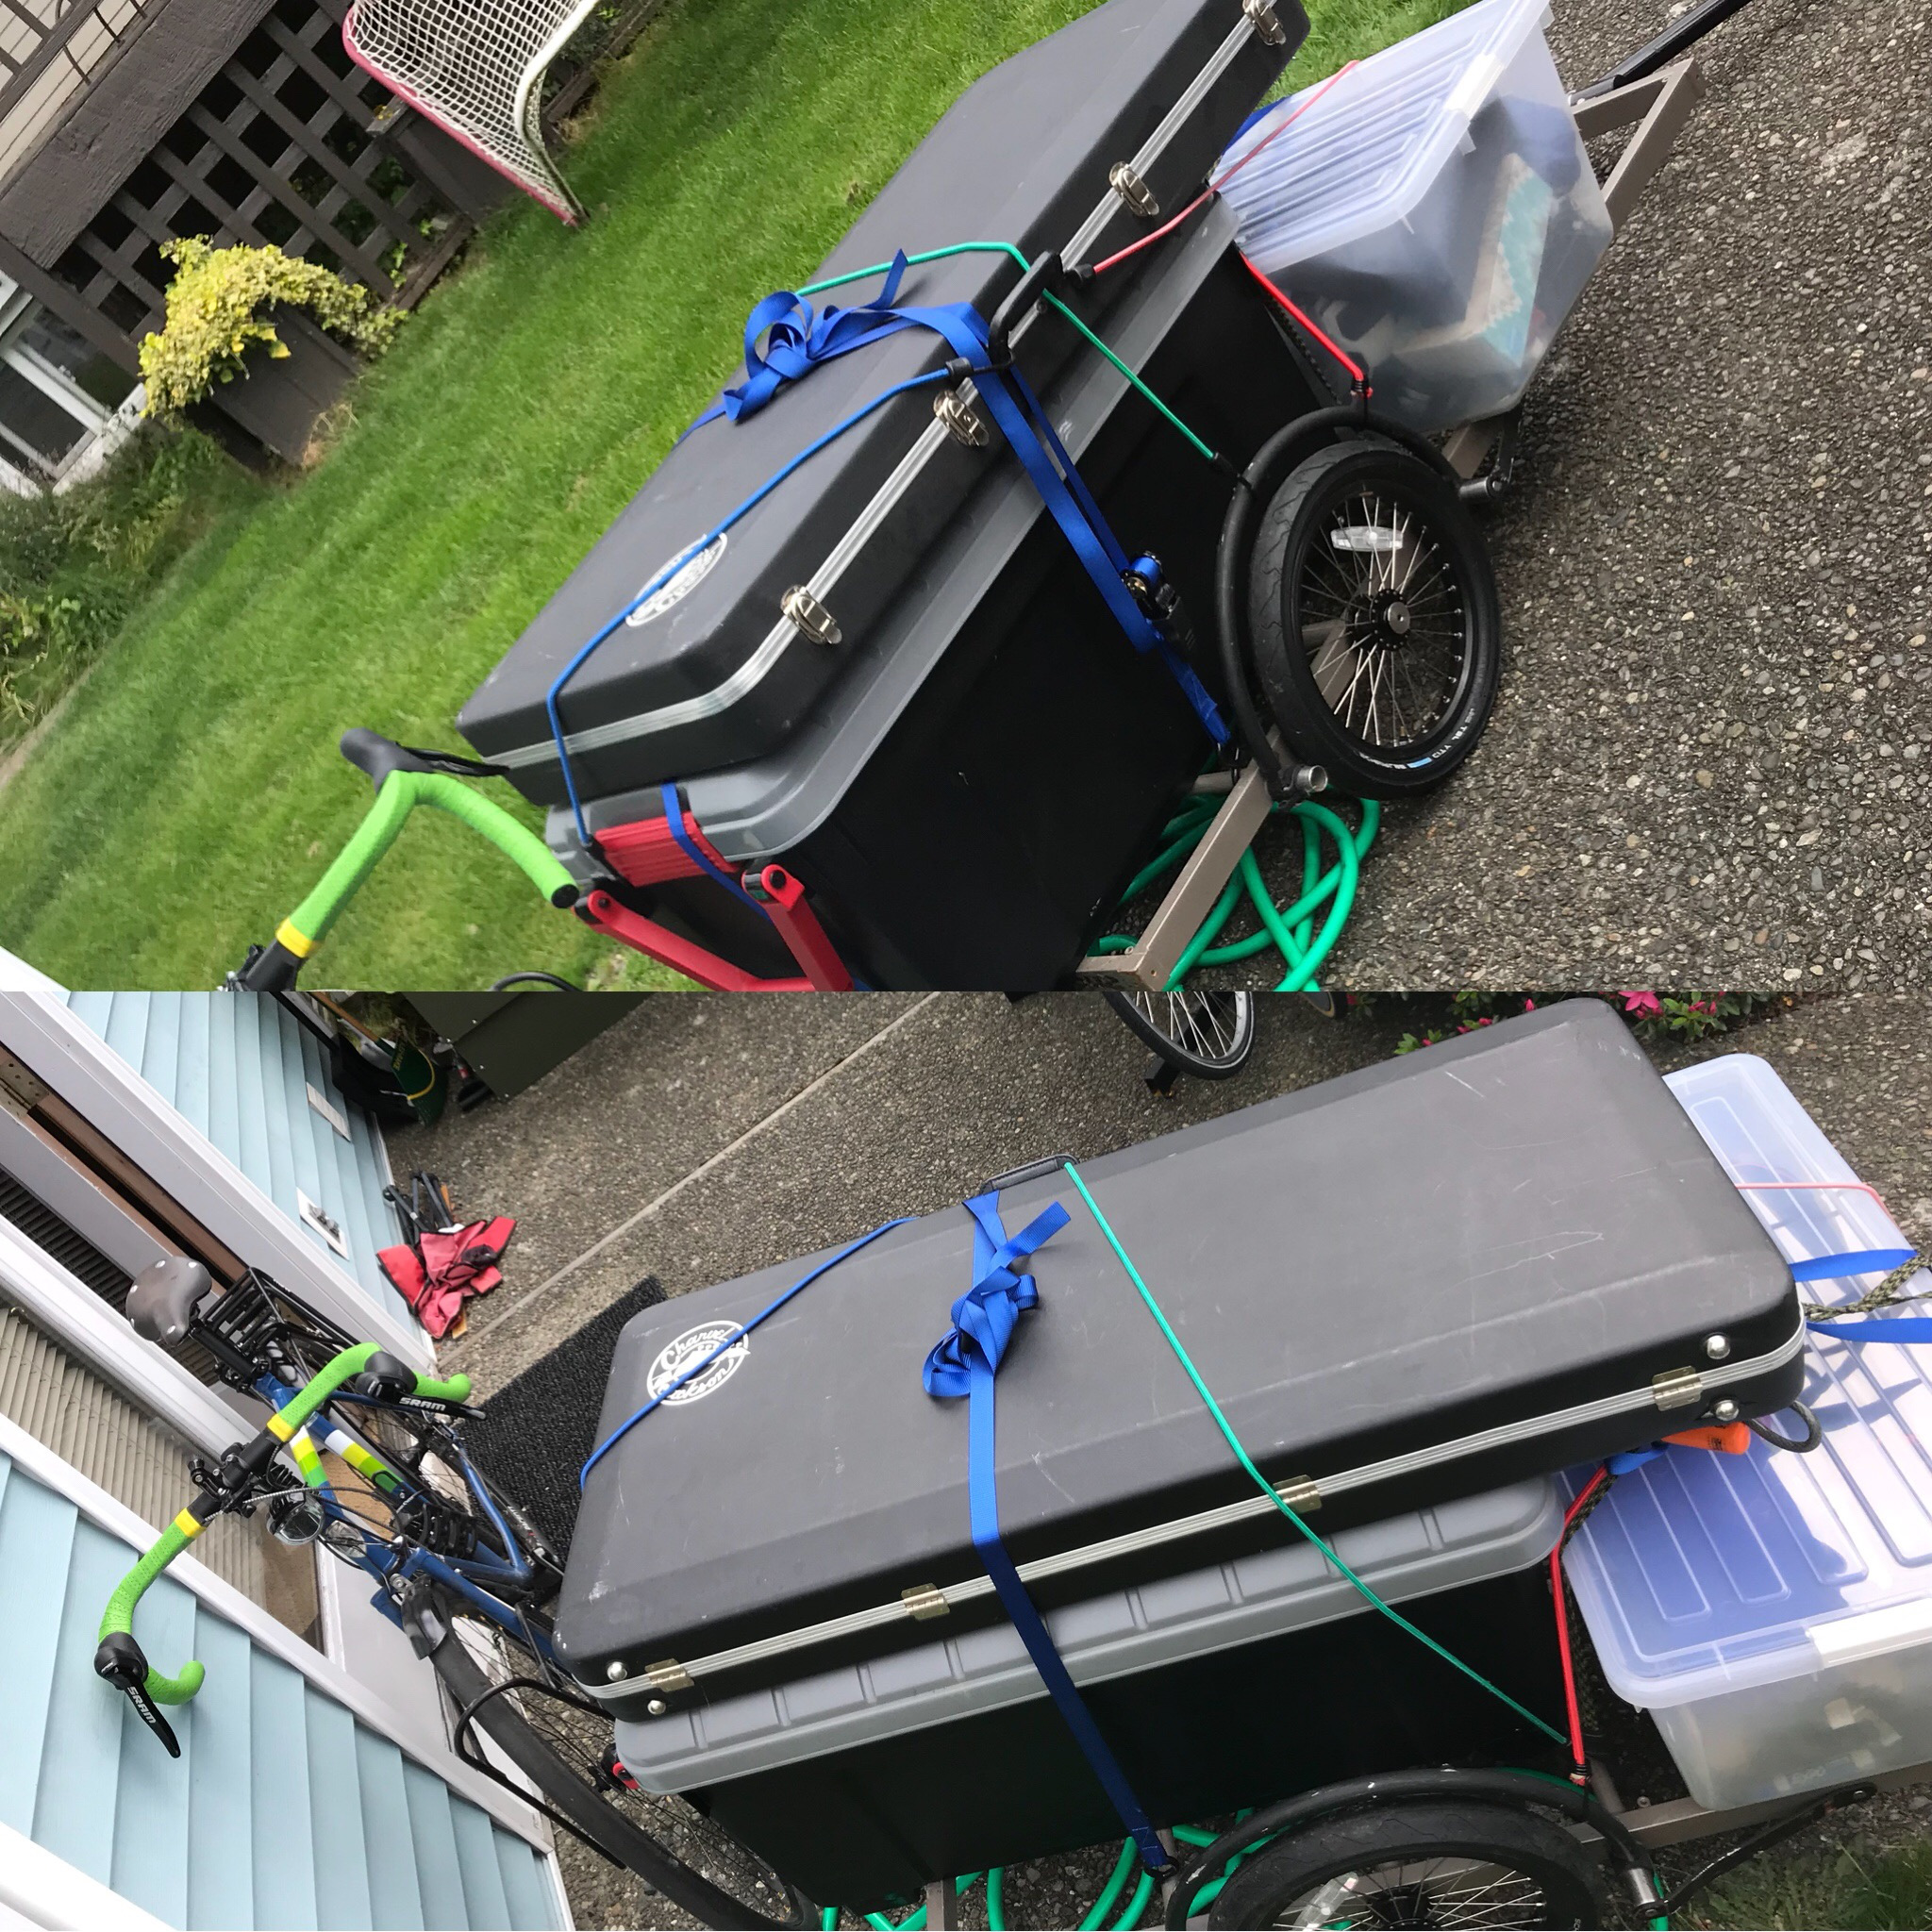
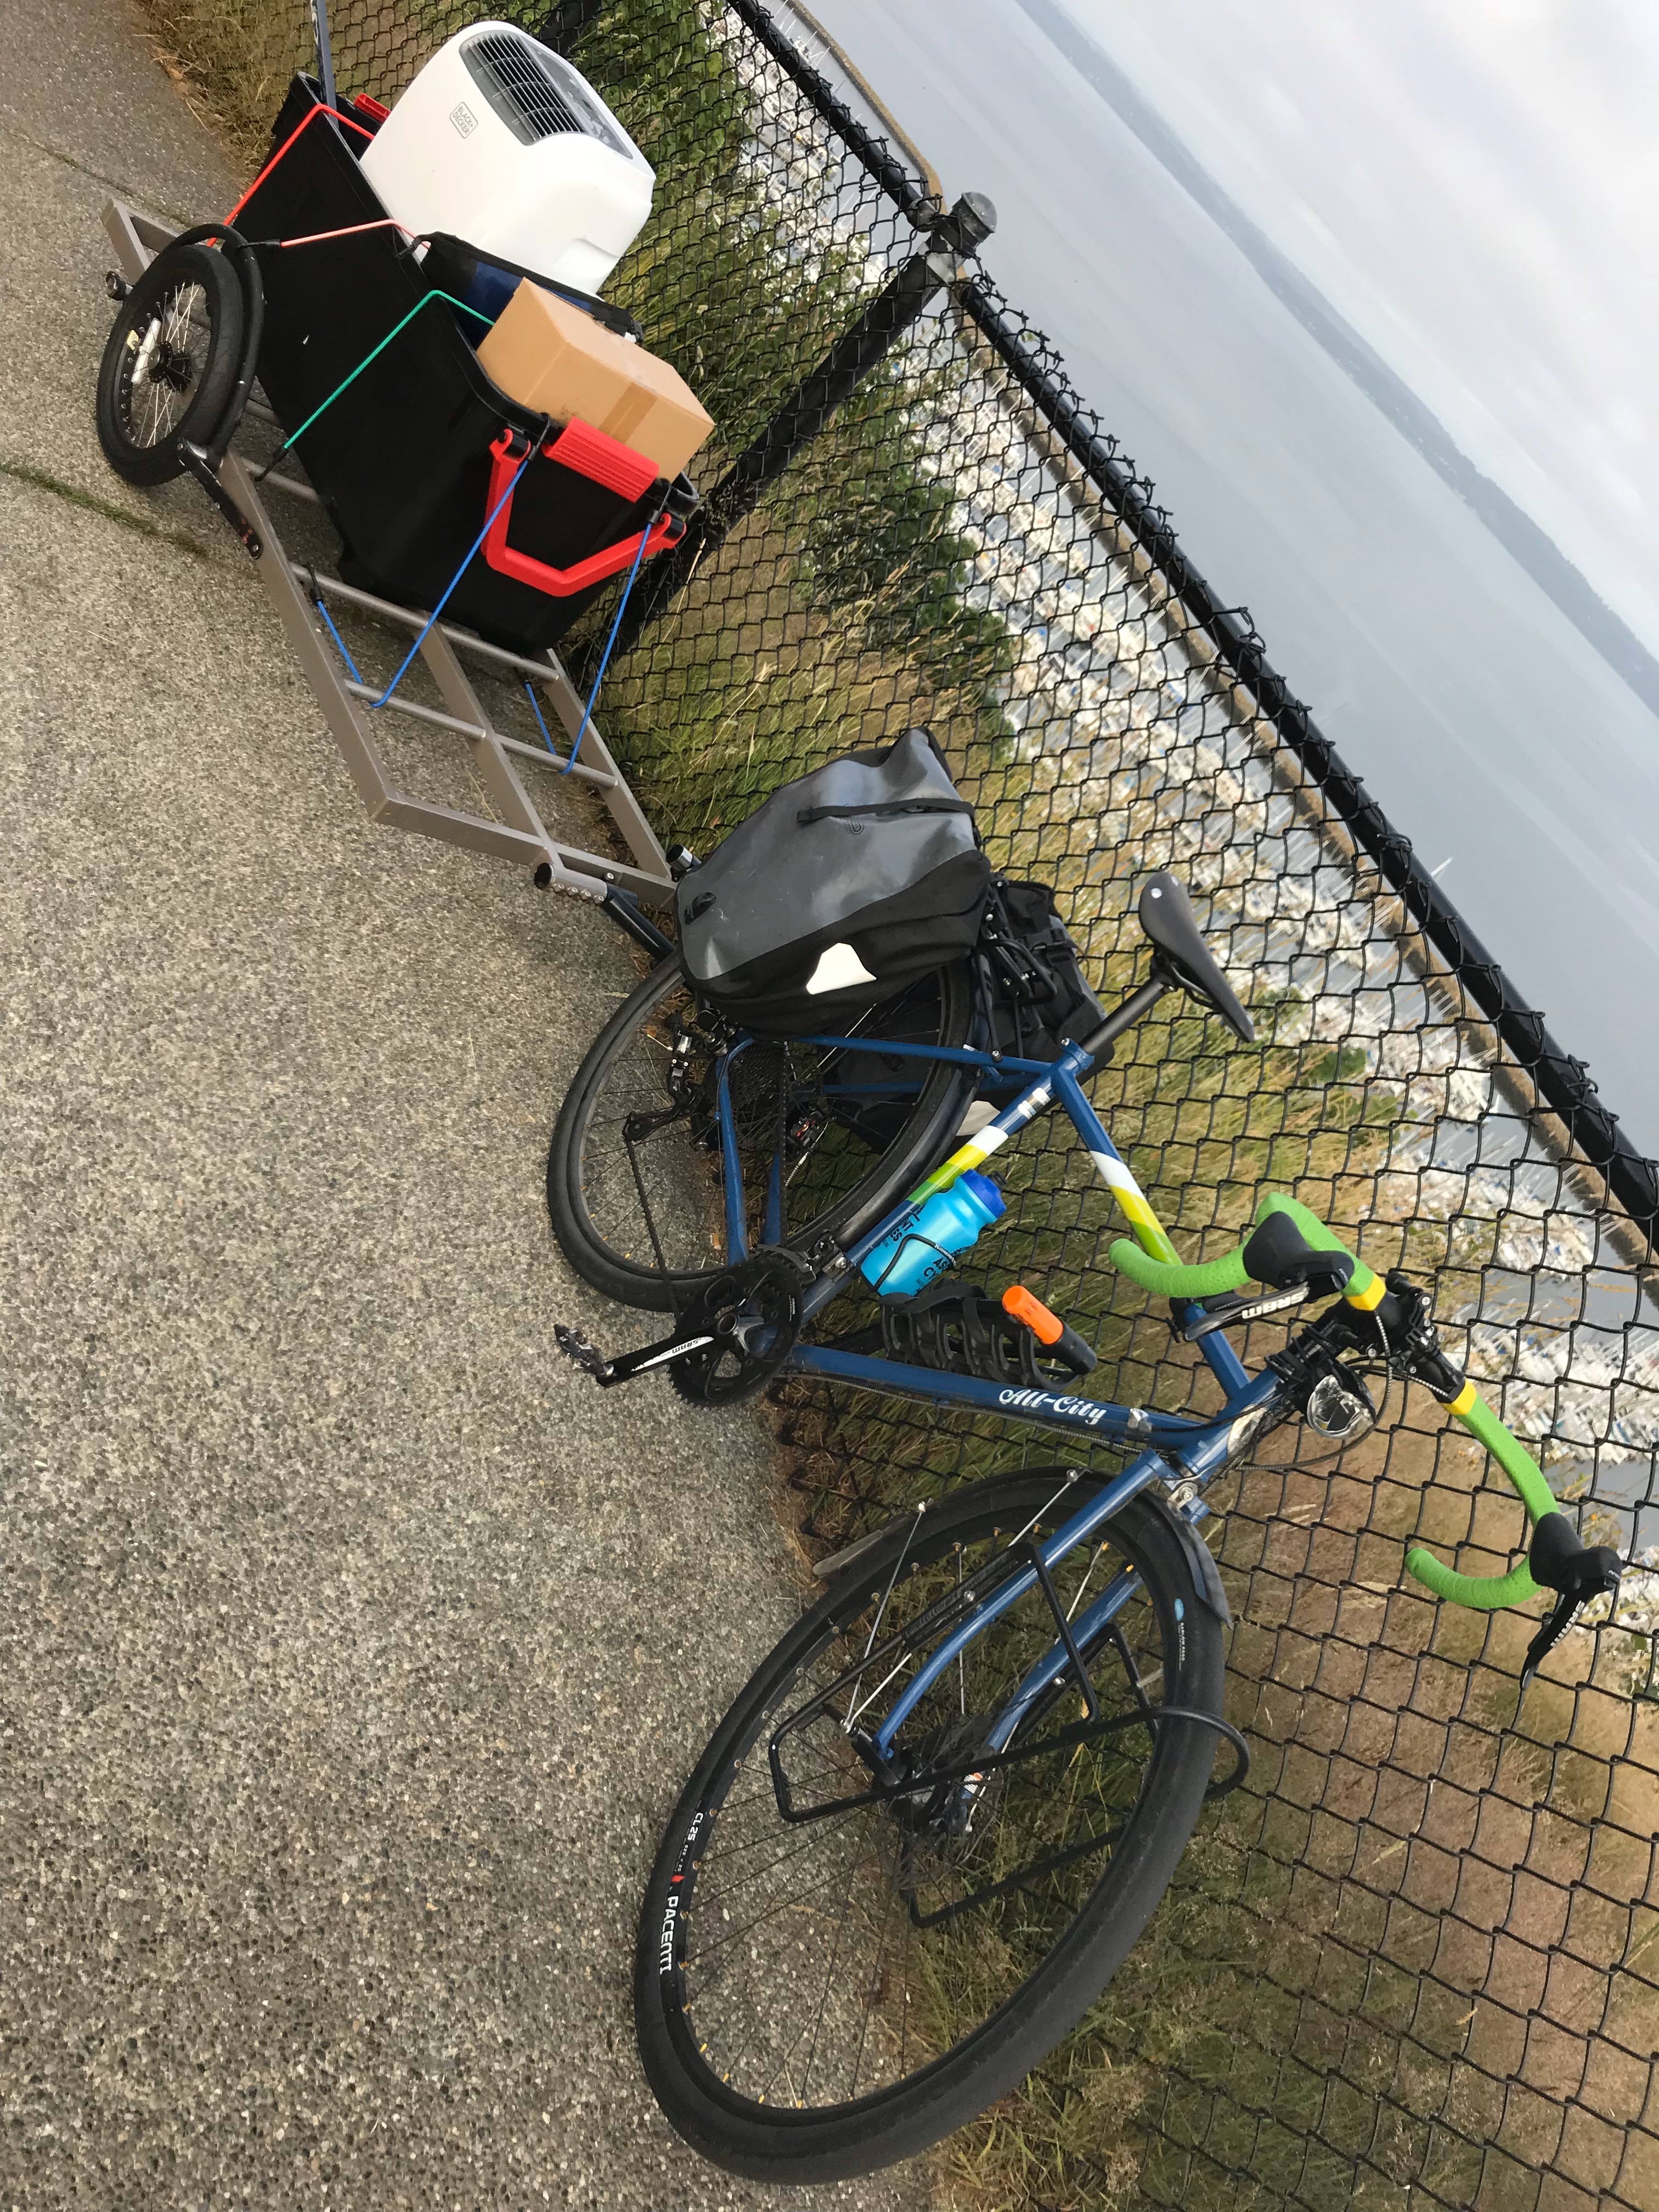
I have been through short rides, heavy rides, slogs, and distances of over 100 miles a day on this bike. It rides like a dream, and quick to respond, and solid for heavy loads. Combined with my Bill Trailer from Surly and it can carry a formidable multi-hundred pound load without much strain at all!
Specifications
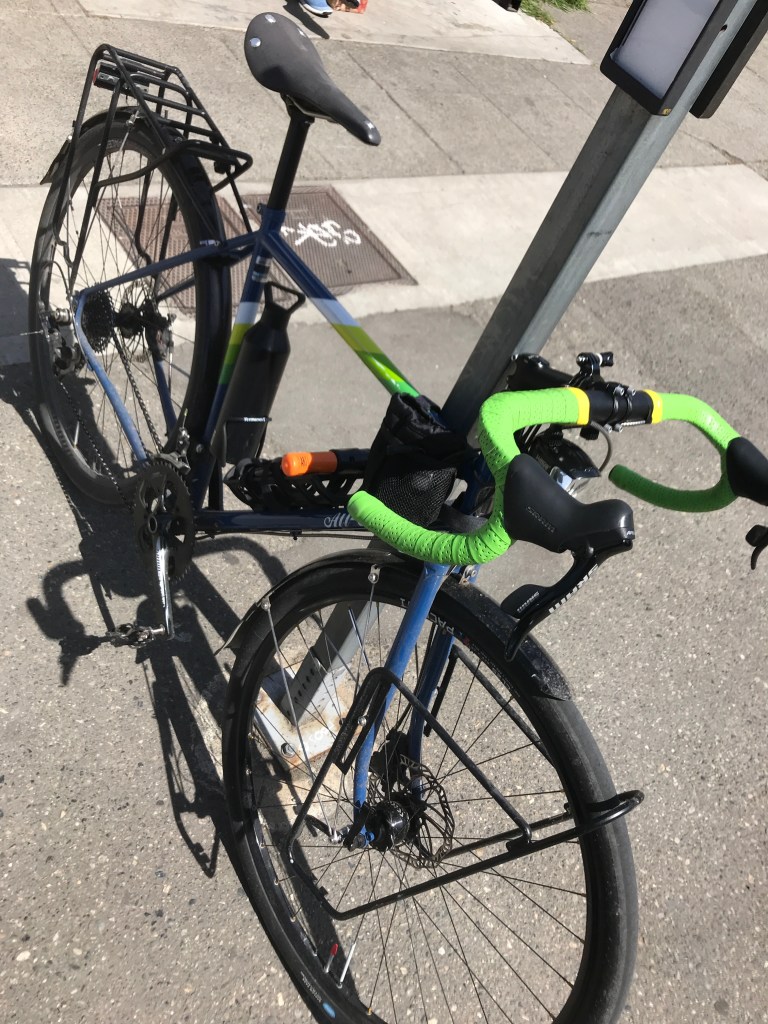
Frame: All-City Space Horse Disc w/ fork and gruppo.
Shifter: SRAM Apex 2x
Brakes: Yokozuna Motor Cable/Hydraulic
Rear DER SRAM Apex WiFli (32t max)
Front DER SRAM Apex
Crankset Arms: SRAM Apex 50/34 w/ Rings
BB GXP
Cassette 10-speed 11-32t
Headset Chris King R45, sotto vocce blk
Rims Pacenti CL25
Hubs Front Shutter Precision PD-8, Dyno/ISO
Hubs Rear Chris King R45D blk
Spokes Front/Rear DT Swiss Revolution
Nipples Gold w/ ano/green accent
Tires: Compass Cycles Barlow Pass 38m
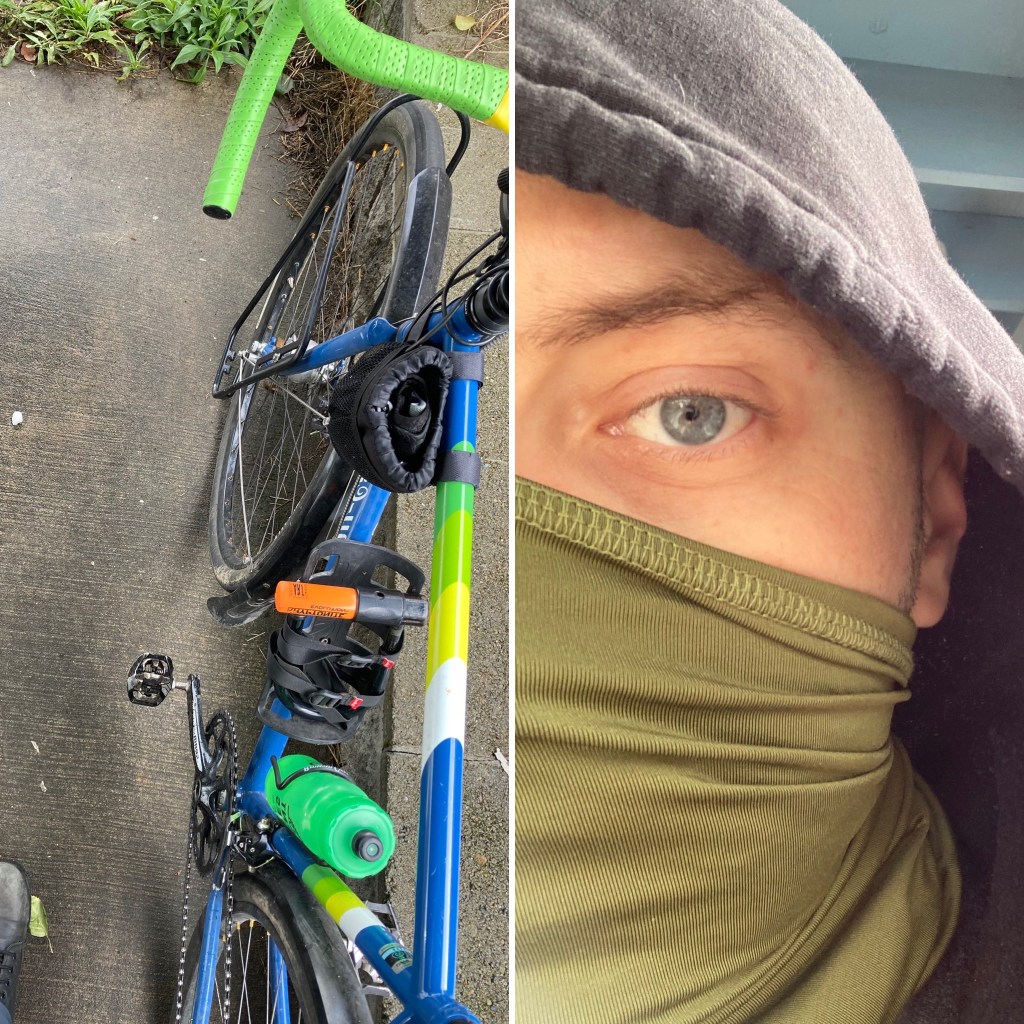
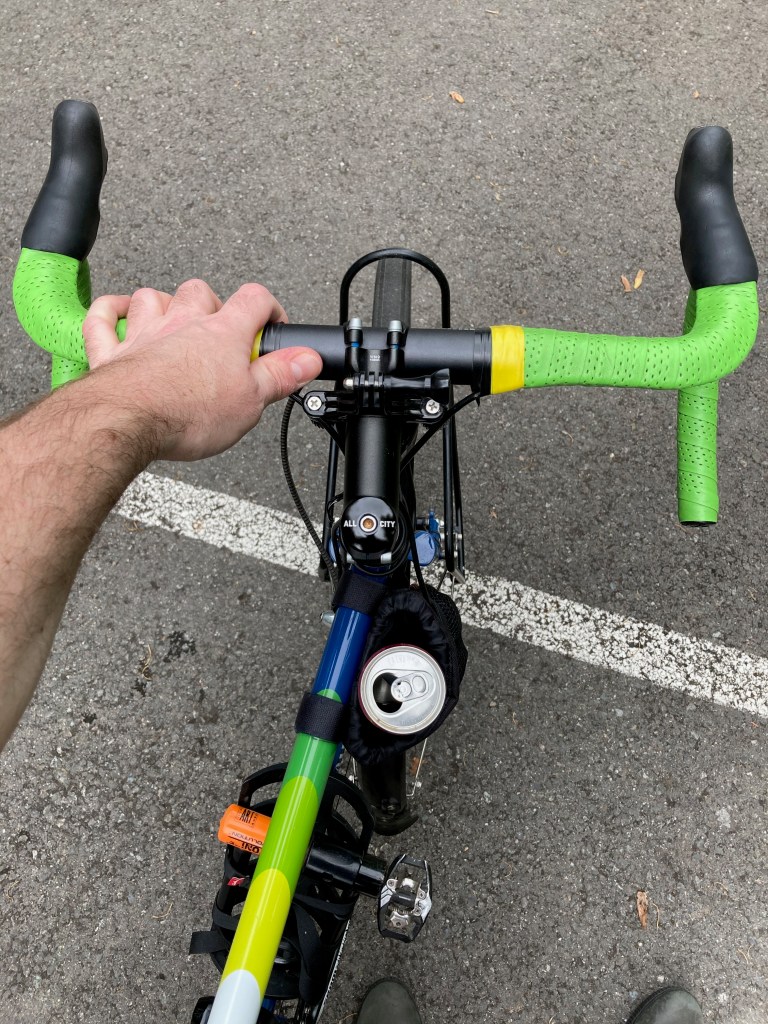
Tape/Grips Fizik Green to beautifully match the frame.
Saddle: Brooks Cambium C15, black
Pedals: Shimano XT PD-M8020 Trail Pedals
Fenders: Planet Bikes ALX black)
Cages: One bottle, one Salsa “Anything Cage”
Front Rack: Jandd Lowrider
Back Rack: MSW Pork Chop
Lights: Front B & M Luxos U
Lights: Rear B & M
Charger/USB Charger w/ Luxos U
Power Switch w/ USB Charger on Dyno/Light Configuration
Over the years I’ve gotten a new dyno replacement, and changed the cassettes to different gearing. Otherwise all pieces are still in place after a solid 35k miles so far! BOOM!
NOTE: Again, not sponsored by anybody to write this. Just doing to to document the gear I use in case anybody is interested. To check out the Space Horse Disc hit up the product page.
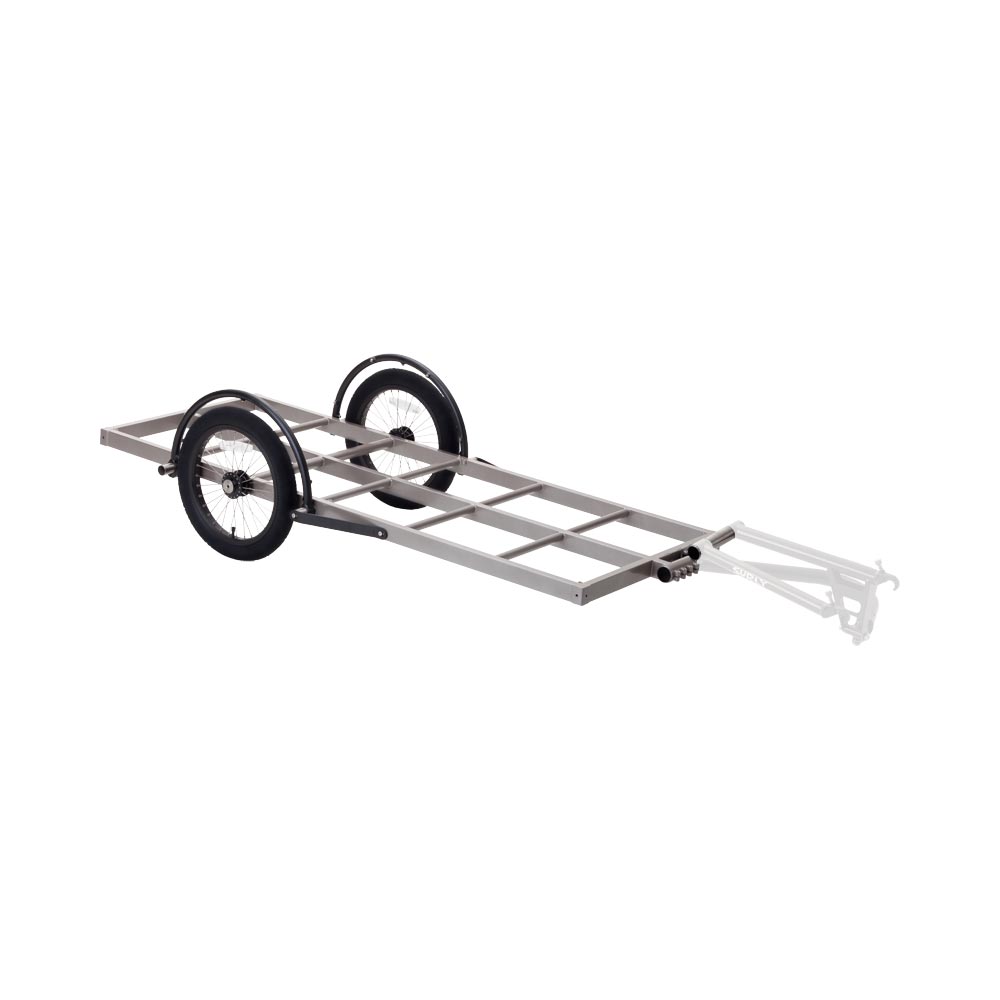
This is the first set of a few short posts I’m writing up detailing the bike gear and rides I currently use on an almost daily basis. This first, part gear and *part* bike, is the Surly Bill Trailer. I purchased this trailer a few years ago and have, over the years I’ve owned it done some of the following.
Moved from a location in Seattle to another location in Seattle. It took about 9 loads but it got done.
In Portland moved from downtown in the Ladd Apartment tower downtown to Precott & Interstate Avenue. Another moving adventure of about 4 loads.
Ikea pickups, ranging from a mere ~30 pounds to almost 260 pounds for the biggest load I picked up. Which, at Ikea, considering much of the stuff is pretty light, 260 pounds is a lot of furniture to assemble!
More MMRs (Midnight Myster Rides), other party rides during pedalpalooza, and related events than I can even count a this point.
About 15-20 different trips to and from the office with computer gear, music gear, and other related things like guitars and whatever as sometimes I want something at the office, and sometimes I want something back at home – or elsewhere.
All in all, it’s been a few tons of actual weight carried to and from all at a mere price of about ~$900 for the trailer, and it still had years, if not a solid decade or more of life to go!
Specifications
Long Bed
16″ Wheels
Gray
300 lbs load
37 lbs weight
63″ x 24″ (length x width)
16″ load height
Note: I am not sponsored or paid by any of these related companies. I’m merely writing these up out of interest and a desire to log what I use for reference. For more information check out Surly’s link on the trailer.
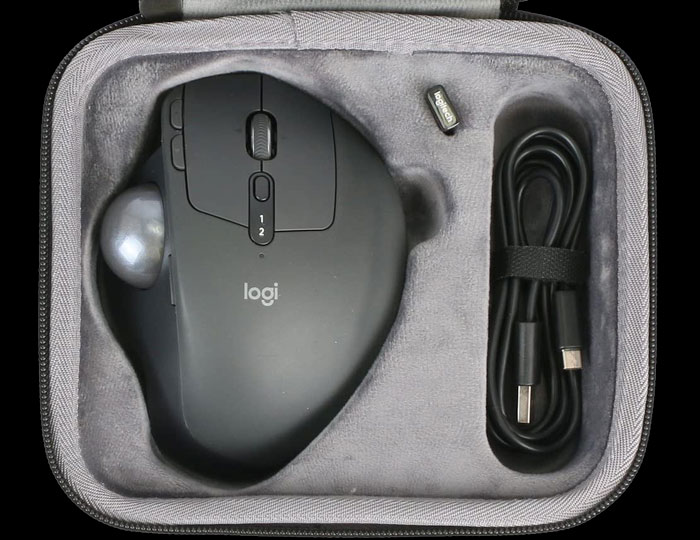
Recently I purchased a trackball and a hardshell case for that trackball, which I then wrote a review of over yonder “A Review of the MX Ergo Advanced Wireless“. The hardshell case primarily because I displace a lot during the course of the day. Whether traveling far away from home or just within the city in which I live (i.e. Seattle these days, but in the past Portland, Memphis, Jacksonville, New Orleans, Krakow, etc) it’s been very important to have computer gear that holds up well to these movements during the day. Here is a video that details the trackball, hardshell case, and some of the different places I’ve used it since purchase. Below the video I elaborate on two of the scenarios I use these devices.
Trackball Travels
Coffee Shop Cycling Displacements
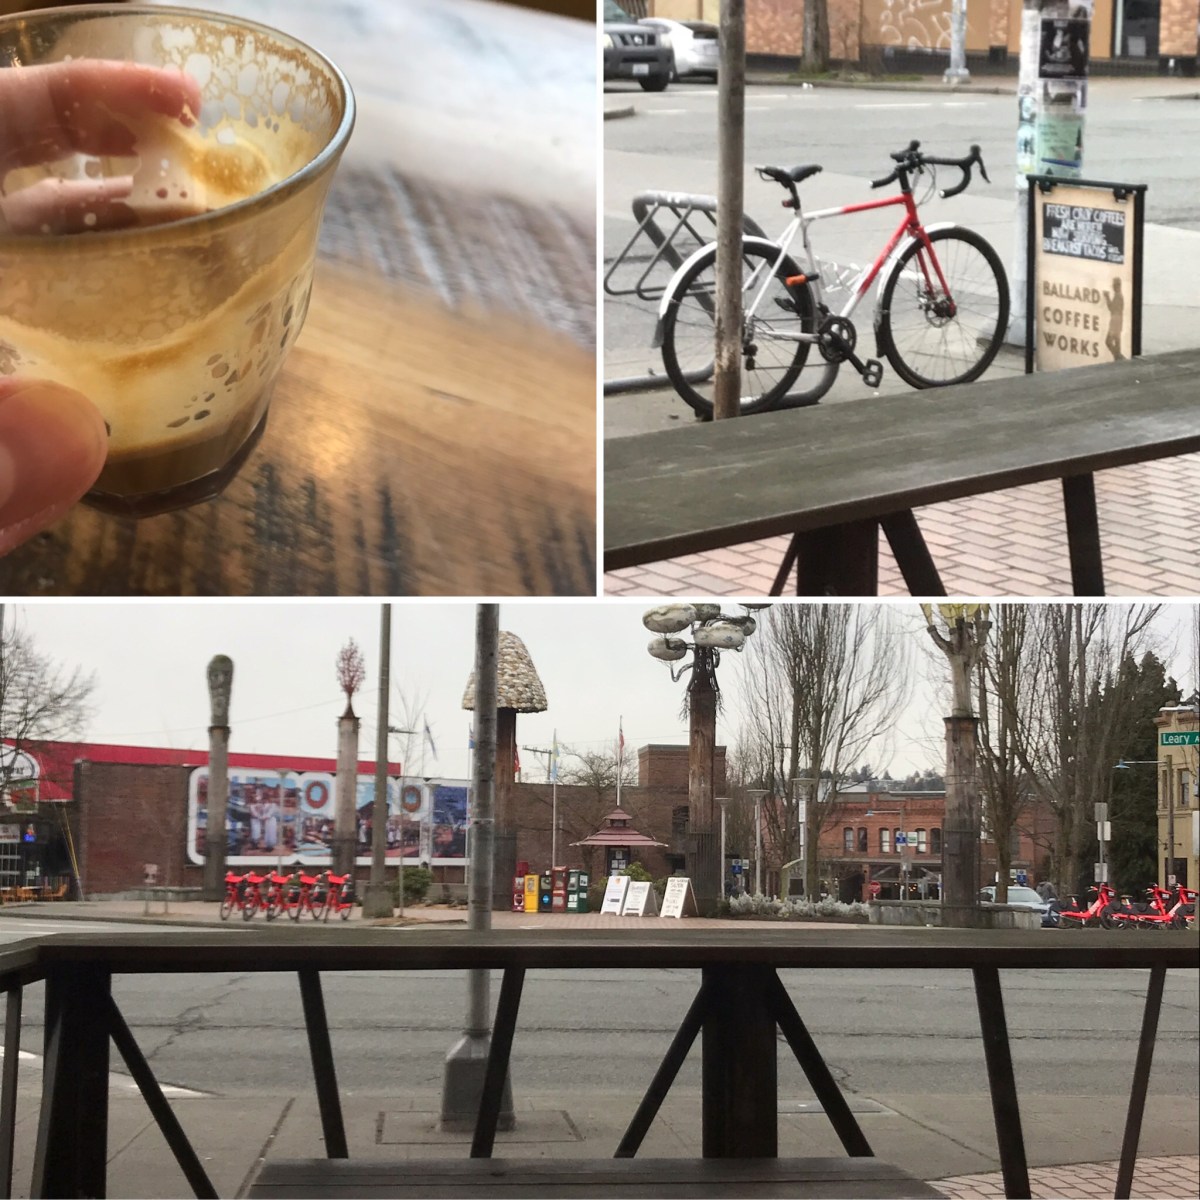
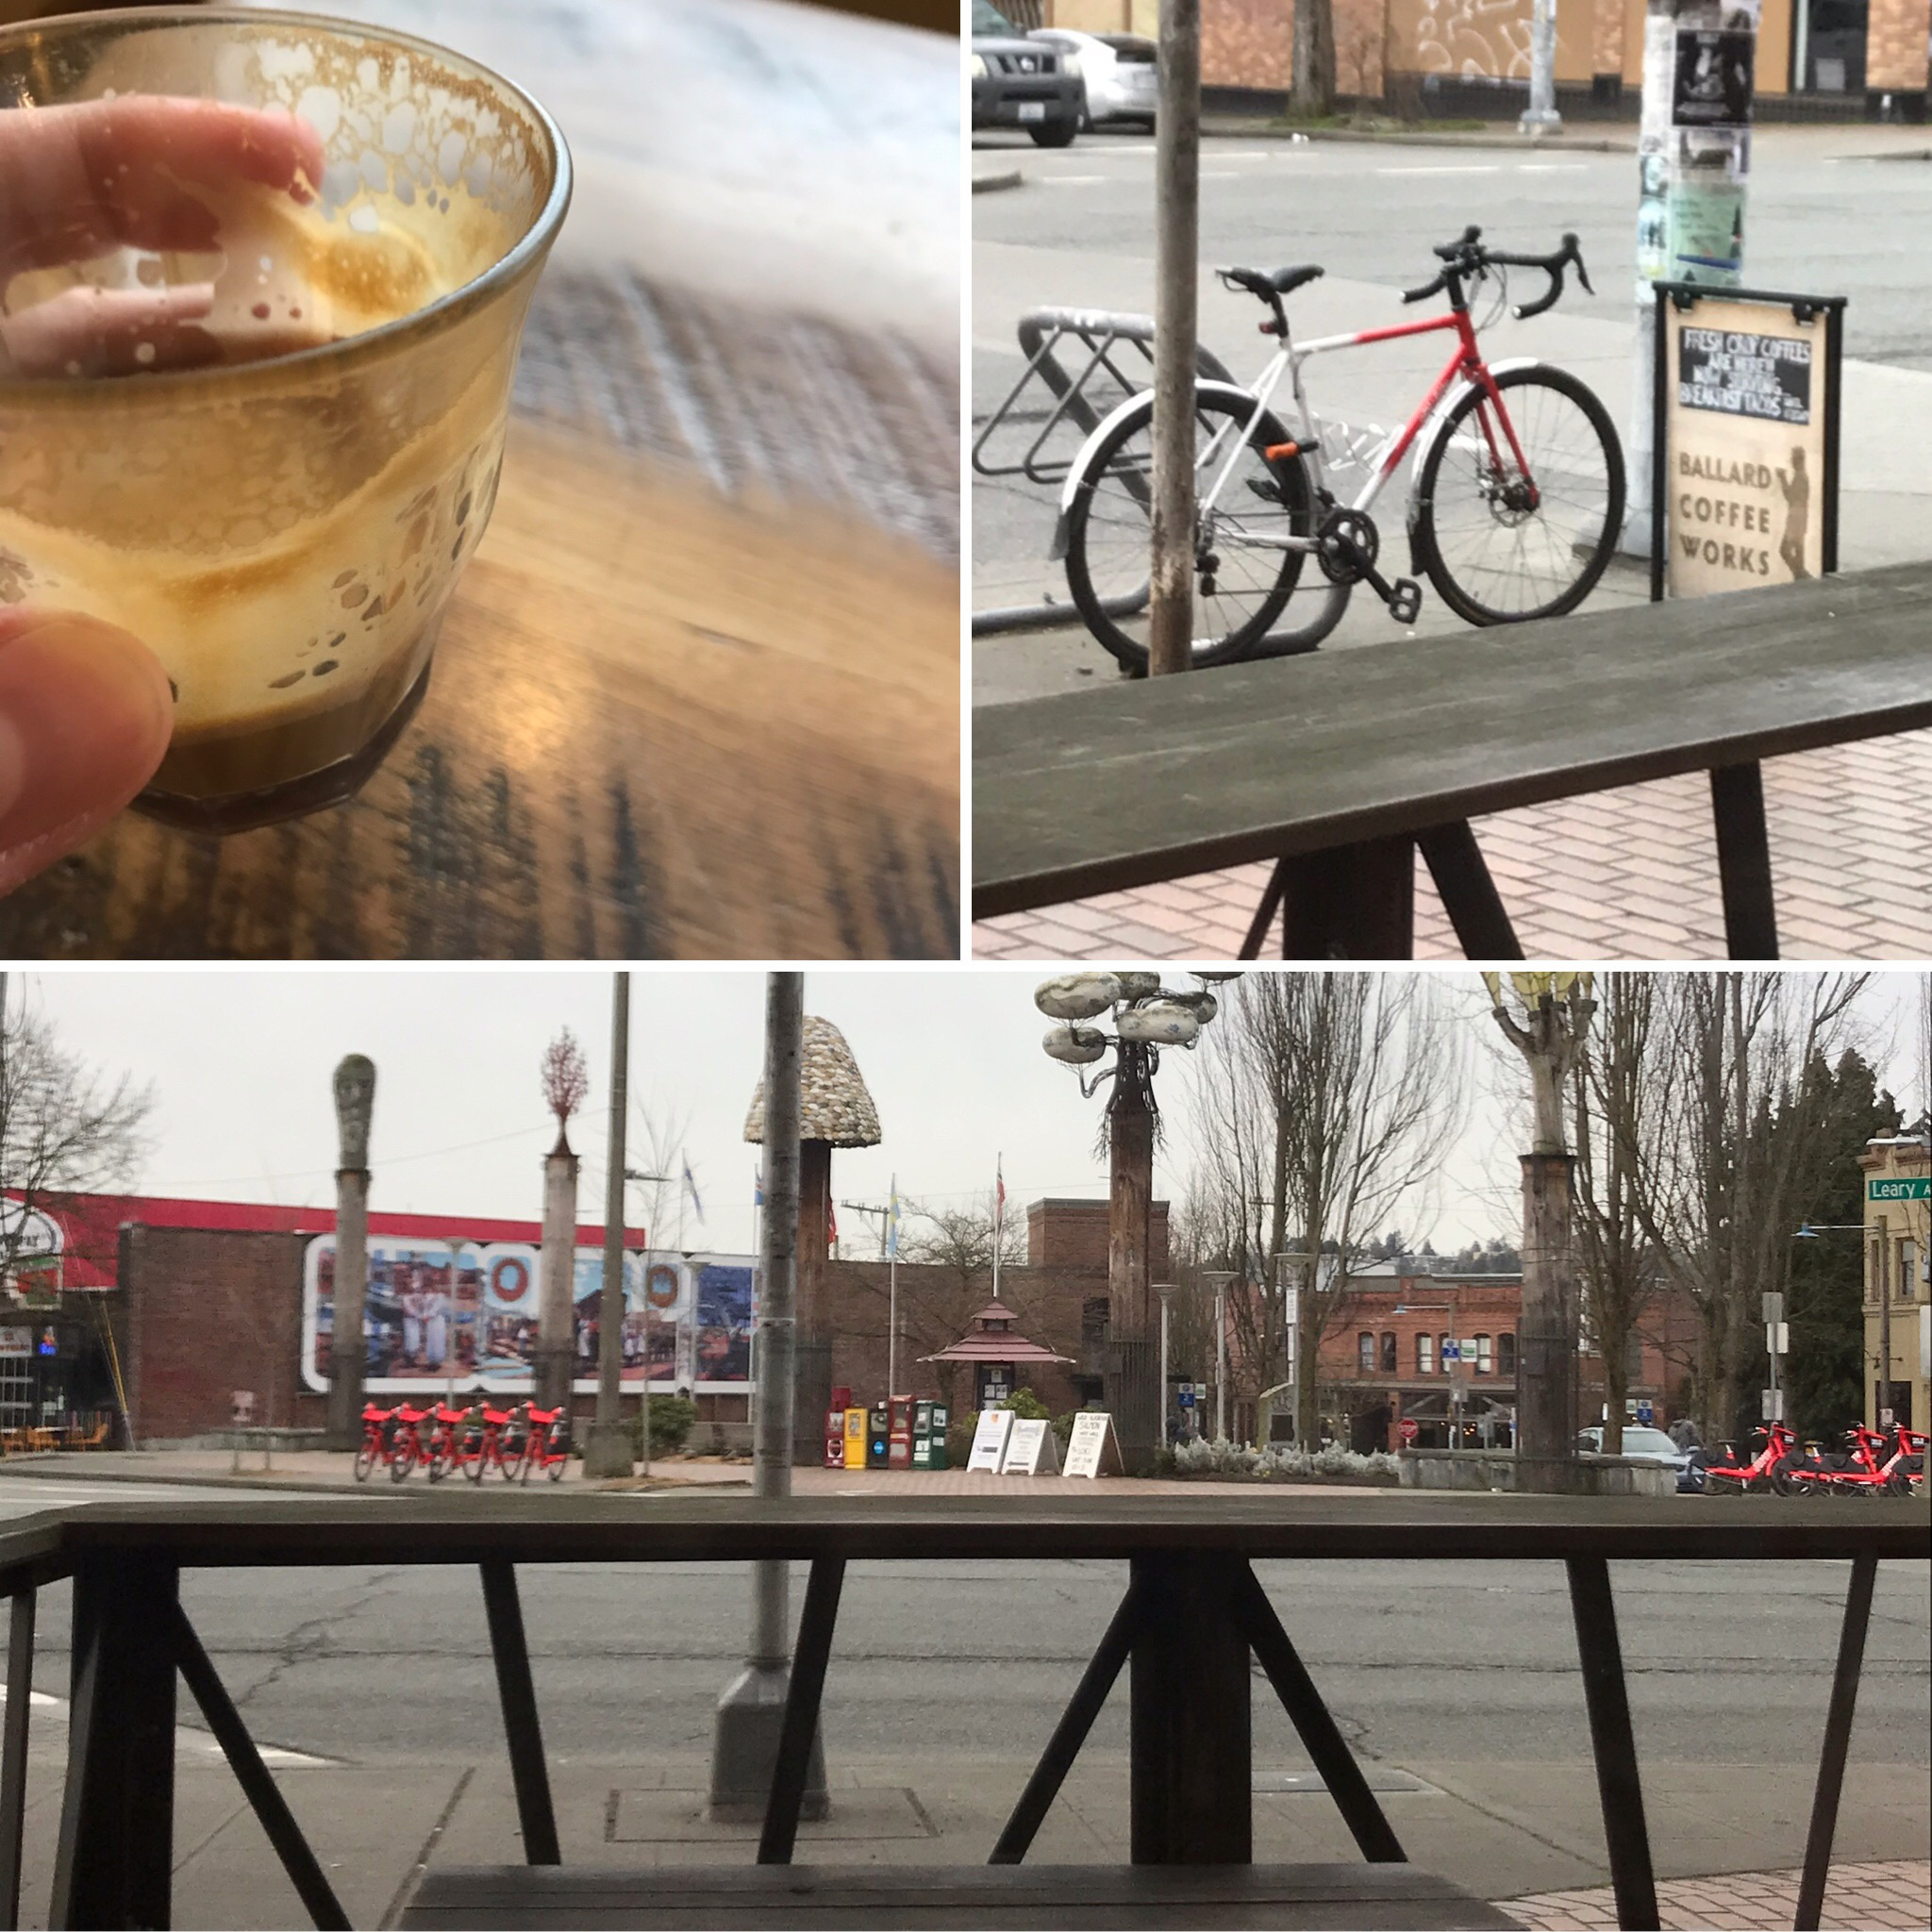
Often during the day, at least a non-pandemic day, I work coffee shop to coffee shop. Meeting other coders, working alone, or having meetings in person in coffee shops. As I move from coffee shop to coffee shop, sometimes I use transit (bus/train/tram/streetcar/etc) but more often I bike from shop to shop. During these displacements computer gear can get banged up heavily. That’s where the hardshell case for the trackball is hugely important!
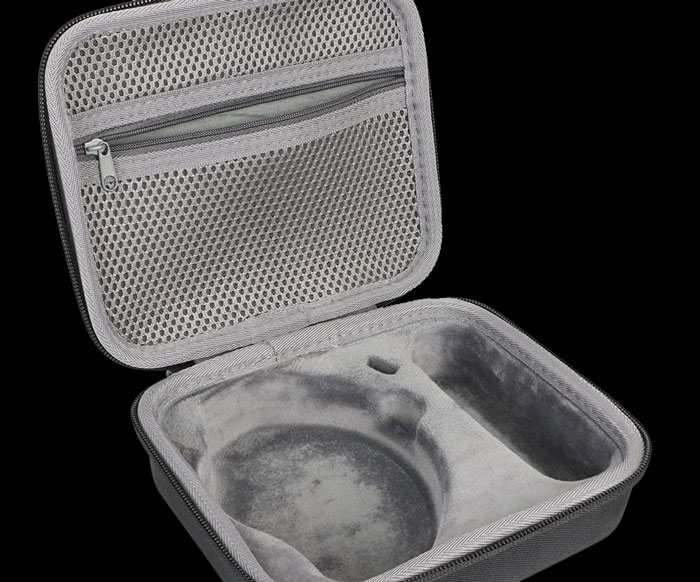
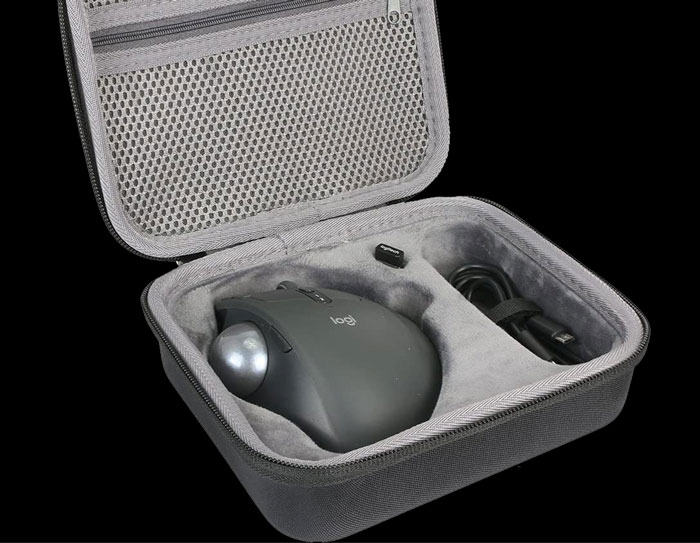
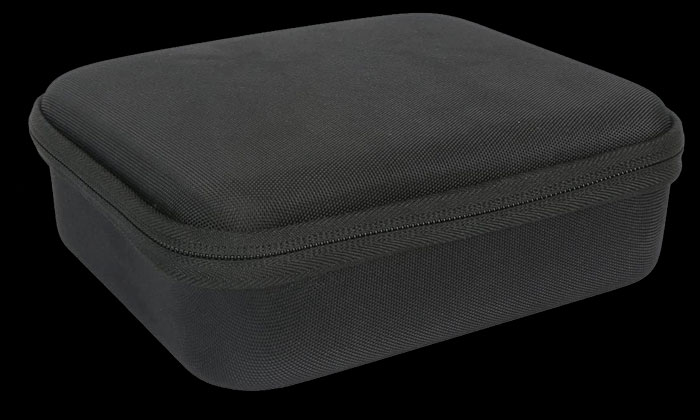
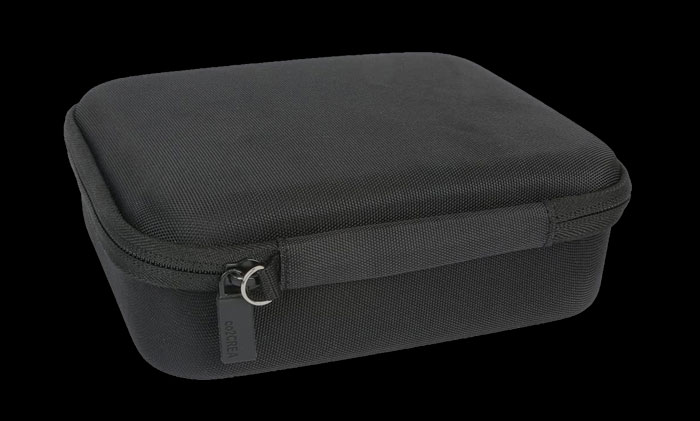
Here are some detailed “product” shots from Amazon/co2CREA, and the link itself to the product if you want to pick it up.
The Hardshell Case from co2CREA
While cycling all sorts of things can happen. I could biff it (i.e. *wreck*) on my pack (i.e. messenger bag, or backpack) and things are safe from direct impact in there, but can still be squished. I could toss my bag down or set it somewhere and it gets kicked, hit, or falls. The number of impact scenarios are numerous. But it doesn’t stop there while out cycling, since most of my packs are waterproof it’s nice to have individual elements packed in water resistant packages for when I pull them out of their pack. You get the idea, there’s a lot of potential oops scenarios, and for maximum gear lifespan it’s best to keep them safe.
Railroading Baggage Pannier Packing Style
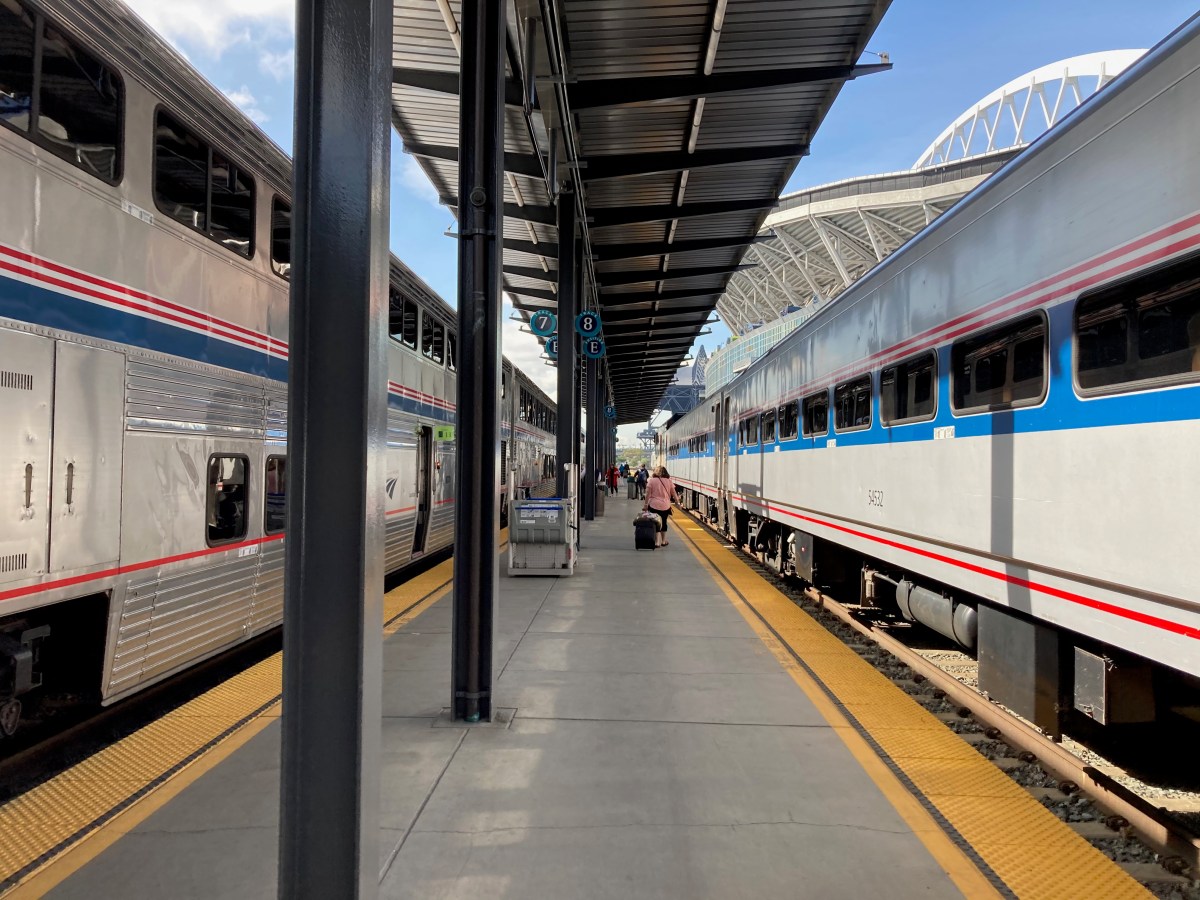
Alright, using panniers for bike and train combo trips is another one of my specialties. I take a lot of train trips. Sometimes I ride coach, sometimes I get a roomette or bedroom, and on some trains I may end up standing. Whatever the case, traveling means luggage of some sort and luggage gets banged around. Again I’ve got my packs, but also in this scenario I routinely use my panniers. The combination is great as the survivability of devices – Apple Laptop + hardshell case for pointing device plus tough packs with panniers holding the remainder of things means surviving insane things like train wrecks (i.e. my experience of the train wreck of 501), or just regular travel trips like my trips to San Francisco for QCon, or my trip to Olympia, Washington to speak at a users’ group.
In summary, if you want to enjoy the bikey life combo powered with the rail life and keep your gear intact, it’s a good idea to pick up a hardshell case.
Ever been to Tacoma, Washington? Ever ridden the Coast Starlight, or Amtrak in general? How about with a bike. A little bit about all those things in this video. Join me for a trip south out of Seattle past Tacoma with a few key pointers, that soon, you will never get to see by train again! I’ll show ya the Tacoma narrows, plus a few other suggestions. Give this video a watch to learn how wrong I can be about what is or isn’t an island, learn about whether the Tacoma Narrows bridges have fallen down recently, and also whether they do or do not connect to an island!
So many things to know, all fascinating, give a viewing for a ride along the Tacoma waterline. Until next time, may your transiting be a most excellent experience.