Bike + Train Life. Boarding the Empire Builder, with PDX Orange, for Pasco 4 Gravel Rides!

VLOG posted at the bottom of this post, so scroll down if you want to skip the *reading* part and just watch the video. 🤙🏻

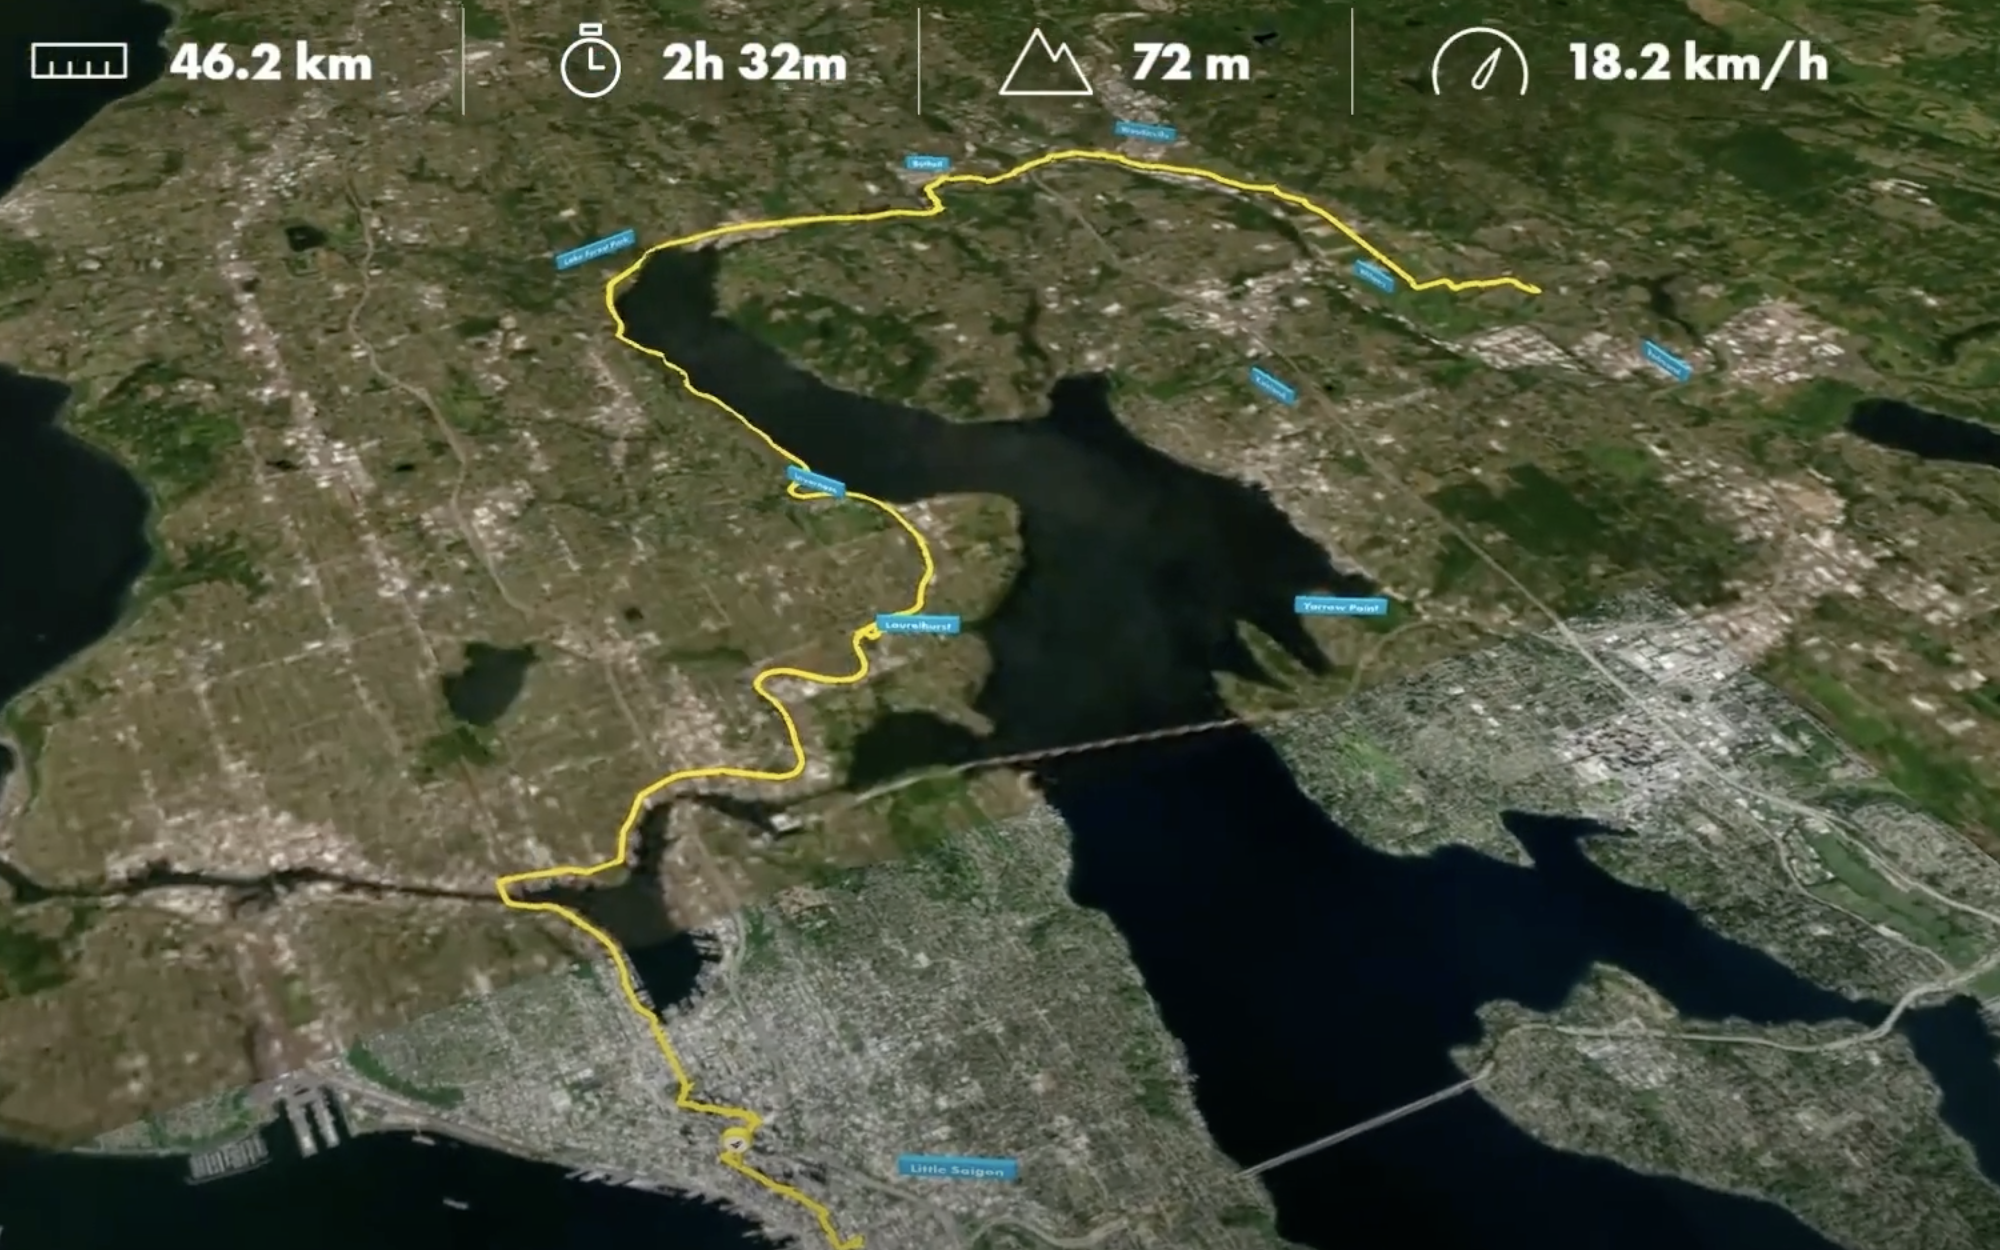
The trip started off with a departure form Fort PDX (where I stay when residing in PDX) and I headed south bound from Rosa Parks toward the train station. For those familiar with PDX routes, then you probably know this route, but I add a little detail for those that are curious or want some tips for south bound trips to downtown (or specifically the train station).

I zig zag a bit and then get to the loopity loop that goes up over the highway (or maybe it’s just a major street. It’s Going Street so I guess it’s just a major freight arterial, but whatever the case, not really worth going over multiple block just to cross it when you can take the up and over. In the video you’ll see more, it’s a rather interesting – yet oddly pedestrian unfriendly way to make things more pedestrian friendly.

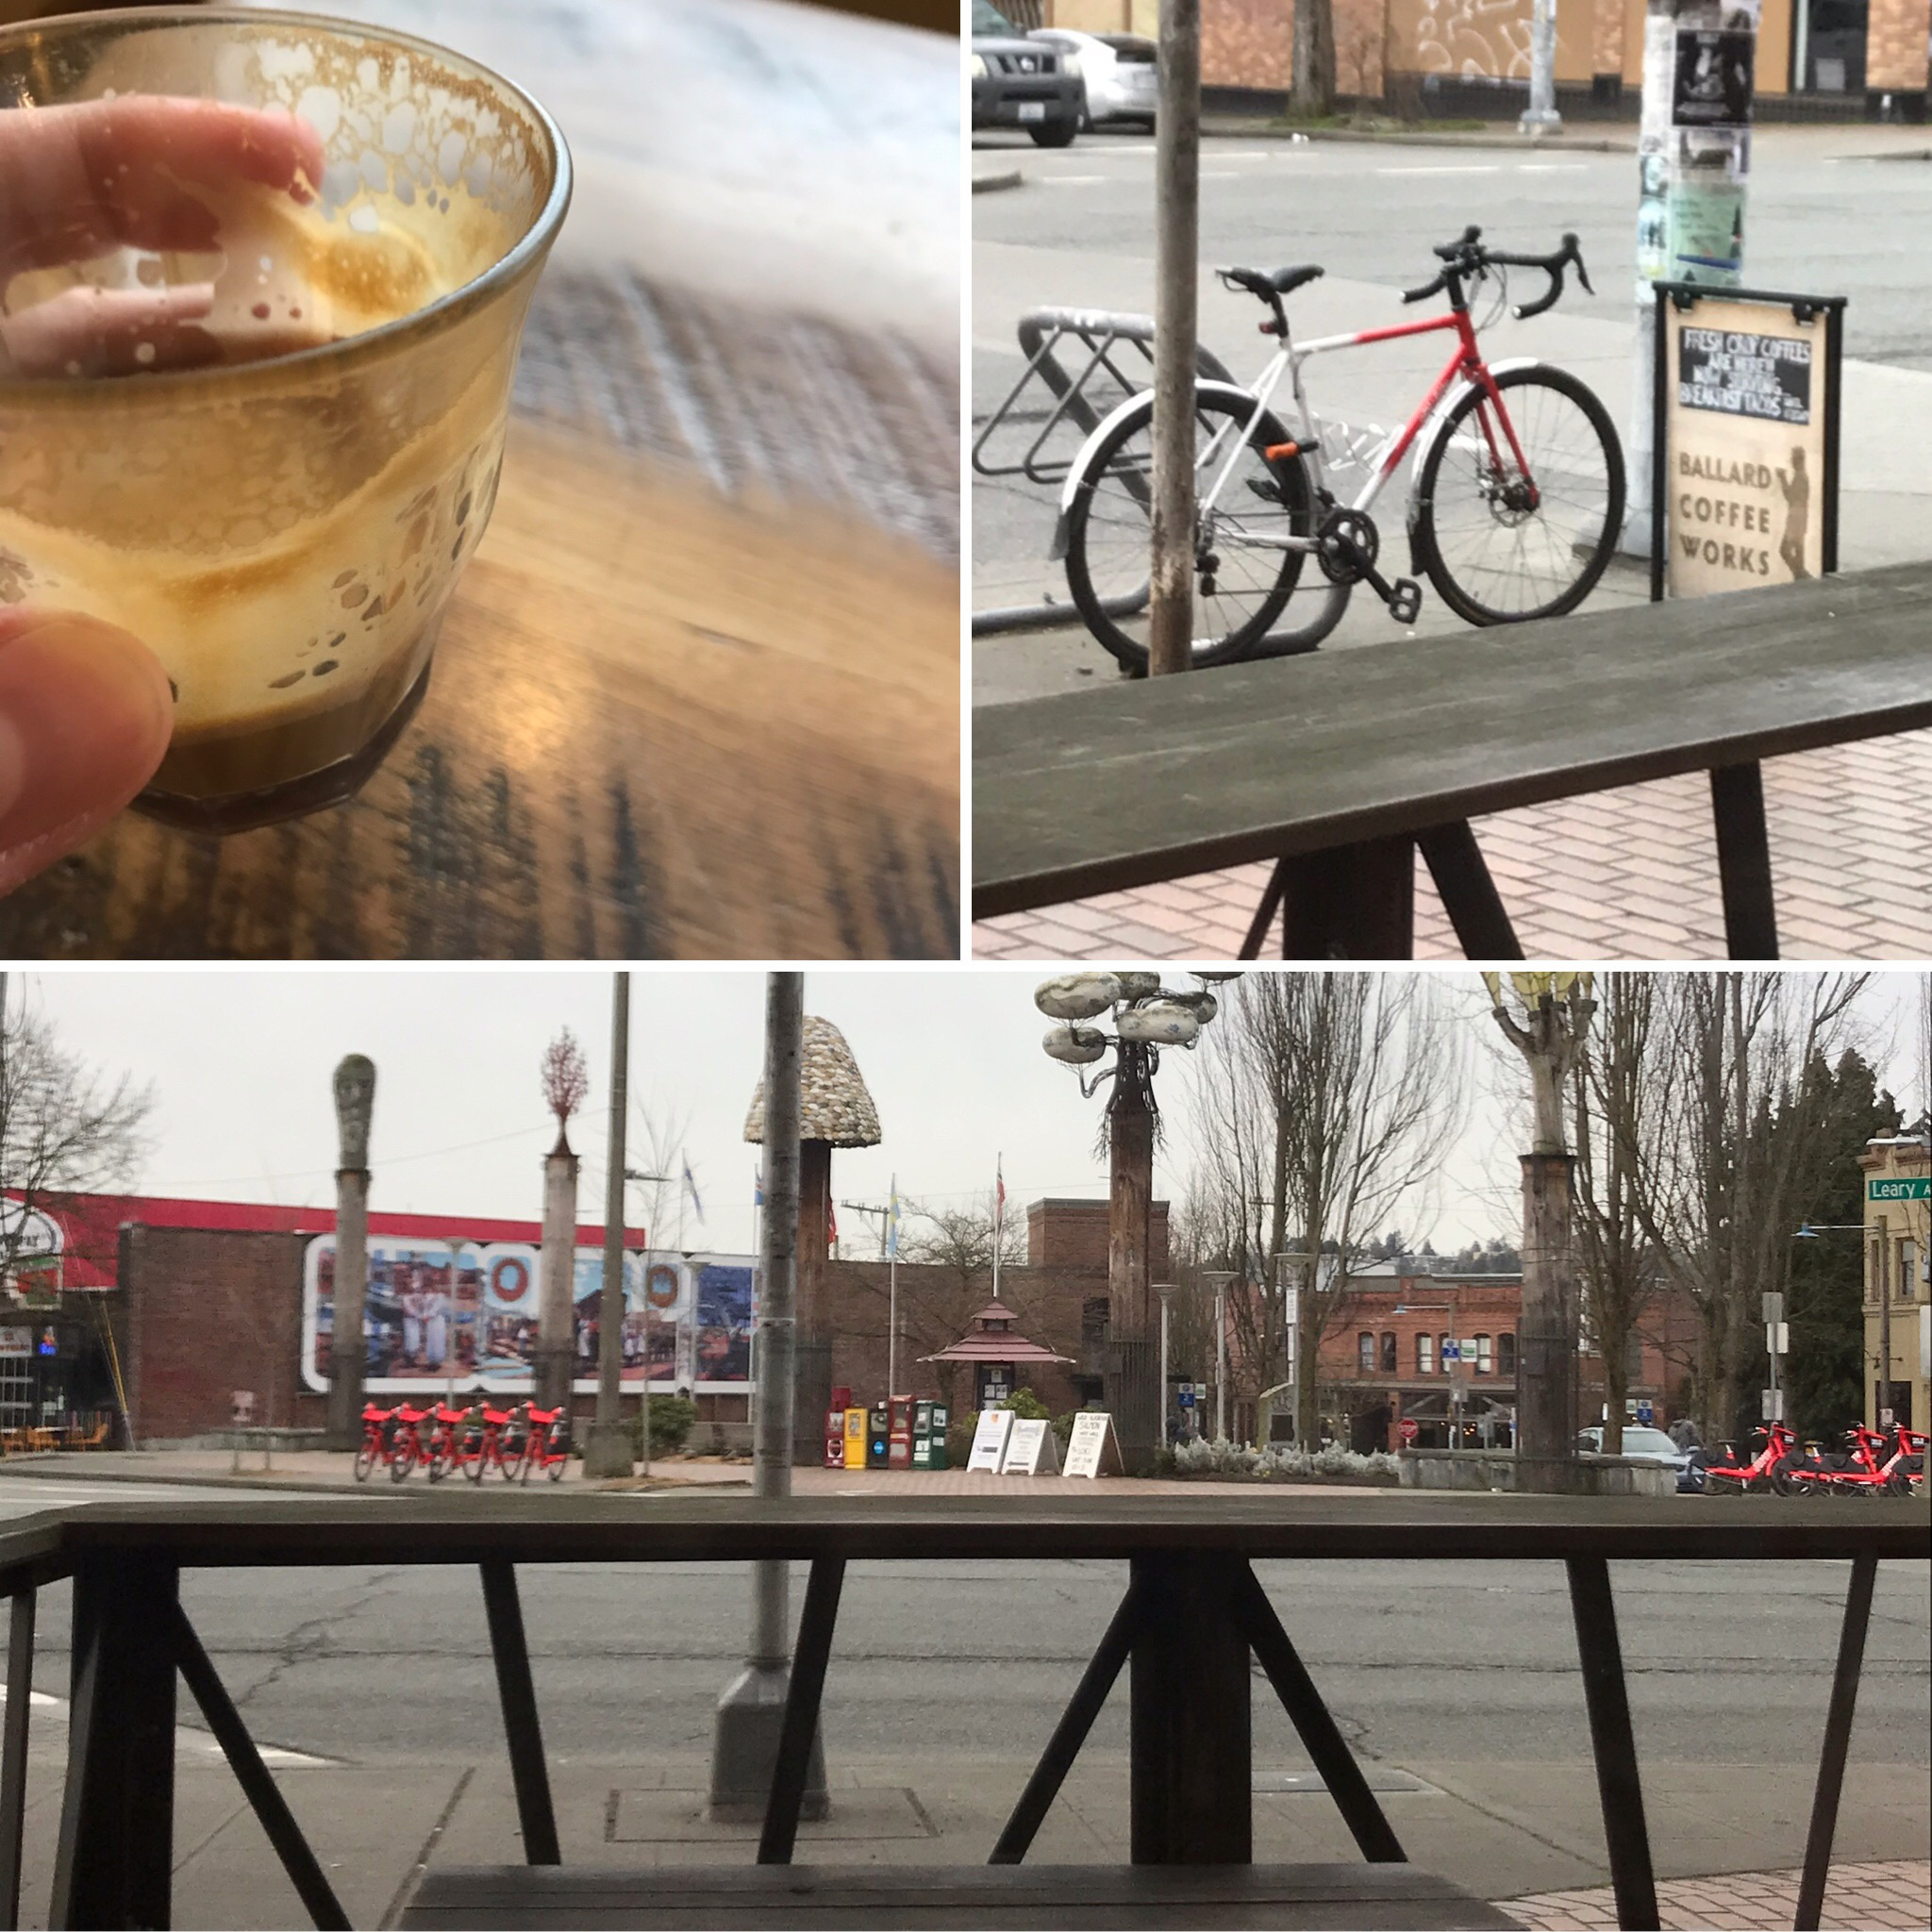
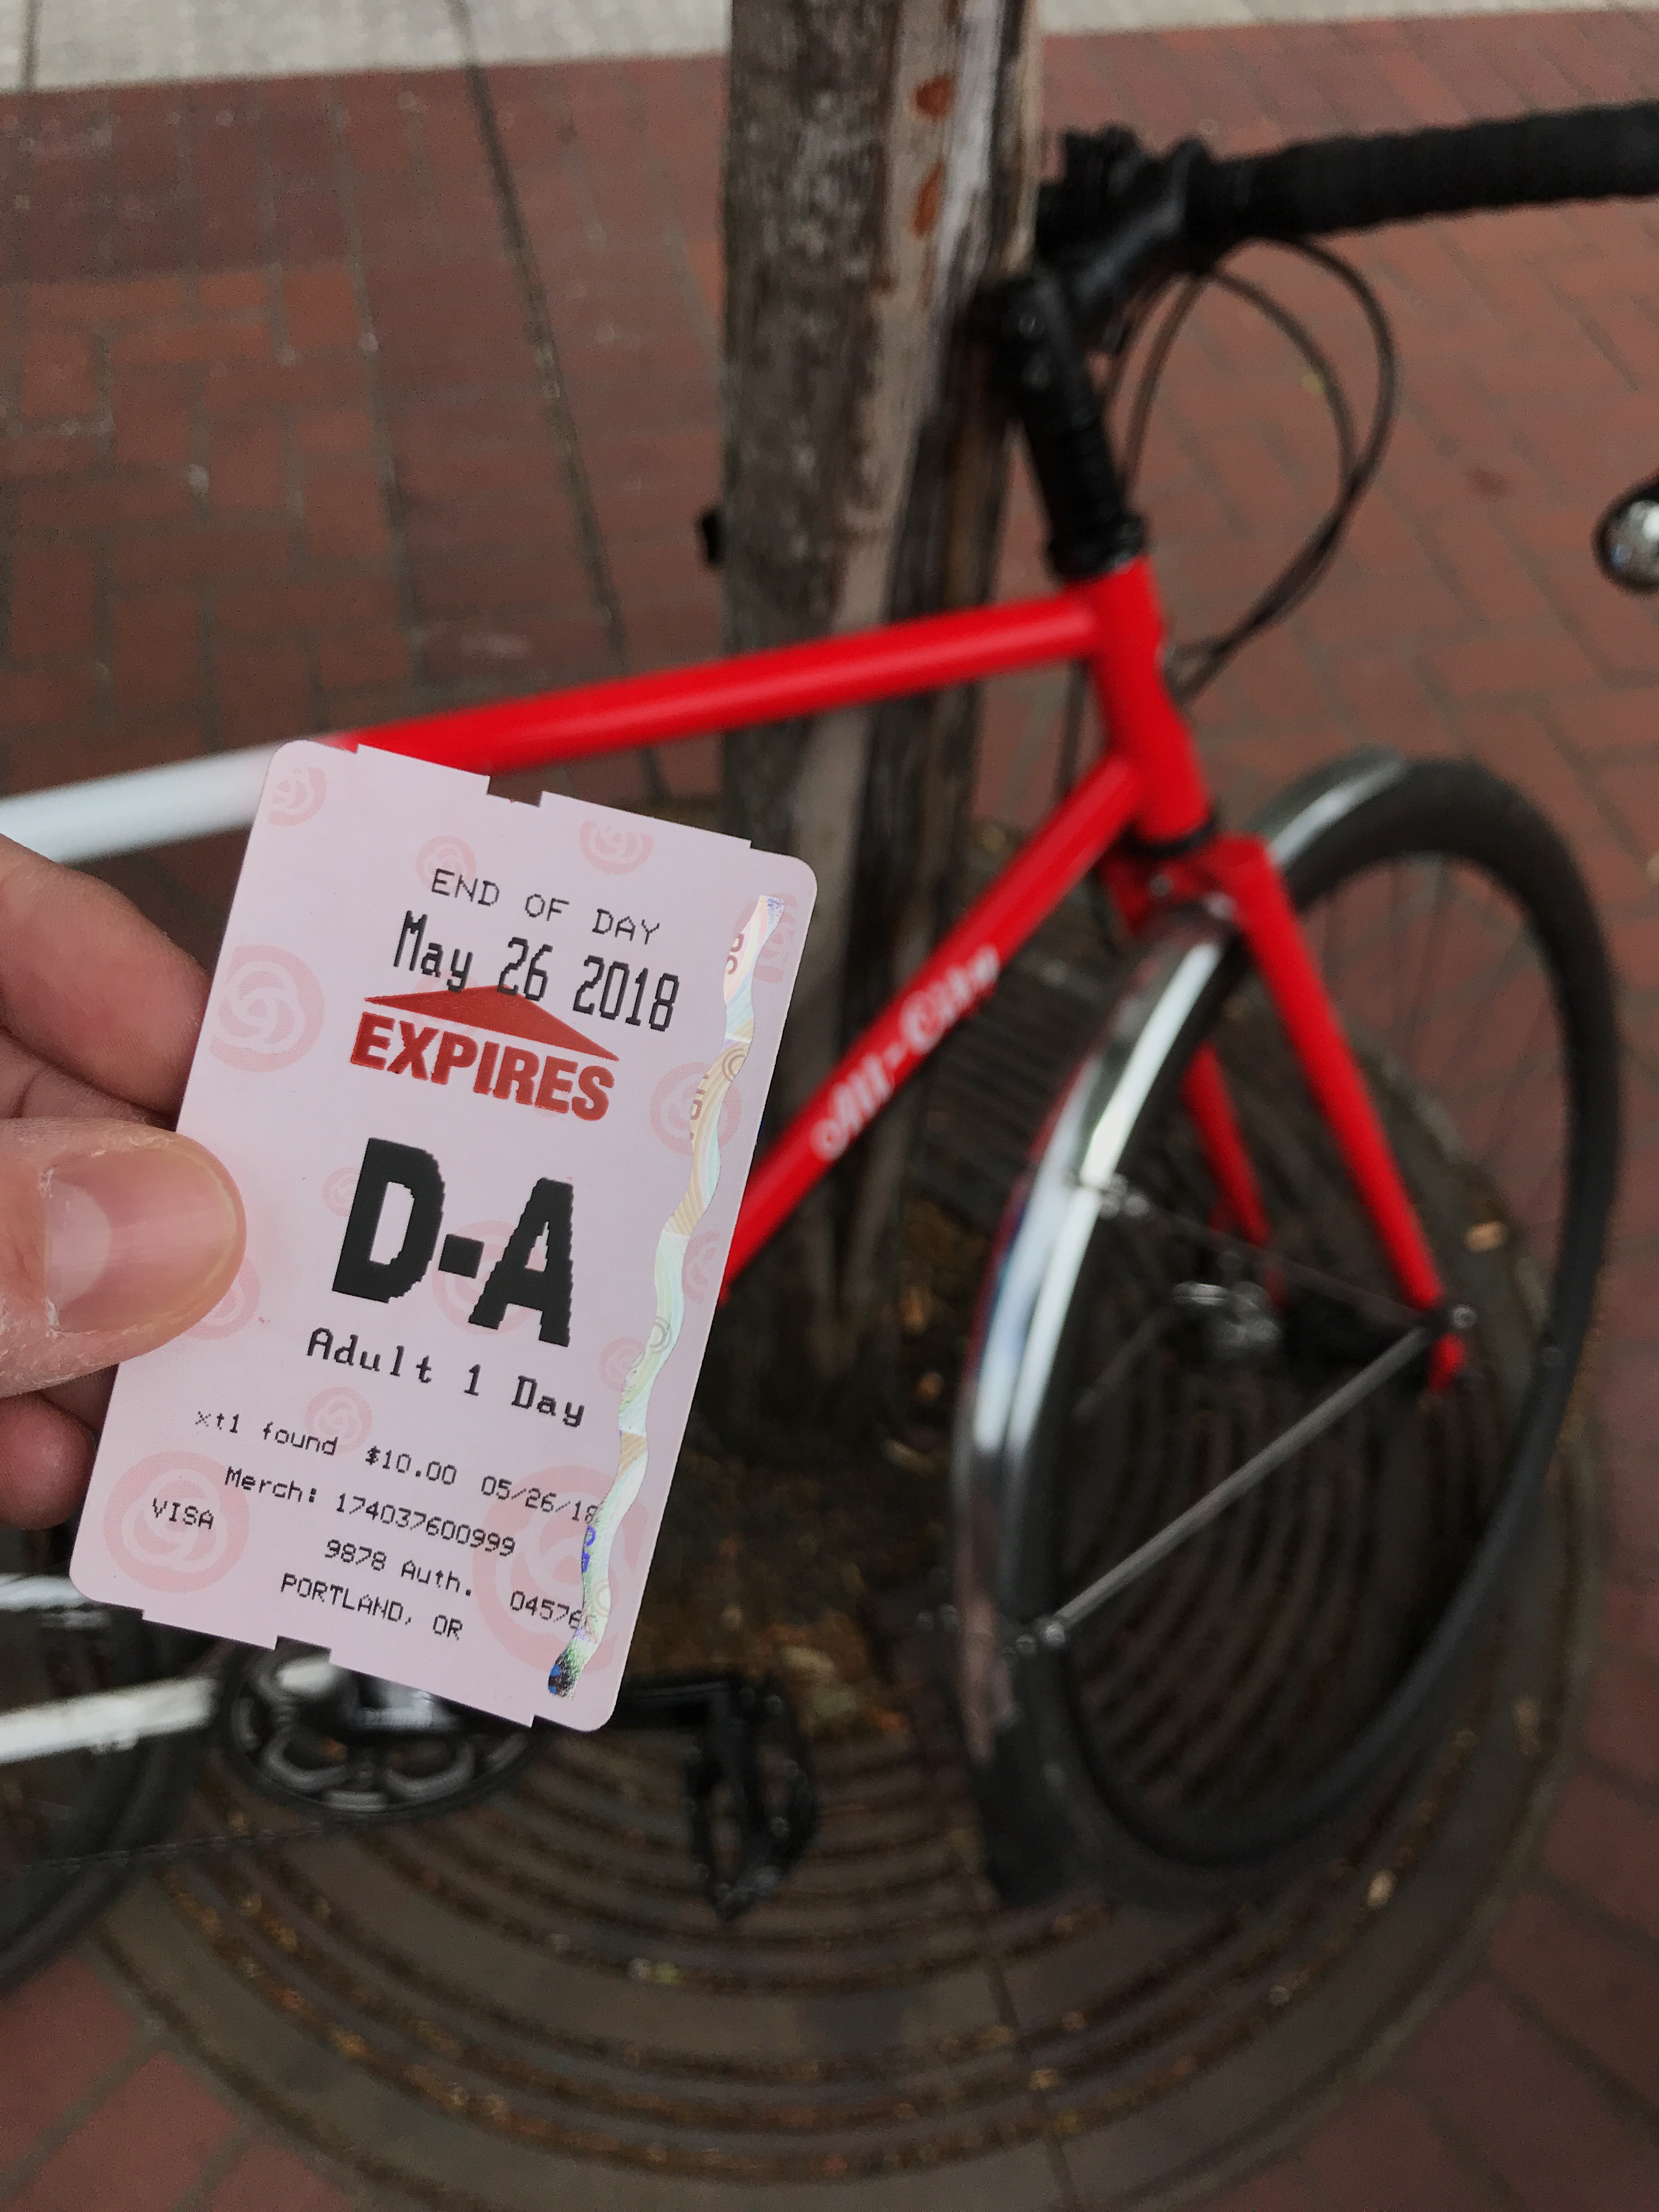
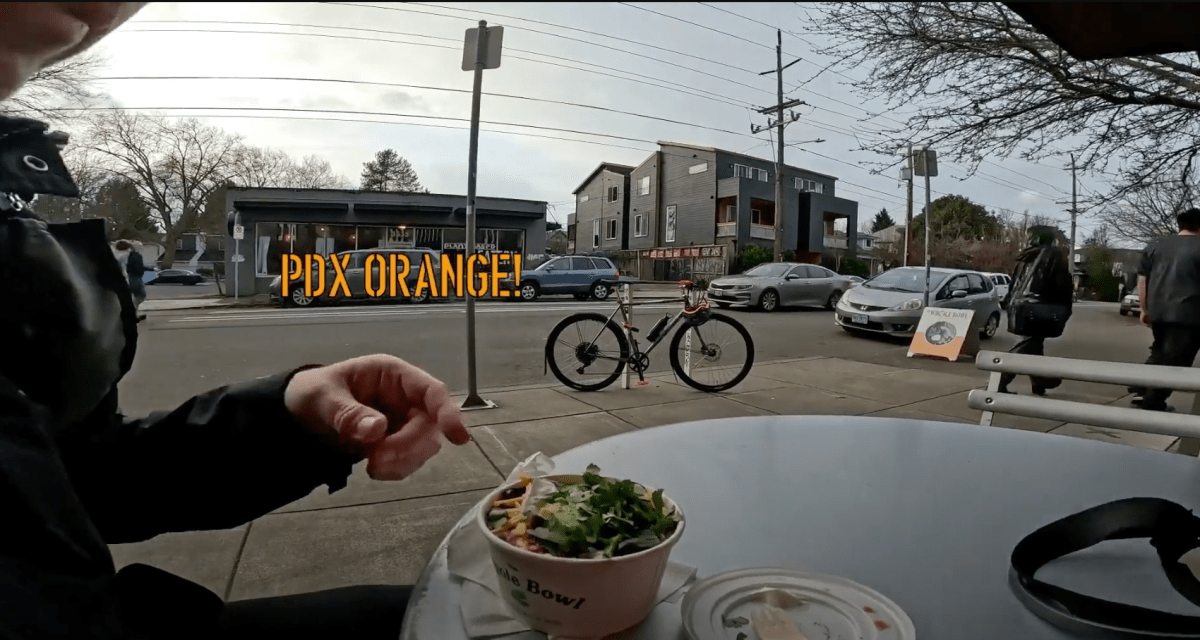
After that I cut over to the Williams Corridor and had a Whole Bowl. More on that in the video, but suffice to say they’re so top tier quick meal options that’ll leave you with energy for the day! This kind of food, and the fact there is a plethora of options around Portland is something I miss extensively living in Redmond (Seattle metro). The Seattle metro, and especially in the surrounding metro, food like this at this quality and price just doesn’t appear to exist.

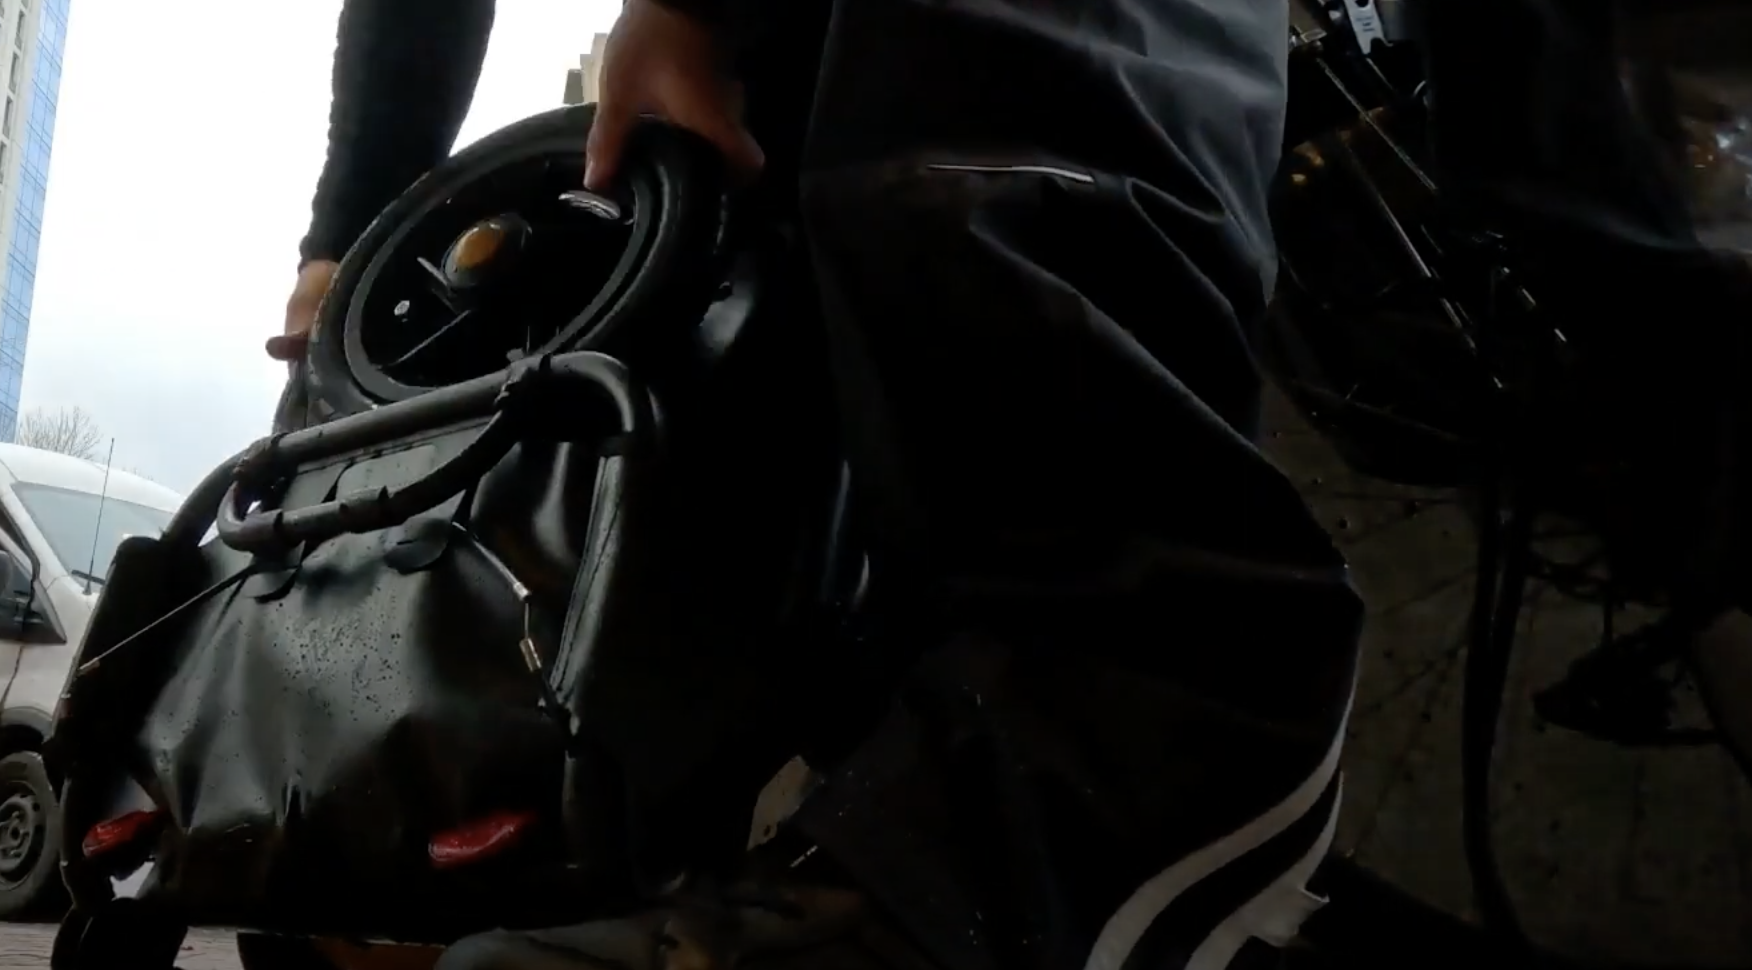
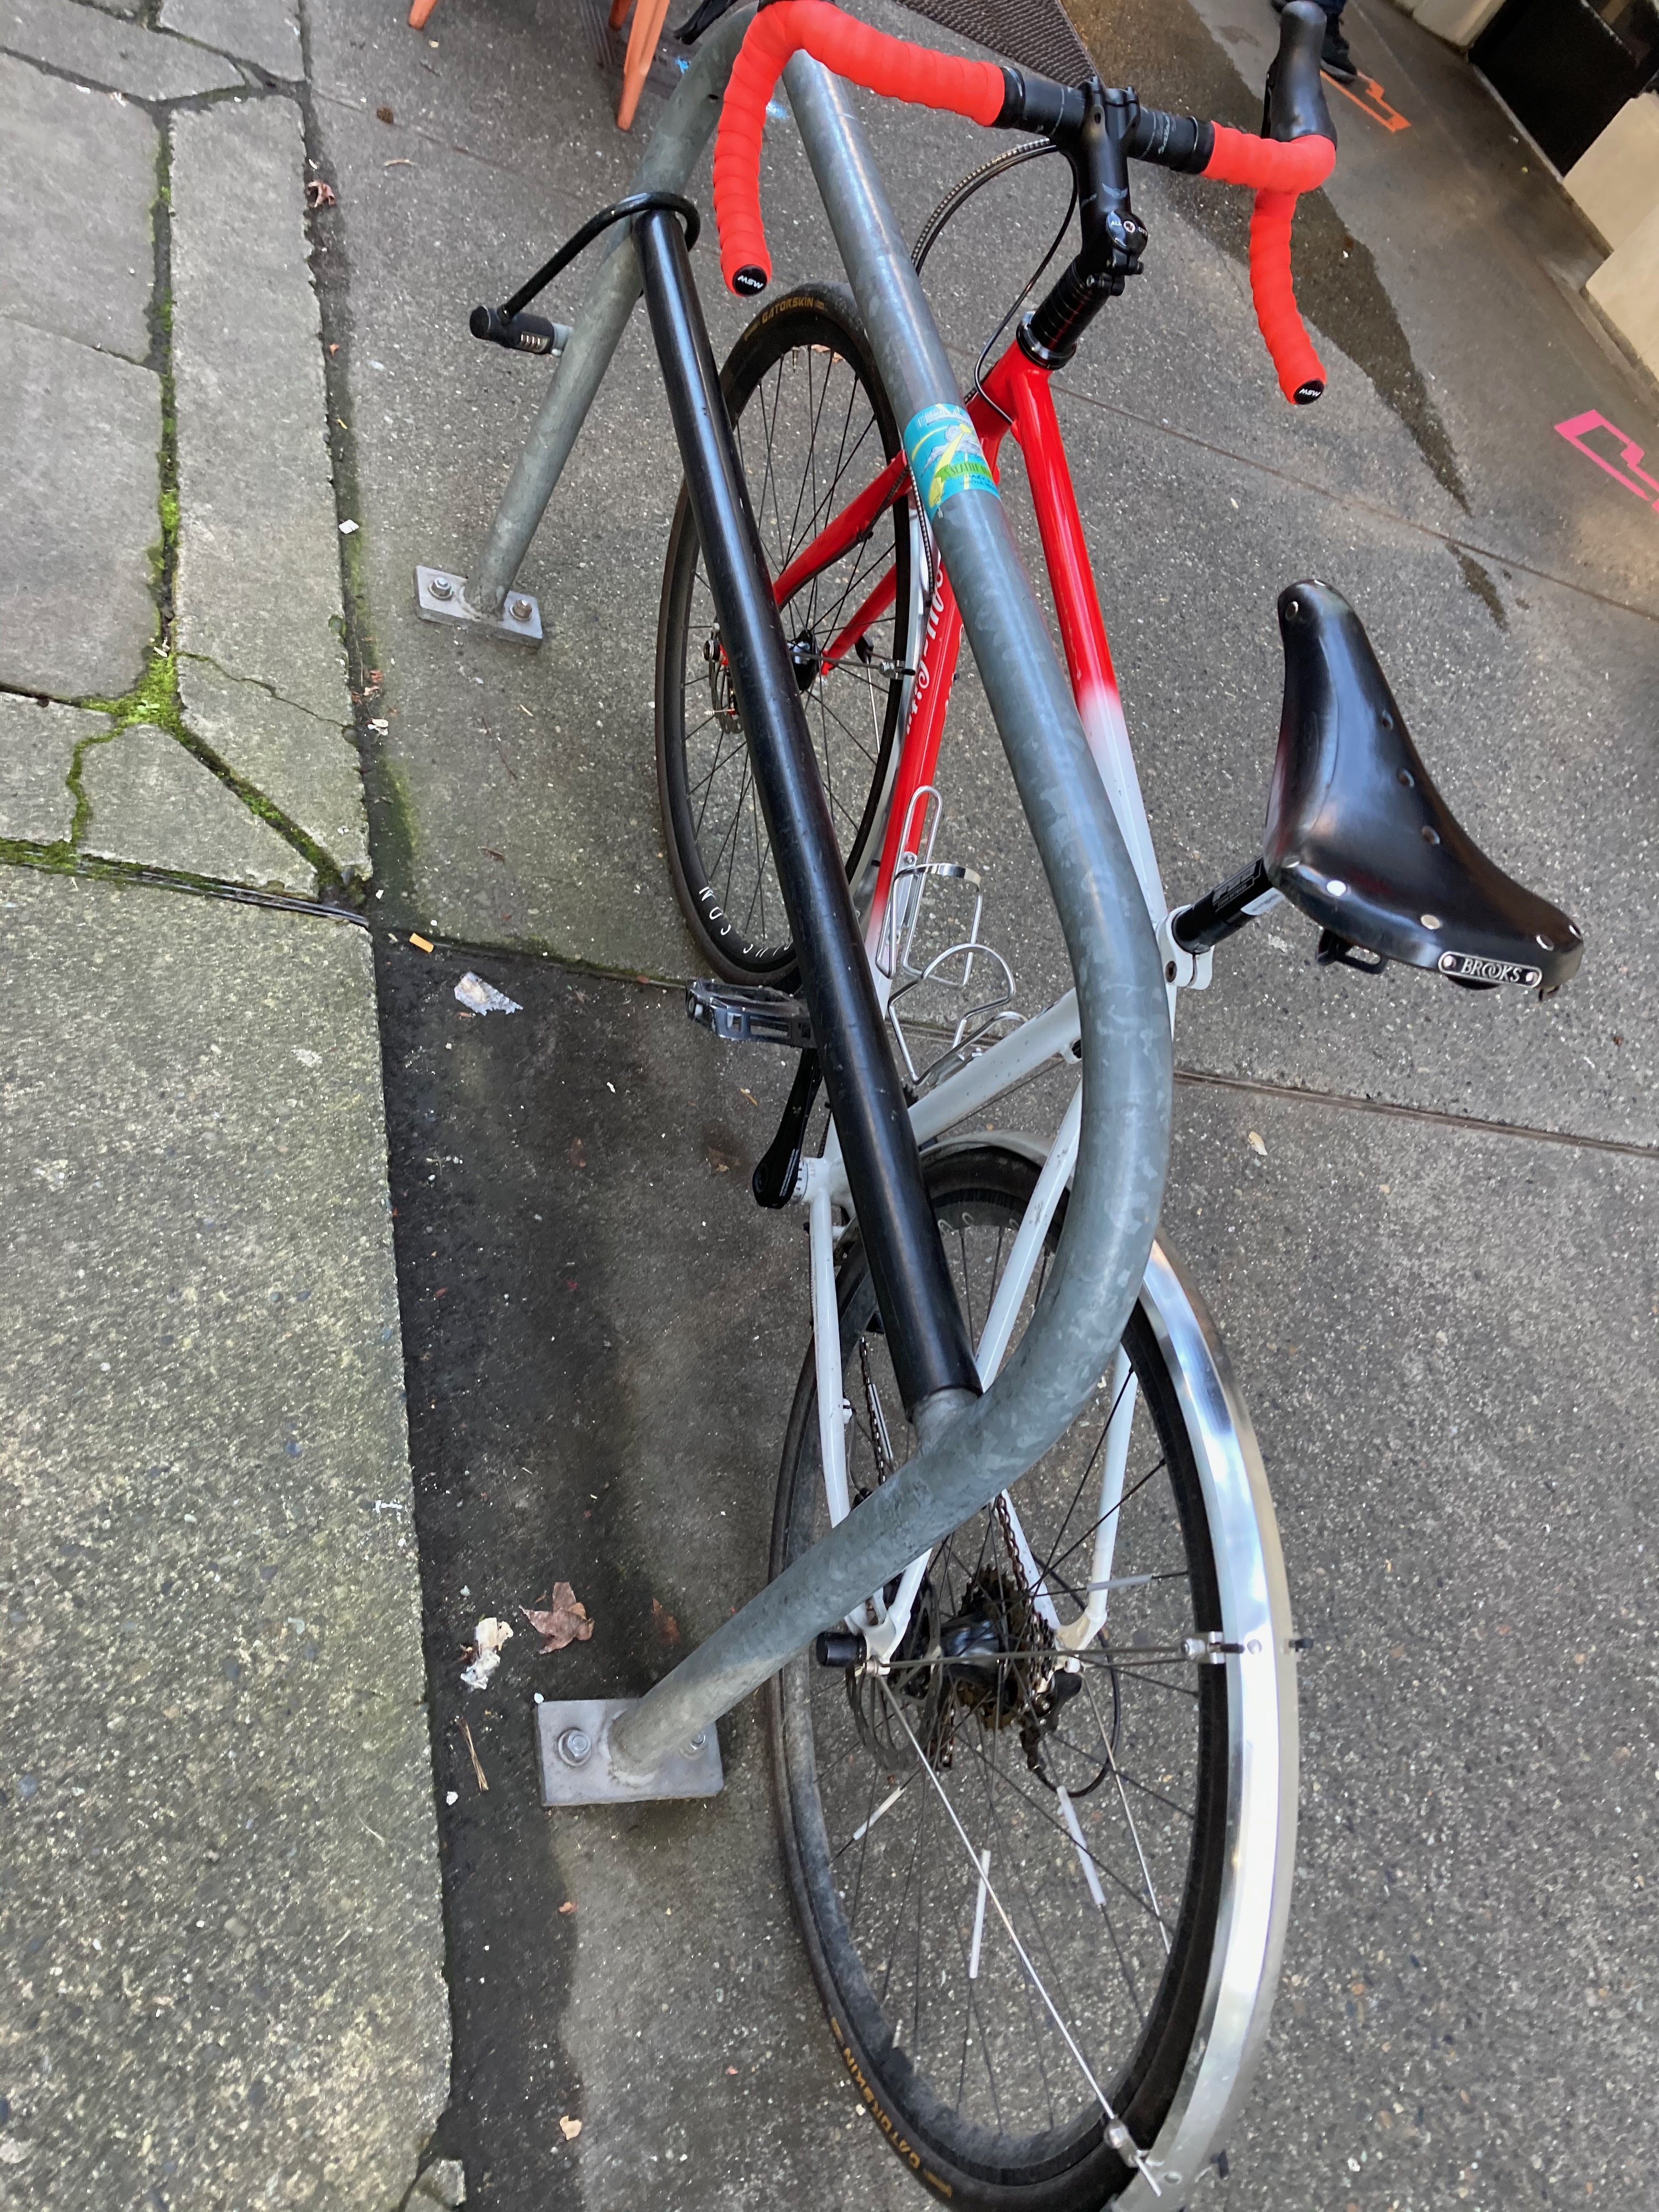
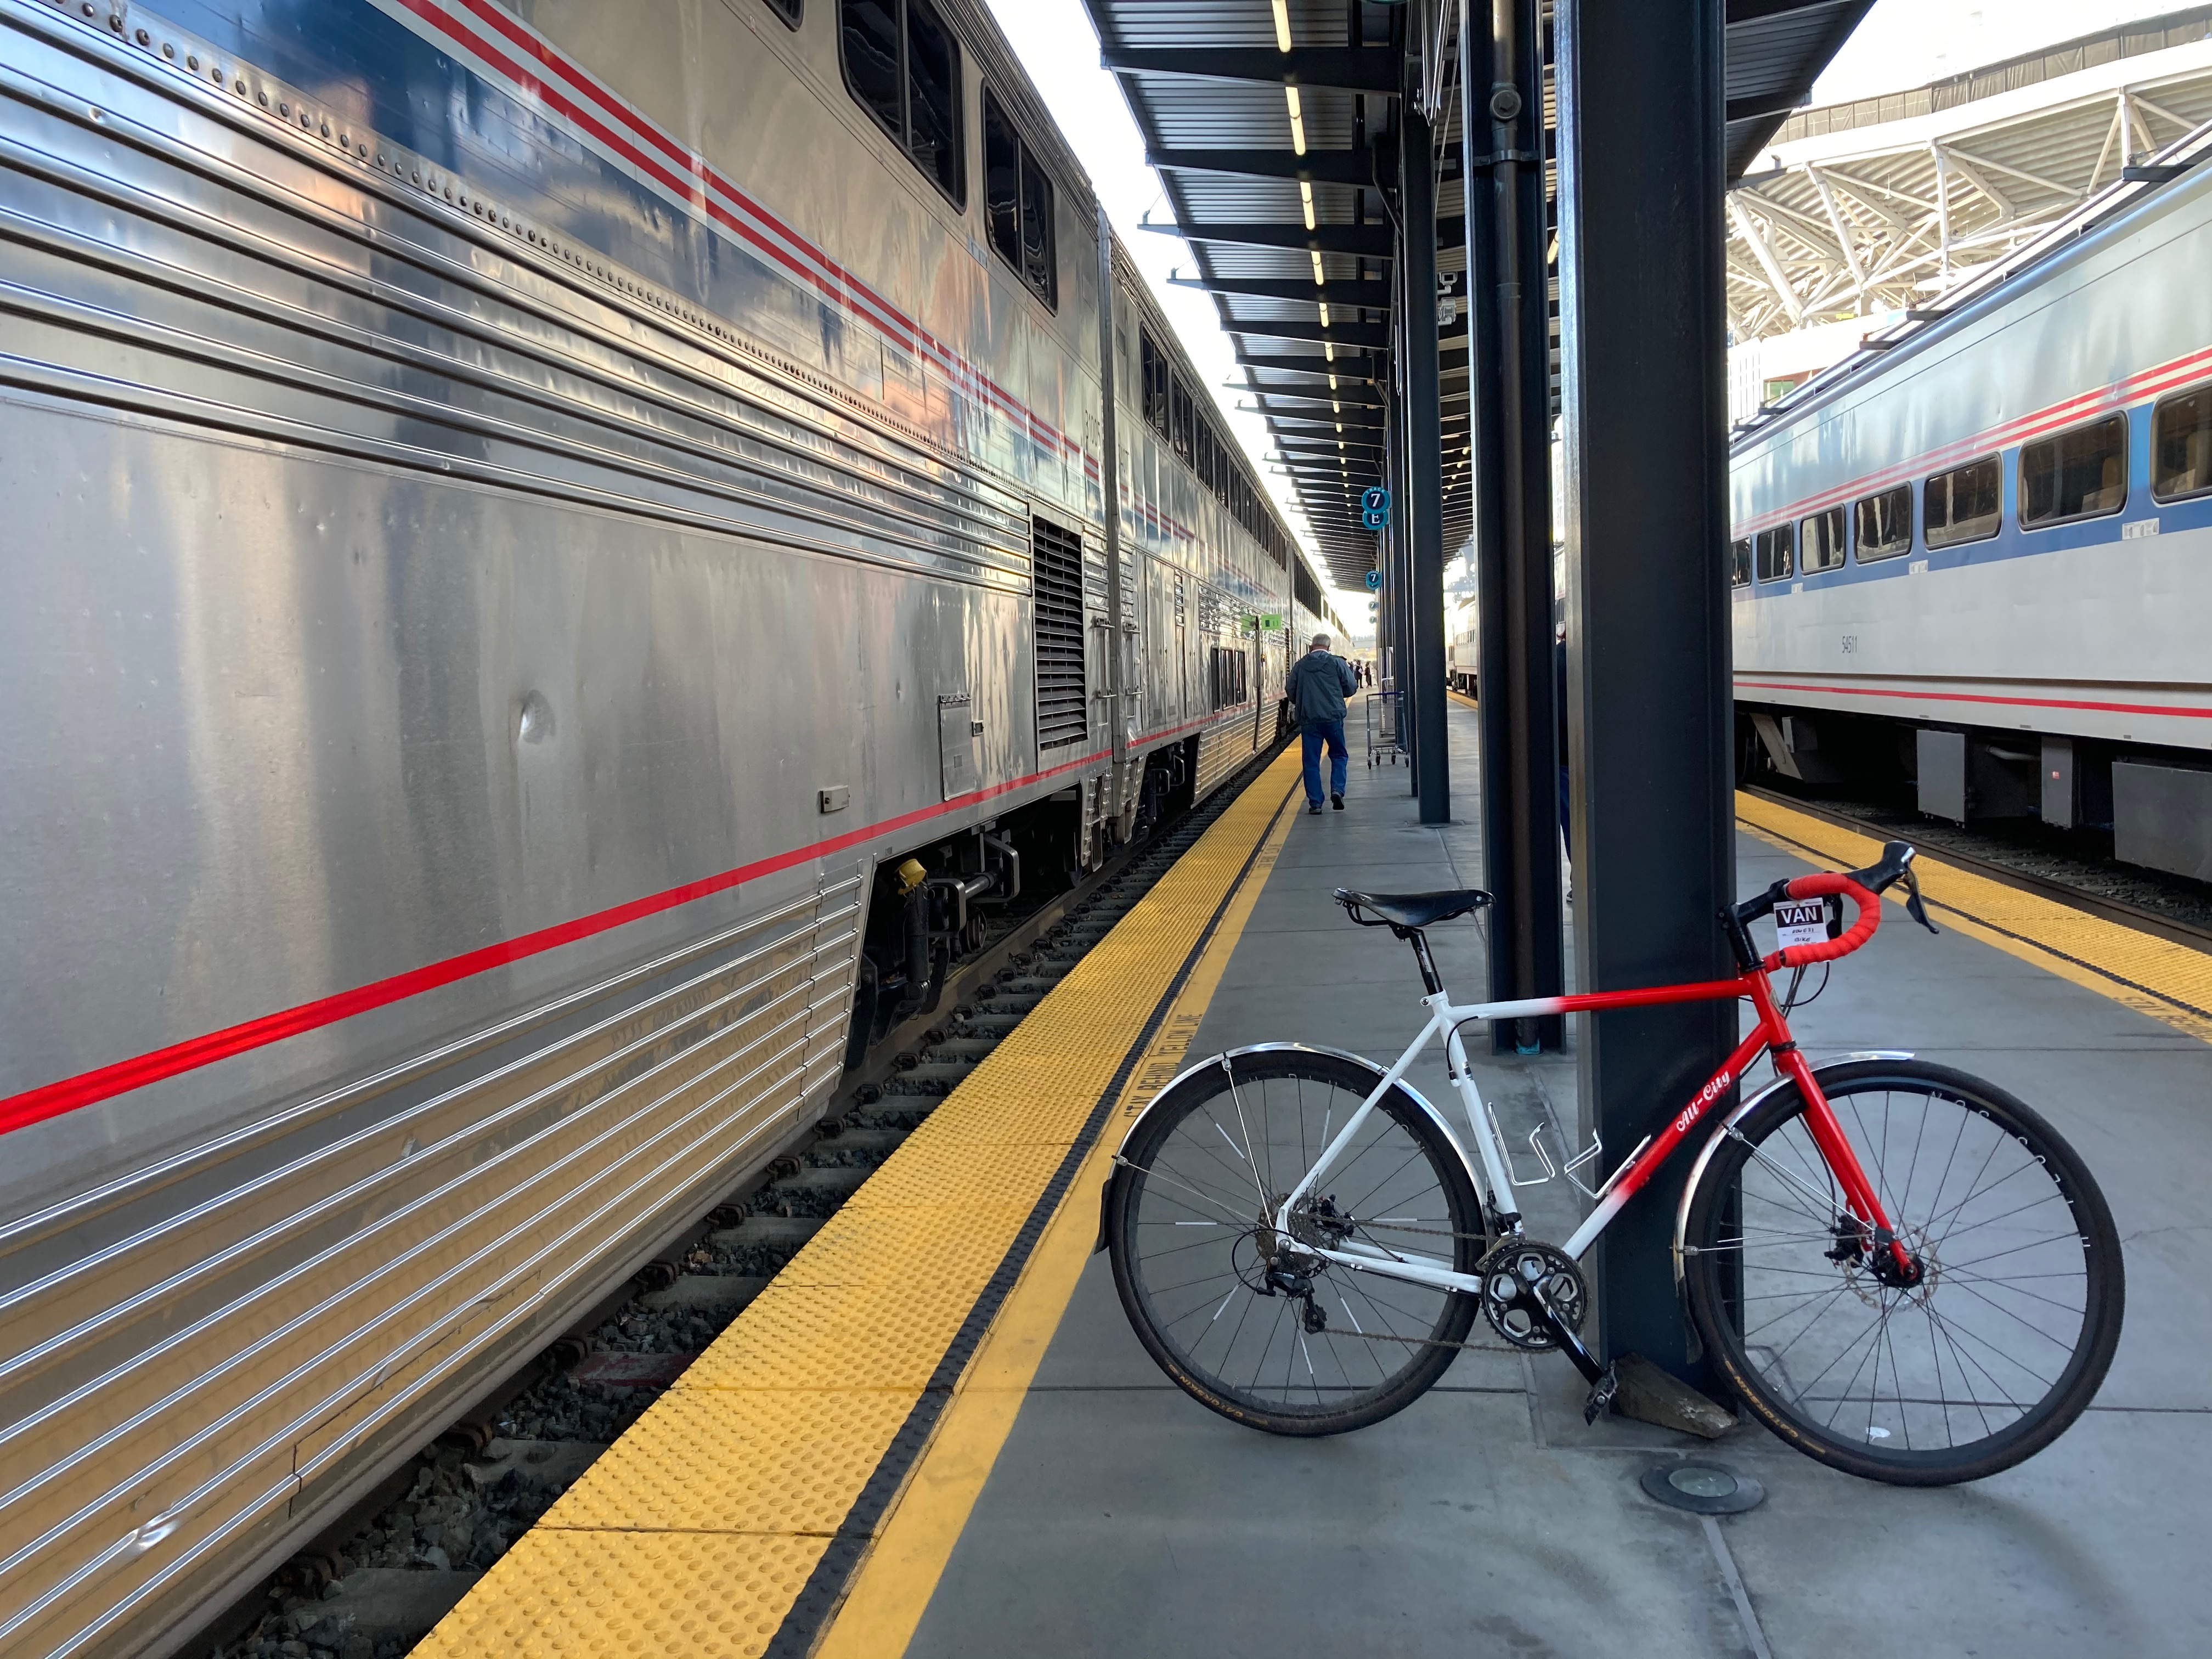
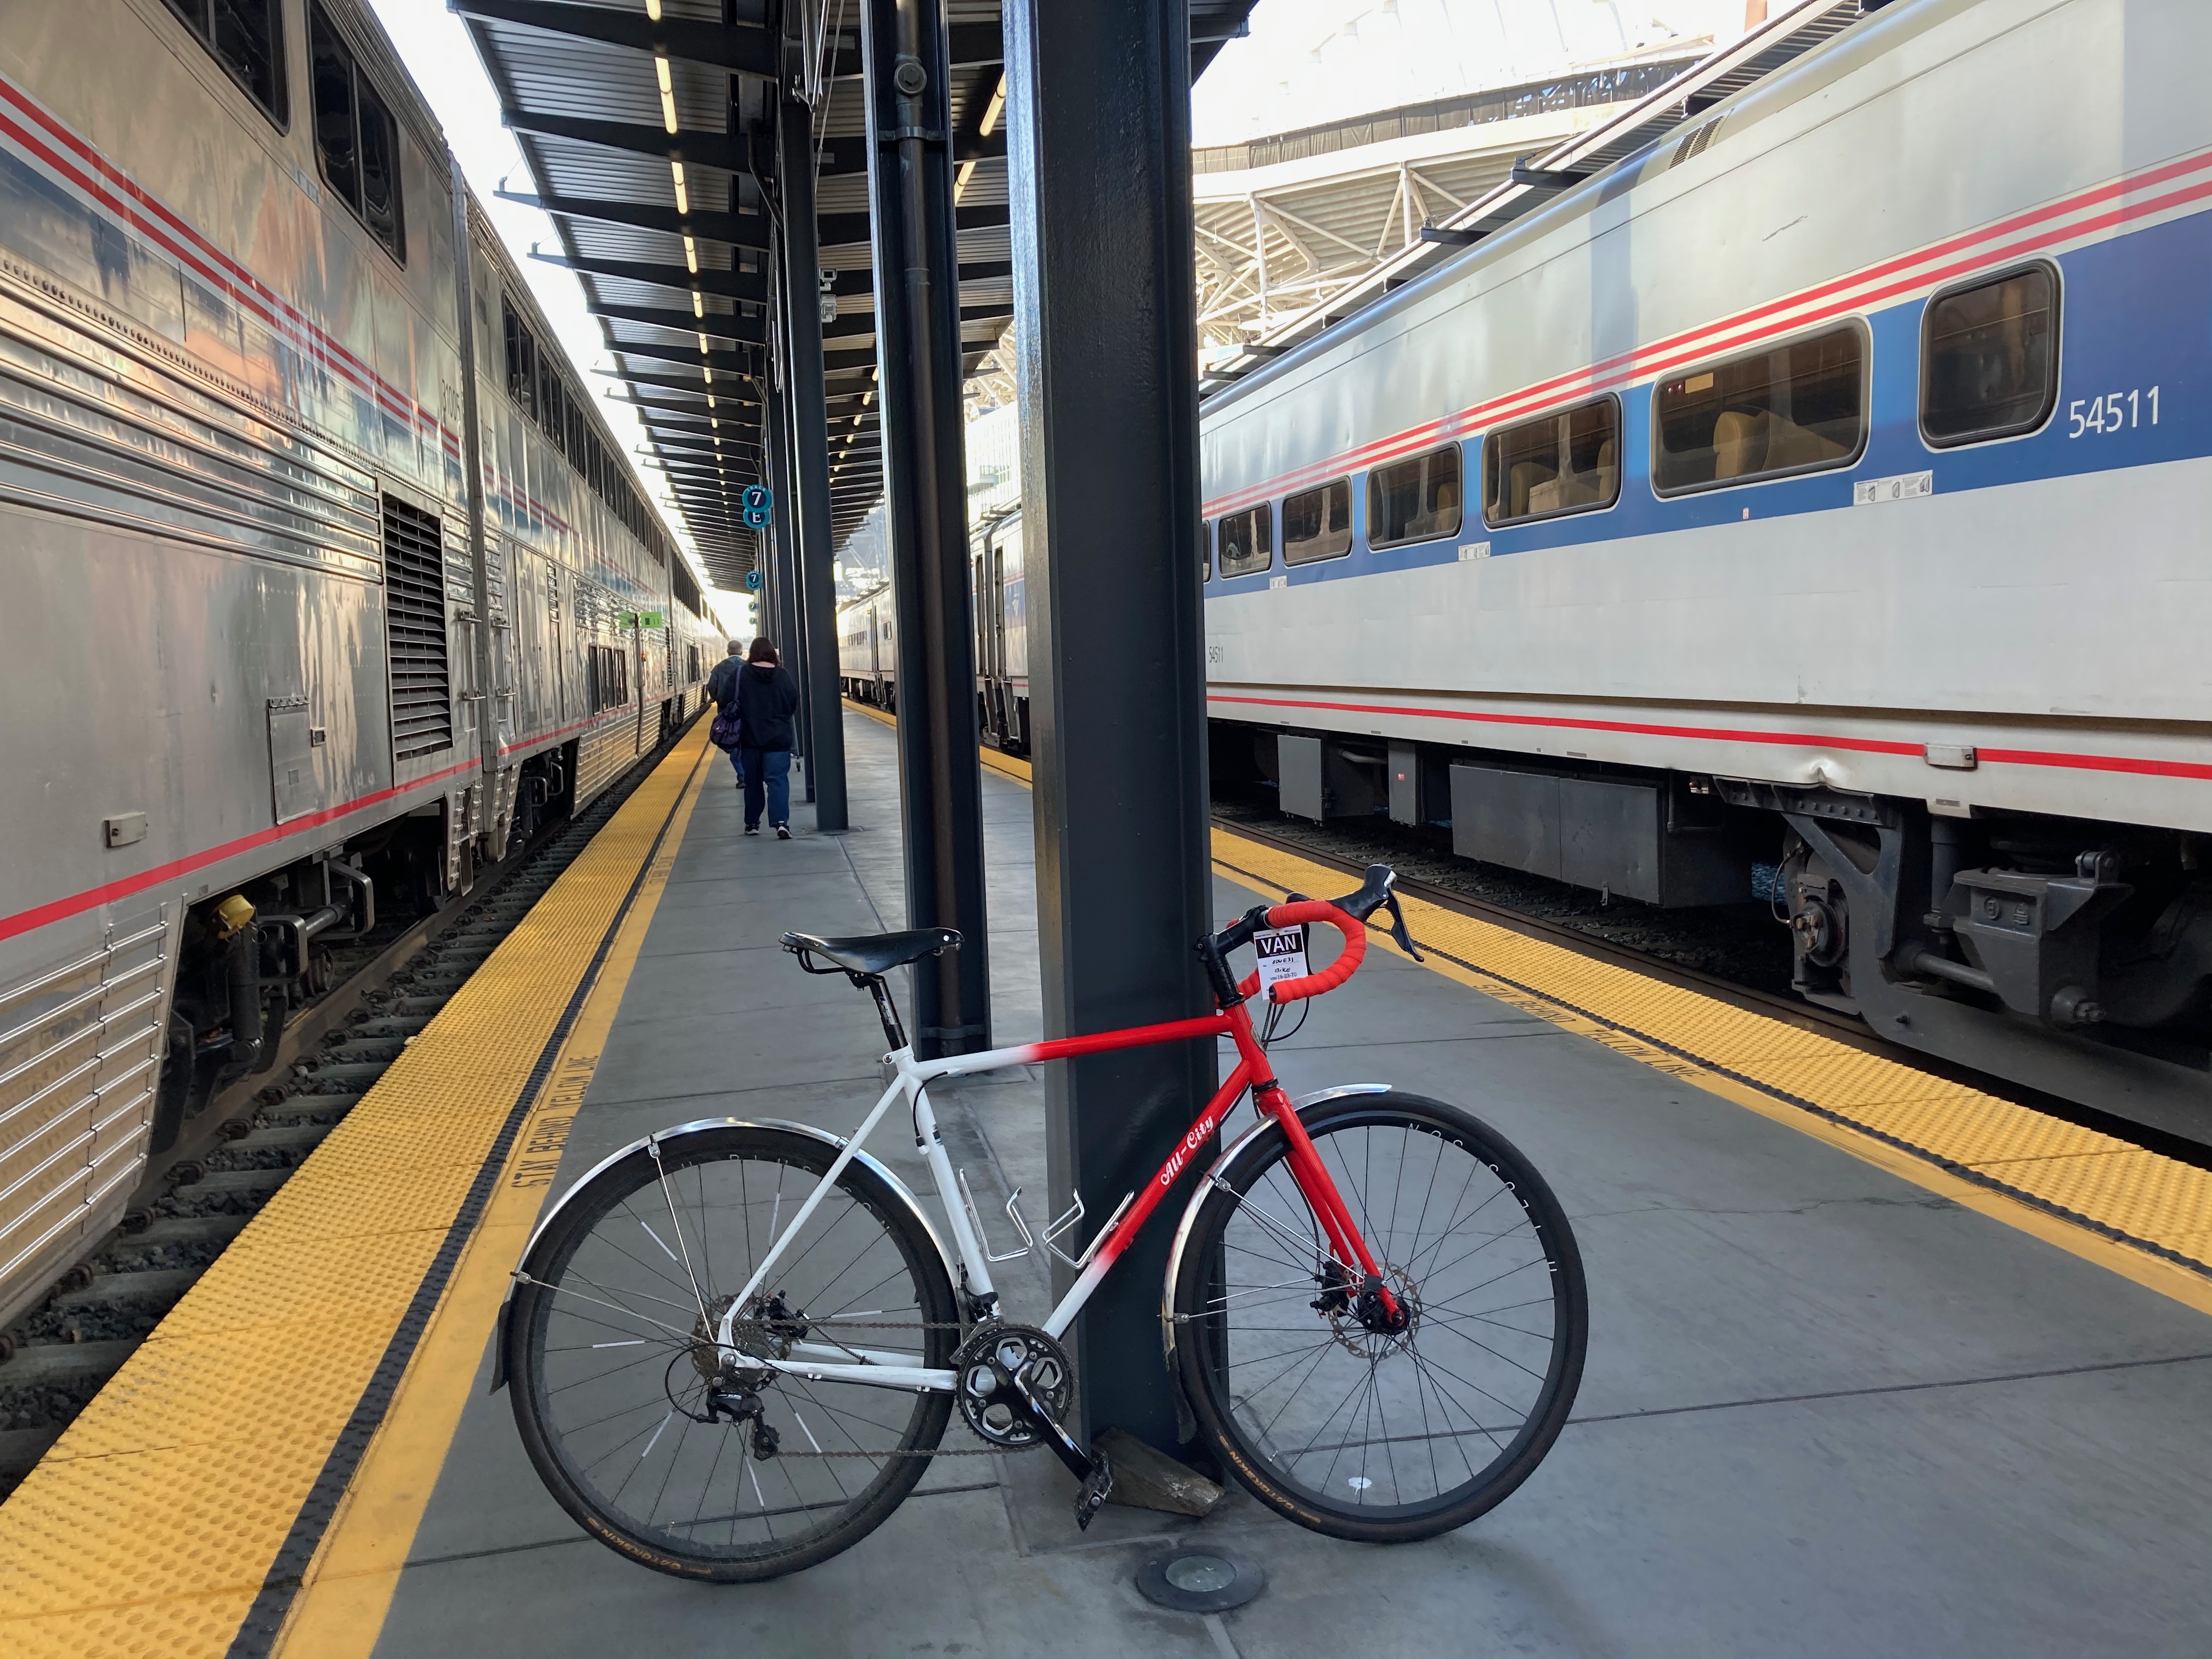
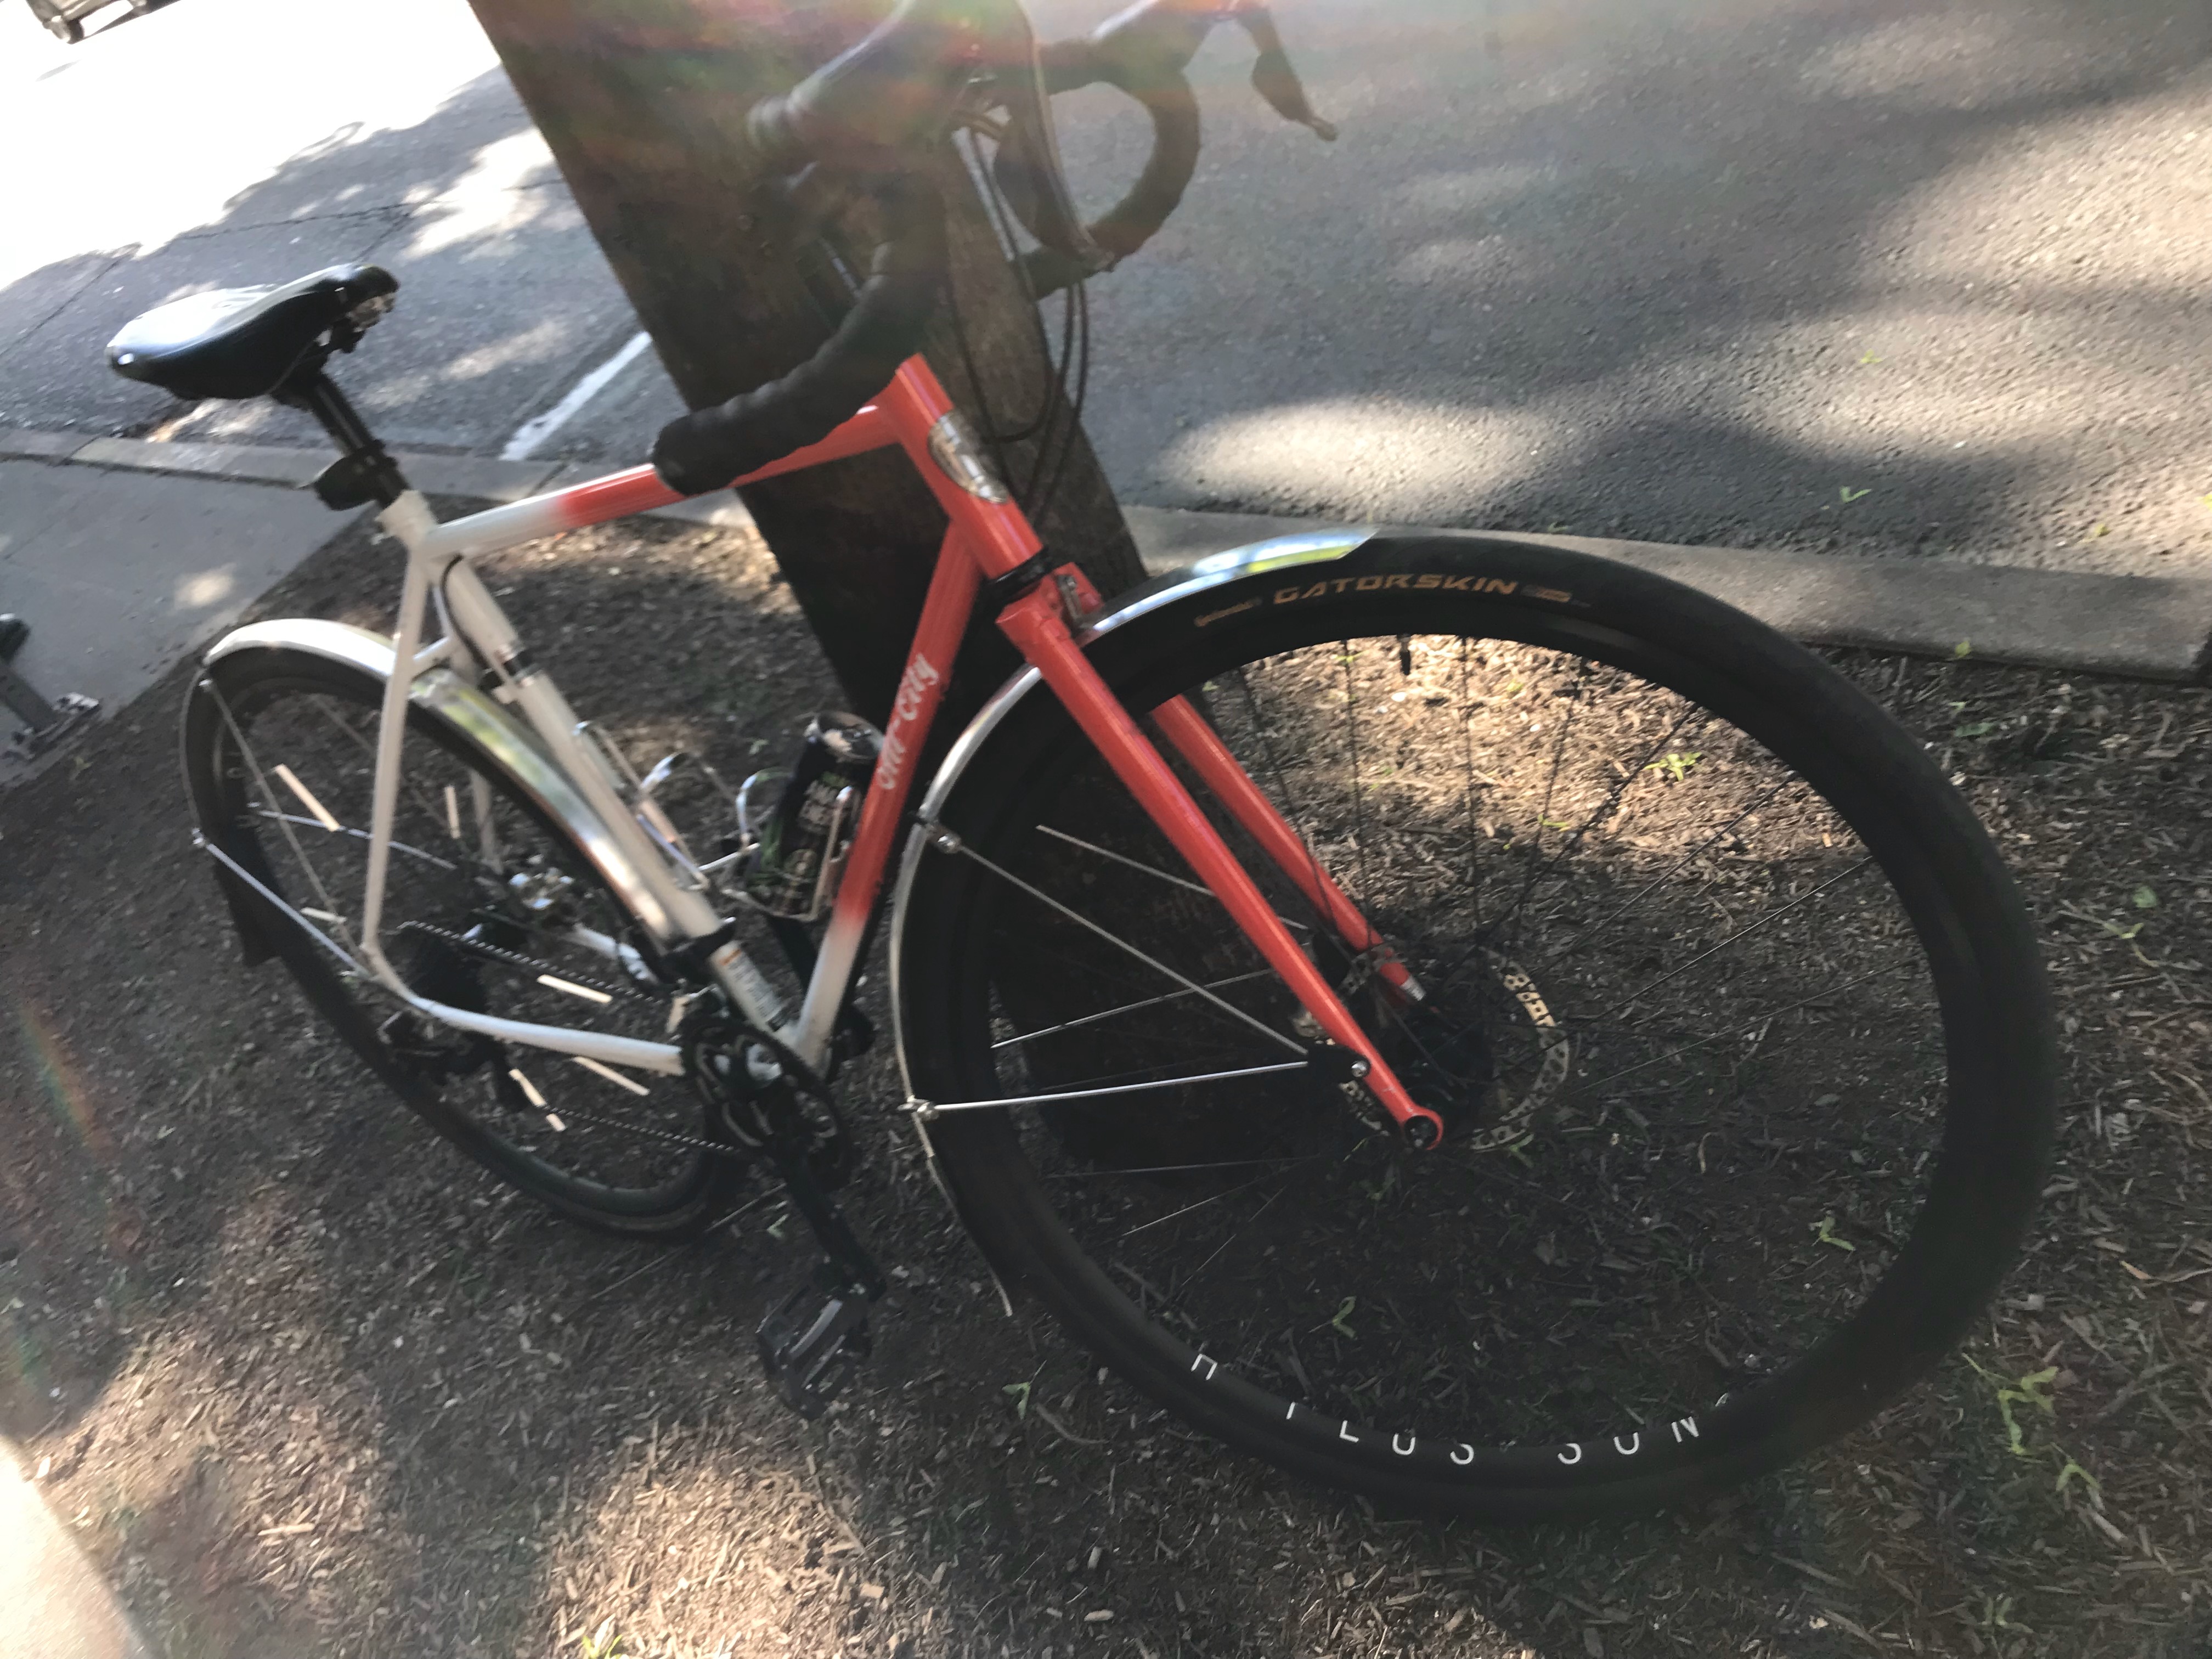
After getting into the station it was time to box the bike. Generally on Amtrak you don’t have to do this these days because you can just hand the bike off at the baggage car. However, Amtrak has had some equipment *incidents* and is short of baggage cars and other equipment options that enable that, so this is one of the routes that is minus a baggage/equipment for that option. Do note, it’s the Portland stretch of the Empire Builder, so when it reconnects at Spokane, the Seattle baggage car joins the train and has roll on capability. But between Portland and Spokane it’s down to boxing it.

In the video I show you how I use two simple wrenches to take the pedal off and adjust the bars. It takes all of about 30 seconds to get done and get it boxed, then they just take the box and will load it for you as a checked bag. Easy peasy.

Once the bike was boxed and ready I strolled off to wait in the first class lounge. Once time was called we all headed out to our train for boarding. One of Amtrak’s new engines was setup to lead our train.

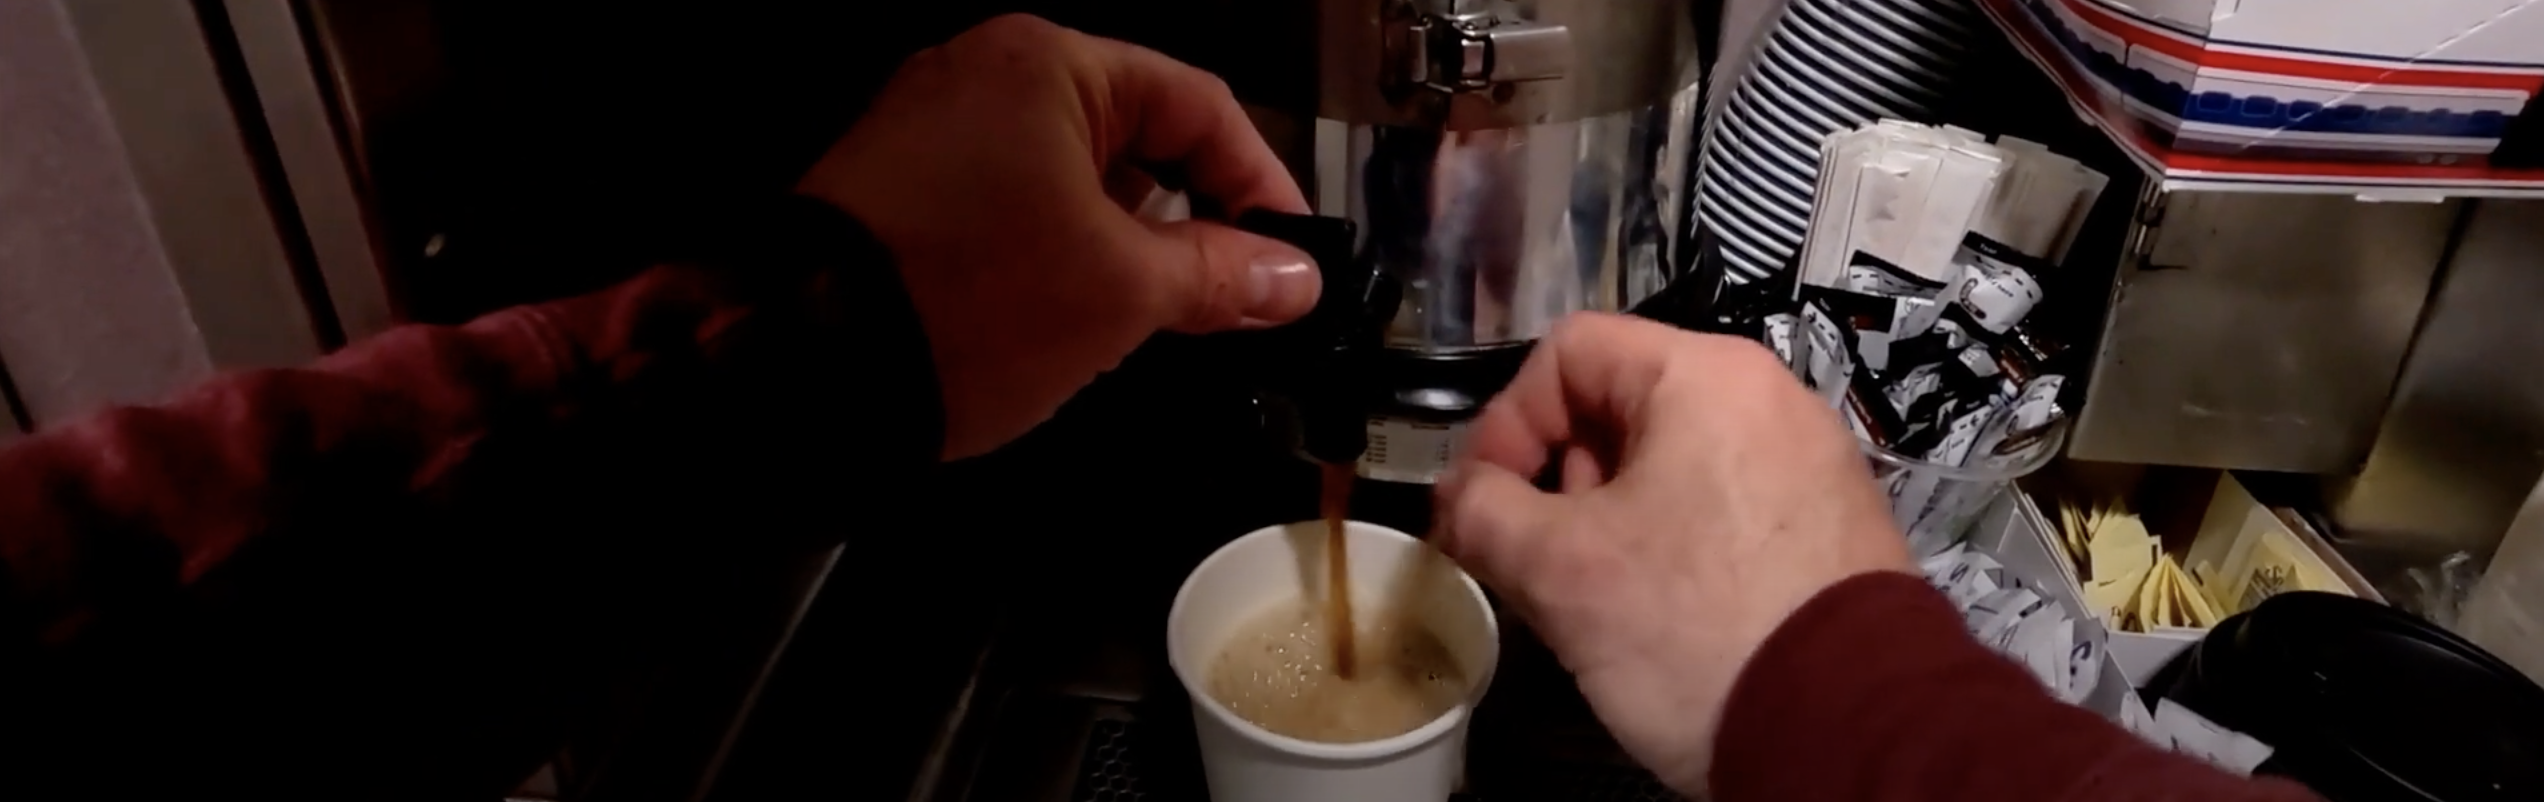
Once aboard I just settled in for the ~5ish hour journey, had snacks and hacked away on some video edits and such. These videos don’t make themselves.

Finally wrapped up the trip by rolling into Pasco! Got the bike and rolled out to my brothers. Next episode, we ride! Where shall we go? What shall we do? Do we get any flats? Do the bikes stay intact? Does it rain? Does it snow? All will be answered in the next episode of whatever it is these VLOGs I make end up titled. 🤣

  • 0:21 – North Portland to Union Station via the Broadway Bridge, with a few route suggestions to avoid inclement segments. First up, Whole Bowl, a bite to eat before boarding the train.
  • 5:55 – Right turns for the route that are important to get right.
  • 6:41 – Broadway Bridge and loop around and under route trick to Union Station.
  • 7:27 – Not turning left on Broadway Bridge, loopity loop to the right, into the Pearl and then under teh Broadway Bridge.
  • 9:20 – Arrival @ Portland Union Station & boxing the bike for boarding the Empire Builder. More details on bike boxes here https://www.amtrak.com/bring-your-bic…
  • 11:16 – Metropolitan Lounge, the sleeper/first class/business class waiting room accommodations plus the bathroom secret!
  • 12:58 – All aboard Empire Builder!
  • 14:04 – On to Pasco! A relaxing journey via Roomette!
  • 14:24 – Arriving Pasco, detraining, a bit of FRN activity, into the station, and waiting for the bike baggage! 🤙🏻
Episode 33 of the VLOG.

Bike Life. Train Life. Redmond to Seattle by bike, Seattle to Portland by Train.

This trip was a multipart adventure that was extremely rewarding. I also used new gear for the first time that I’ll talk about.

The trip started with the decision to take the Sammamish and Burke Gilman trails around the north end of Lake Washington on the way to get to King Street Station. This is clearly not the straight route to the train station, but it is the flattest of routes. I wanted to try out the Burley Travoy and also check timing overall since this is also my first trip from Redmond – new home – to downtown Seattle and King Street Station. I checked the google times on the trip and the most direct was 2 hours and 7 minutes, and this longer stretch was 2 hours and 23 minutes. With the trip being as long as it is to start with, another 16 minutes didn’t seem like a big deal.

Thus off I went, departing Redmond heading north, up through Woodinville, Bothell, down the west side of the lake into University District, through downtown, and finally to King Street Station.

Part of the way there, passing through Woodinville.
The tunnel, which is painted rad colors, that I consider the midway point on the north side of Lake Washington.
The full route from Redmond to downtown and King Street Station.

Burley Travoy

Upon arriving at the station I had my first *in the field* attempt at breaking down and stowing the Burley Travoy in its included bag. You can see in video, with these two images, that it went quickly and smoothly. It’s a great product and really easy to use.

Final step after fold up, sliding the detachable wheels into the base.
Slipping the folded Travoy into its bag.

Boarding Coast Starlight Southbound

Once the ride was complete, Travoy packed, bike loaded on the train, I was ready to board myself.

Being greeted at the sleeper car I was assigned to.

After boarding, a tradition I have is whipping together a traditional “train coffee”. Yes, it’s commodity beans, yes it is indeed drip, no it is not premium stuff but anything on the train just has an air of leisure to it, thus “train coffee”.

Train Coffee!

At this point in the video I play an acoustic improv bit that I felt matched the passing scenario.

Train Power Brick: Ankor USB Power Strip Surge Protector!

When taking train trips, specifically the long ones, you should bring yourself a power brick. At least, if like me, you have more than one or two pieces of gear you’d prefer to be able to plug in or recharge. In the past I’ve used a particular strip I have, and have talked about in past videos, but now I’ve picked up a new one with some additional features and hardware! Introducing my new train brick strip, the Anker USB Power Strip Surge Protector(300J), 5ft Extension Cord, Flat Plug, 331 PowerStrip with 6 Outlets & 3 USB-A Ports!

Ankor USB Power Strip Surge Protector

For more details on the Ankor, give the video a watch @ 8:48 along with final arrival at Portland Union Station.

  • 0:21 – From Redmond to King Street Station.
  • 3:17 – Packing the Burley Travoy.
  • 4:03 – Bike stowed, boarding the Coast Starlight.
  • 8:48 – IMPORTANT! Getting an appropriate power strip for the train trip. (Anker USB Power Strip Surge Protector(300J), 5ft Extension Cord, Flat Plug, 331 PowerStrip with 6Outlets & 3USB-A Ports – https://www.amazon.com/gp/product/B09…)
  • 10:18 – Arrival in Portland, Oregon.
Bike Life. Train Life. Redmond to Seattle by bike, Seattle to Portland by Train.

That’s it for this episode. Catch some of the earlier episodes and be sure to subscribe the channel on YouTube. Albeit, if you’re subscribed to this blog, I’ll be posting them here too just a little delayed along with more details about what’s up with each video.

Riese & Müller Load 75 Electric Cargo Bike Day 2 – “Reload”

I’m officially naming this bike, like I do all of mine, and thus this bike is now named “Reload”. Goes along with “Mona”, “Spacey”, and “Pop Rocket” among the others.

So not a whole bunch to this blog entry, just a video of day 1 + day 2 riding and GoPro setup on the bike. Enjoy. For my first post on this significant purchase check out the previous post here.

Bike Collection & Gear: All-City Macho Man Disc, AKA “Pop Rocket”

I picked up an All-City Macho Man just a few weeks before I got the Space Horse Disc built at Back Alley Bike Repair here in Seattle! From here on though, I’m going to call the bike by it’s now given name of Pop Rocket.

The Pop Rocket has traveled with me to well over a dozen cities over the last few years. Except for the fenders, everything on this bike started out stock.

Specifications

  • Headset: Cane Creek 10 series
  • Stem: Salsa Guide, 1-1/8th threadless, 31.8 clamp
  • Handlebar: Salsa Cowbell 3, 31.8Tape Black
  • Shift/Brake lever Shimano 105
  • Brake: Hayes CX-Expert, 160mm rotors
  • Front Derailleur: Shimano CX70 31.8 with 28.6 shim
  • Rear Derailleur: Shimano 105, short cage
  • Crankset: FSA Gossamer 46/36t
  • Bottom Bracket: FSA MegaExo
  • Seatpost: FSA SL280, 27.2
  • Saddle: Brooks England B17
  • Cassette: Shimano Tiagra 12-28
  • Chain: KMC X-10
  • Hubs: Formula DC20/22 6 bolt 32 hole
  • Rims: Alex Black Dragon 32 hole
  • Tires: Continental Gatorskins 700×35

NOTE: As with the past bike posts, no sponsors, just informational. To check out the Macho Man from All-City check out the link here.

Traveling Trackball, AKA “GSD Better!”

Recently I purchased a trackball and a hardshell case for that trackball, which I then wrote a review of over yonder “A Review of the MX Ergo Advanced Wireless“. The hardshell case primarily because I displace a lot during the course of the day. Whether traveling far away from home or just within the city in which I live (i.e. Seattle these days, but in the past Portland, Memphis, Jacksonville, New Orleans, Krakow, etc) it’s been very important to have computer gear that holds up well to these movements during the day. Here is a video that details the trackball, hardshell case, and some of the different places I’ve used it since purchase. Below the video I elaborate on two of the scenarios I use these devices.

Trackball Travels

Coffee Shop Cycling Displacements

Often during the day, at least a non-pandemic day, I work coffee shop to coffee shop. Meeting other coders, working alone, or having meetings in person in coffee shops. As I move from coffee shop to coffee shop, sometimes I use transit (bus/train/tram/streetcar/etc) but more often I bike from shop to shop. During these displacements computer gear can get banged up heavily. That’s where the hardshell case for the trackball is hugely important!

Here are some detailed “product” shots from Amazon/co2CREA, and the link itself to the product if you want to pick it up.

While cycling all sorts of things can happen. I could biff it (i.e. *wreck*) on my pack (i.e. messenger bag, or backpack) and things are safe from direct impact in there, but can still be squished. I could toss my bag down or set it somewhere and it gets kicked, hit, or falls. The number of impact scenarios are numerous. But it doesn’t stop there while out cycling, since most of my packs are waterproof it’s nice to have individual elements packed in water resistant packages for when I pull them out of their pack. You get the idea, there’s a lot of potential oops scenarios, and for maximum gear lifespan it’s best to keep them safe.

Railroading Baggage Pannier Packing Style

Alright, using panniers for bike and train combo trips is another one of my specialties. I take a lot of train trips. Sometimes I ride coach, sometimes I get a roomette or bedroom, and on some trains I may end up standing. Whatever the case, traveling means luggage of some sort and luggage gets banged around. Again I’ve got my packs, but also in this scenario I routinely use my panniers. The combination is great as the survivability of devices – Apple Laptop + hardshell case for pointing device plus tough packs with panniers holding the remainder of things means surviving insane things like train wrecks (i.e. my experience of the train wreck of 501), or just regular travel trips like my trips to San Francisco for QCon, or my trip to Olympia, Washington to speak at a users’ group.

In summary, if you want to enjoy the bikey life combo powered with the rail life and keep your gear intact, it’s a good idea to pick up a hardshell case.